Fluid Pan: Service and Repair
Removal Procedure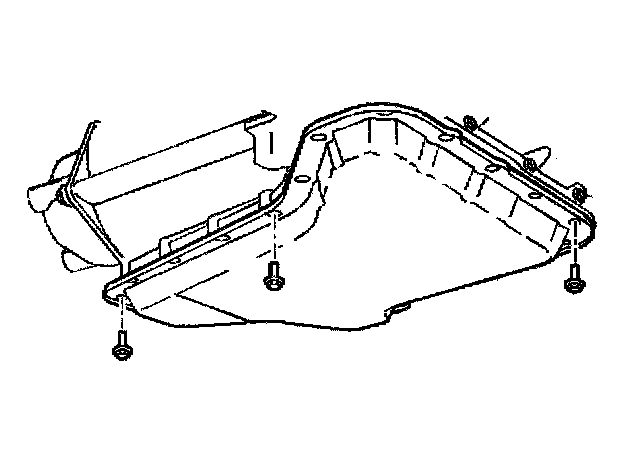
1. Raise and support the vehicle. Refer to Vehicle Lifting.
2. Place the drain pan under the transaxle oil pan.
Notice: When removing the oil pan bolts, be careful not to damage the oil pan sealing surfaces. Such damage may result in oil leaks in this area.
3. Remove the oil pan bolts from only the front and the sides.
4. Loosen the rear oil pan bolts about 4 turns.
5. Lightly tap the oil pan with a rubber mallet or pry in order to allow the fluid to drain.
6. Inspect the fluid color.
7. Remove the remaining oil pan bolts.
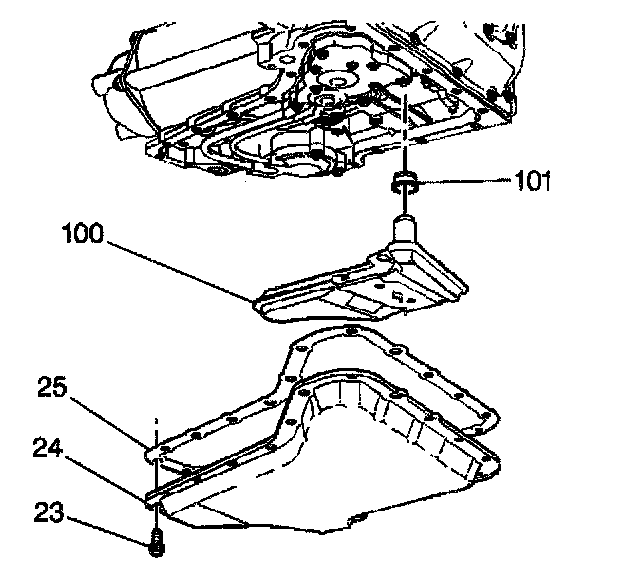
8. Remove the oil pan and gasket.
Installation Procedure
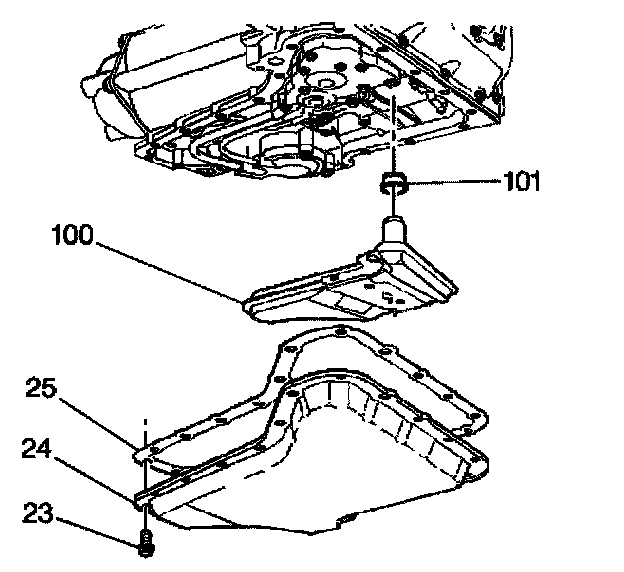
1. Install the oil pan gasket and oil pan together. Use a new gasket if the sealing ribs are damaged.
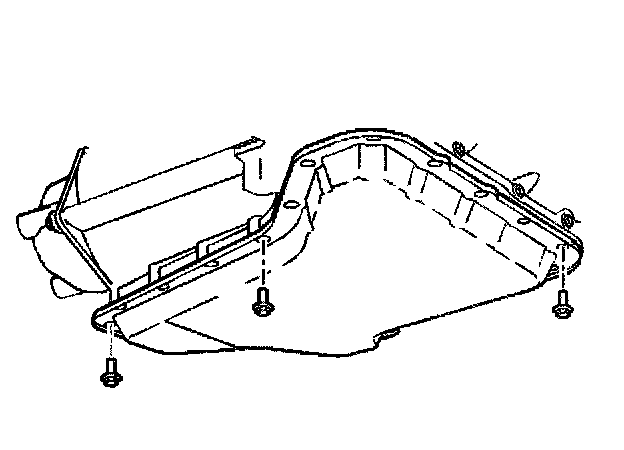
Notice: Refer to Fastener Notice in Service Precautions.
2. Install the oil pan bolts.
^ Tighten the bolts to 14 Nm (10 ft. lbs.).
3. Lower the vehicle.
4. Fill the transaxle to the proper level with DEXRON(R) III fluid or the equivalent. Refer to Fluid Capacity Specifications.
5. Check the COLD fluid level reading for the initial fill. Do not overfill.
6. Inspect the oil pan gasket for leaks.