Removal
TOOLS REQUIRED
- J 5239 Connecting Rod Bolt Guide Set
- J 24270 Cylinder Bore Ridge Reamer
- Or Equivalents
1. Remove the left (front) cylinder head.
2. Remove the right (rear) cylinder head.
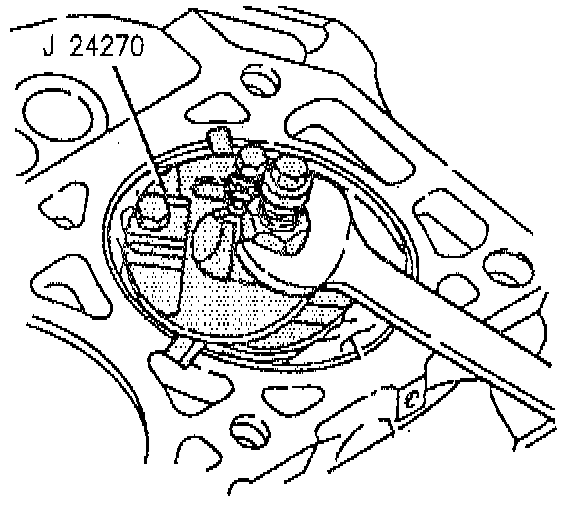
3. Use the following procedure in order to remove the ring ridge, as necessary:
(1) Turn the crankshaft until the piston is at the bottom of its stroke.
(2) Place a cloth on top of the piston.
(3) Use the cylinder bore ridge reamer in order to remove the piston ring ridge.
(4) Turn the crankshaft so that the piston is at the top of its stroke.
(5) Remove the cloth and cutting debris.
4. Remove the oil pan.
5. Remove the oil pump.
6. Remove the crankshaft oil deflector.
7. Turn the crankshaft until the piston is at Bottom Dead Center (BDC).
NOTE: Place matchmarks or numbers on the connecting rod and connecting rod caps. The connecting rod caps must be assembled to their original connecting rod.
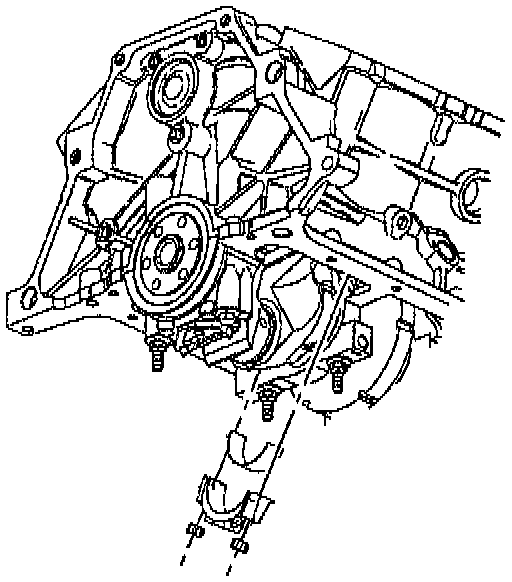
8. Remove the connecting rod nuts and cap.
CAUTION: Install thread protector in order to avoid damage to the crankshaft journal.
9. Remove the lower connecting rod bearing.
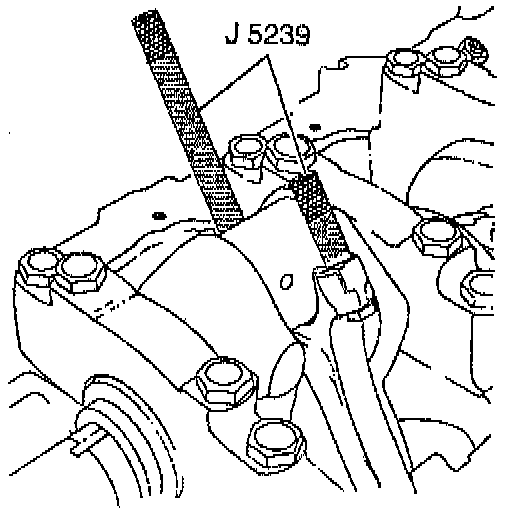
10. Install the connecting rod bolt guide set.
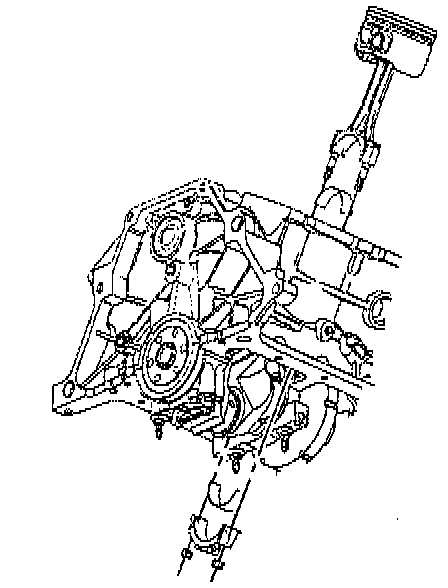
11. Remove the connecting rod, upper connecting rod bearing and piston out of the top of the engine block.
12. Clean the cylinder bores with hot water and detergent or with a light honing.
13. Swab the bores with engine oil and a clean, dry cloth.