Overhaul
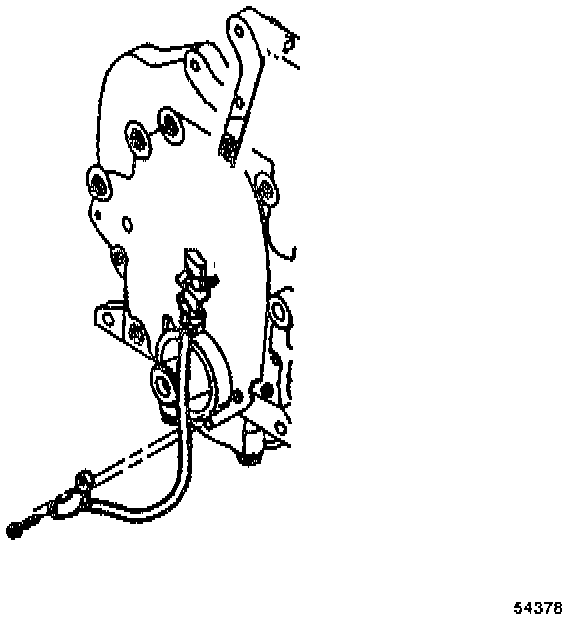
DISASSEMBLE
1. Remove the knock sensor.
2. Remove the crankshaft position sensor retaining bolt.
3. Remove the crankshaft position sensor.
4. Remove the camshaft position sensor retaining bolt.
5. Remove the camshaft position sensor.
6. Remove the expansion plugs.
ASSEMBLE
1. Install the expansion plugs.
2. Install the camshaft position sensor.
3. Install the camshaft position sensor retaining bolt.
- Tighten the bolt to 10 Nm (89 inch lbs.).
4. Install the crankshaft position sensor.
5. Install the crankshaft position sensor bolt.
- Tighten the bolt to 11 Nm (97 inch lbs.).
6. Apply sealer GM P/N 12346004 or equivalent to the thread of the knock sensor.
7. Install the knock sensor.
- Tighten the knock sensor to 19 Nm (14 ft. lbs.).
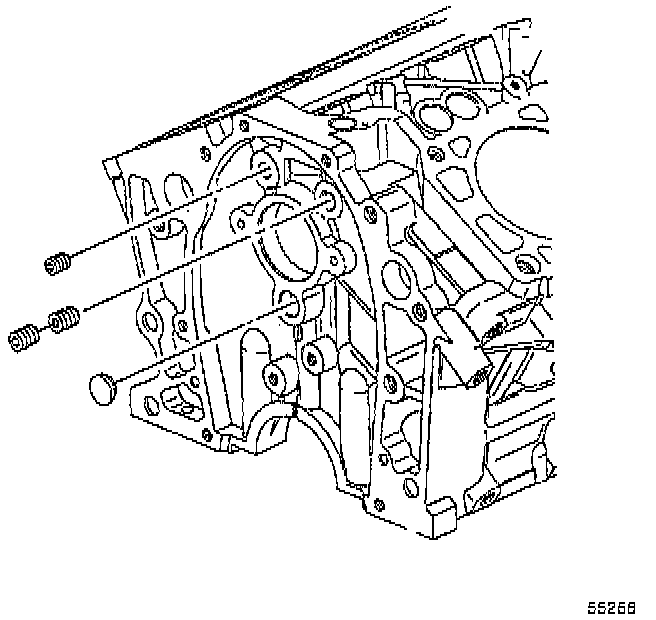
8. Install the oil gallery plugs.
- Tighten the front oil gallery plug to 19 Nm (14 ft. lbs.).
- Tighten the rear upper oil gallery plugs to 19 Nm (14 ft. lbs.).
- Tighten the rear lower oil gallery plugs to 33 Nm (24 ft. lbs.).
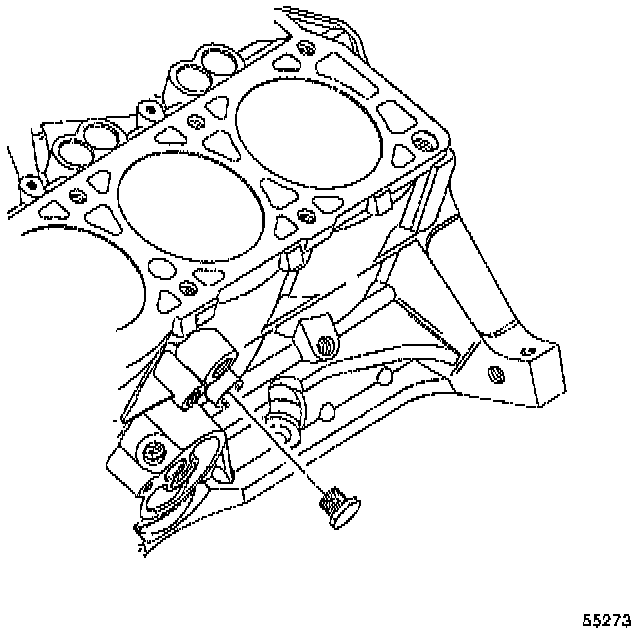
9. Install the left coolant drain plug.
- Tighten the coolant drain plug to 19 Nm (14 ft. lbs.).
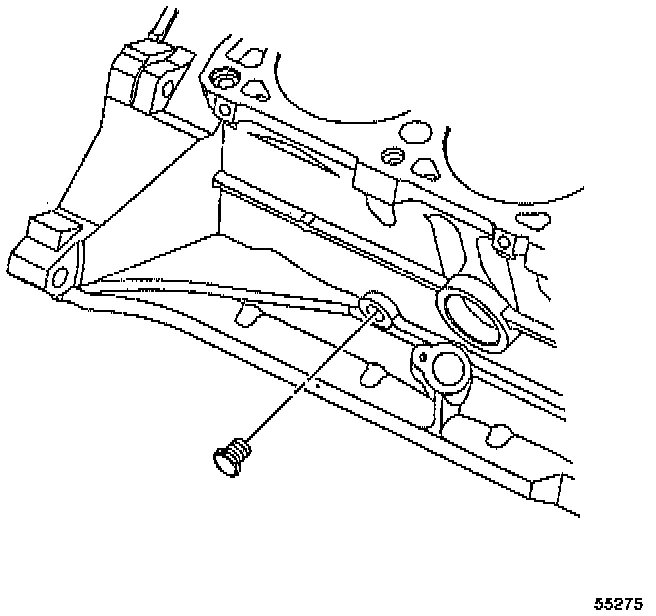
10. Install the right side coolant drain plug.
- Tighten the coolant drain plug to 19 Nm (14 ft. lbs.).
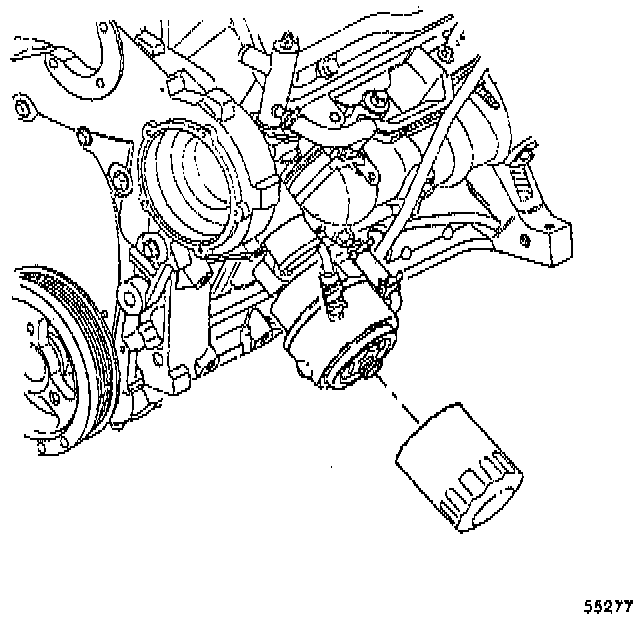
11. Install the oil filter fitting.
- Tighten the fitting to 39 Nm (29 ft. lbs.).
12. Install the oil filter.
- Tighten the oil filter to 13 Nm (115 inch lbs.).