Installation
This article has been updated with bulletin No: 03-06-01-010B

1. Install a new design intake manifold gasket. The material used in the gasket has been changed in order to improve the sealing qualities of the gasket. When replacing the gasket, the intake manifold bolts must also be replaced and torqued to a revised specification. The new bolts will come with a pre-applied threadlocker on them.
- Apply sealant GM P/N 12345739 at engine block to manifold mating surface. Bead should be 2.0-3.0 mm (0.08-0.12 inch) wide and 3.0-5.0 mm (0.12-0.20 in) thick.
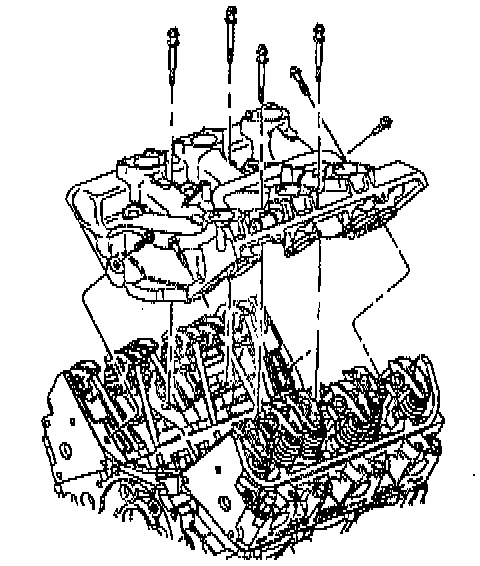
NOTICE An oil leak may result if the vertical bolts are not tightened before the diagonal bolts.
NOTE: Diagonal bolts may require a crows foot to tighten.
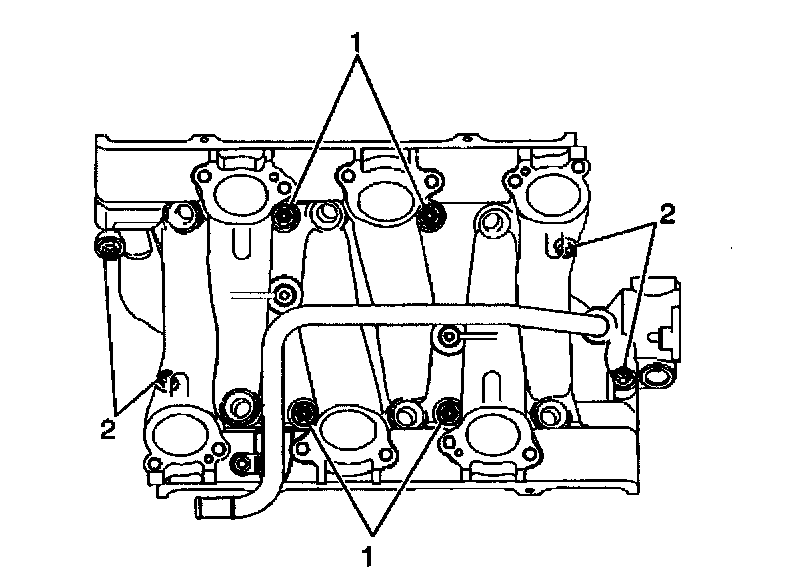
2. Tighten intake manifold bolts
TIGHTEN
a. Tighten the vertical lower intake manifold bolts (1) to 7.0 Nm (62 lb. in.).
b. Tighten the diagonal lower intake manifold bolts (2) to 7.0 Nm (62 lb. in.).
c. Tighten the vertical lower intake manifold bolts (1) to 13.0 Nm (115 lb. in.).
d. Tighten the diagonal lower intake manifold bolts (2) to 25.0 Nm (18 lb. ft.).
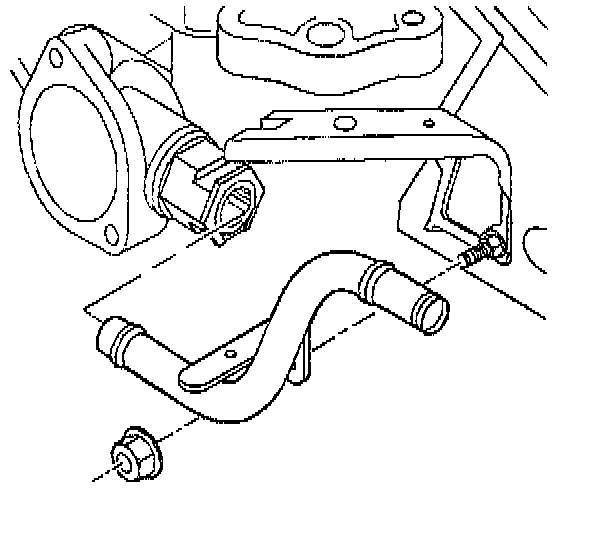
3. Install the heater inlet pipe assembly.
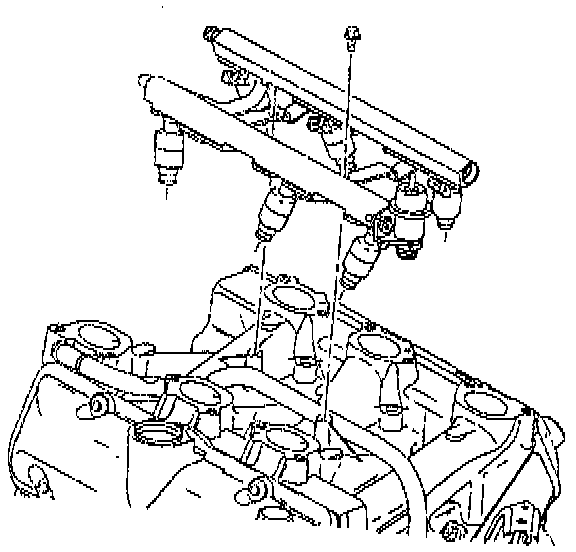
NOTE: Do not press on the fuel pressure regulator assembly valve when installing fuel injector rail assembly.
4. Install the fuel injector rail assembly.
- Lightly lubricate the fuel injector O-rings using GM P/N 1051885.
- Install the injectors of the fuel rail assembly into the bores of the manifold.
- Carefully press on the injector rail with the palms of both hands until the injectors are fully seated.
5. Install the fuel injector rail bolts.
- Tighten the bolts to 10 Nm (89 inch lbs.).