Torque Converter: Service and Repair
REMOVAL PROCEDURE^ Tools Required
- J 42386-A Flywheel Holding Tool
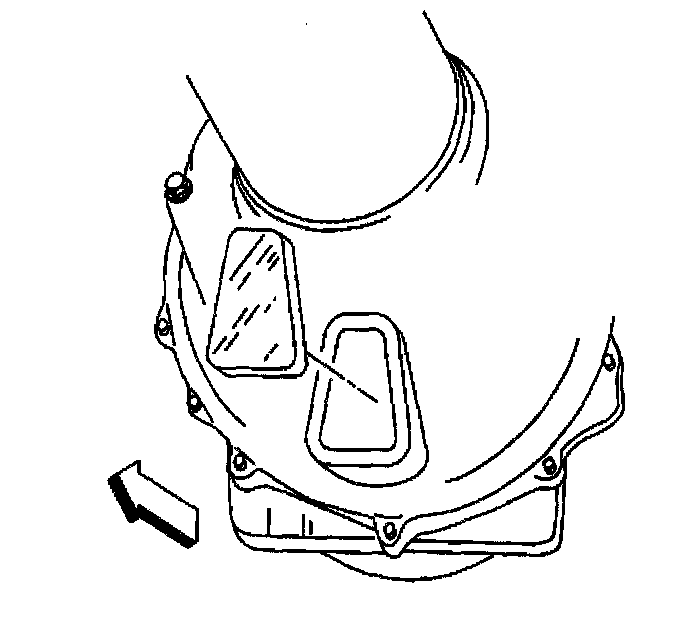
1. Disconnect the negative battery cable.
CAUTION: Refer to Battery Disconnect Caution in Service Precautions.
2. Raise and suitably support the vehicle. Refer to Vehicle Lift Points.
3. Remove the intermediate exhaust pipe. Refer to Intermediate Pipe Replacement in Exhaust System.
4. Remove the starter motor. Refer to Starter Motor Replacement in Starting and Charging.
5. Using a flat bladed screwdriver, remove the access plug from the driveline support assembly.
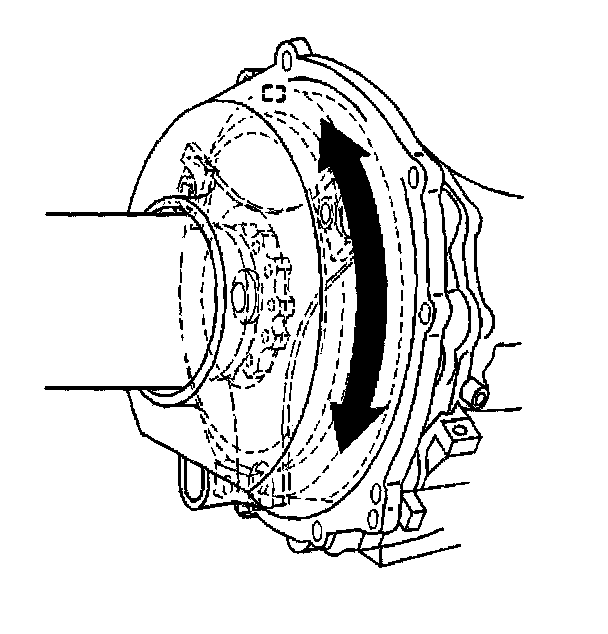
6. Matchmark the transmission flexplate to the transmission torque converter through the access hole.
It may be helpful to have an assistant for the remaining steps.
7. Turn the engine flywheel through the starter motor opening until one of the flexplate to torque converter bolts lines up with the access hole.
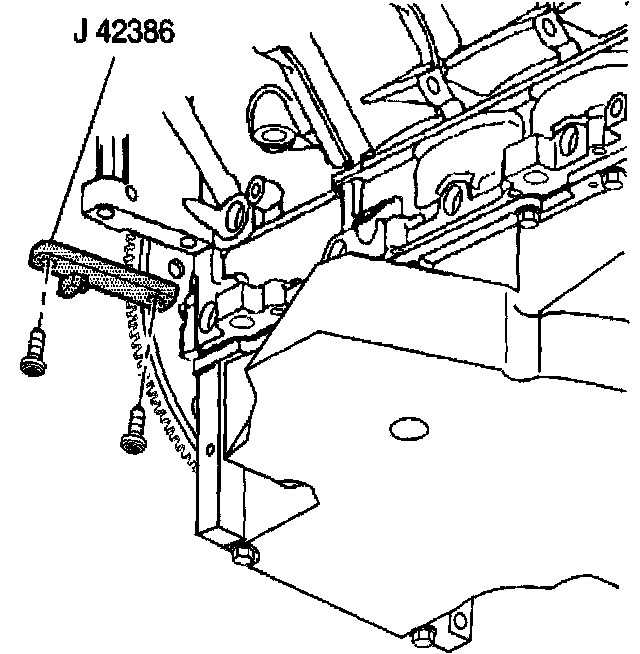
8. Install the J 42386-A to the engine flywheel, in order to keep the flywheel from turning.
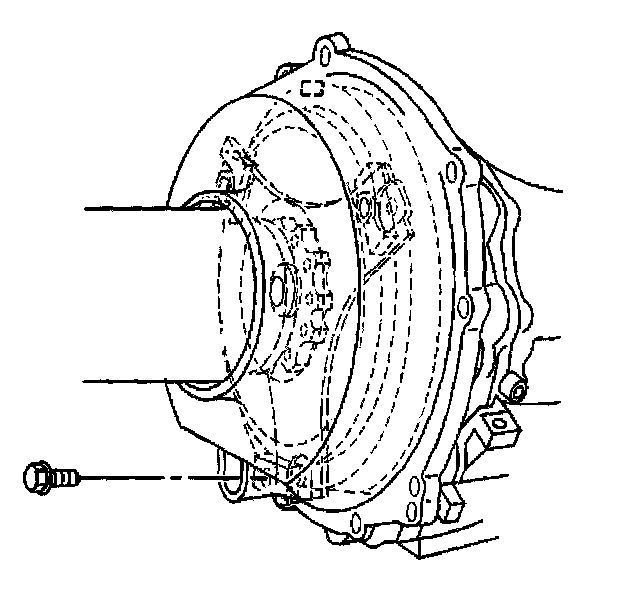
9. Remove the flexplate to torque converter bolt.
10. Remove the J 42386-A.
11. Repeat steps 7 through 10 to remove the 2 remaining bolts.
INSTALLATION PROCEDURE
^ Tools Required
- J 42386-A Flywheel Holding Tool
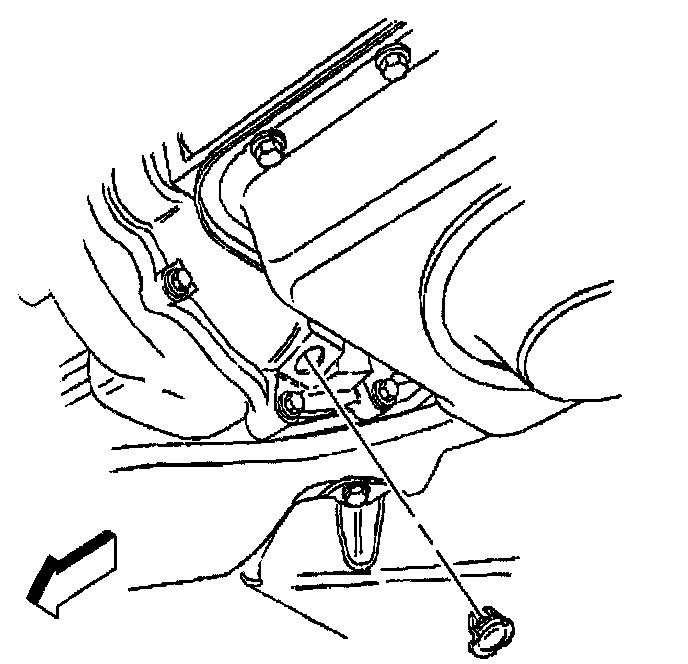
1. Using a flat bladed screwdriver, remove the transmission torque converter access plug.
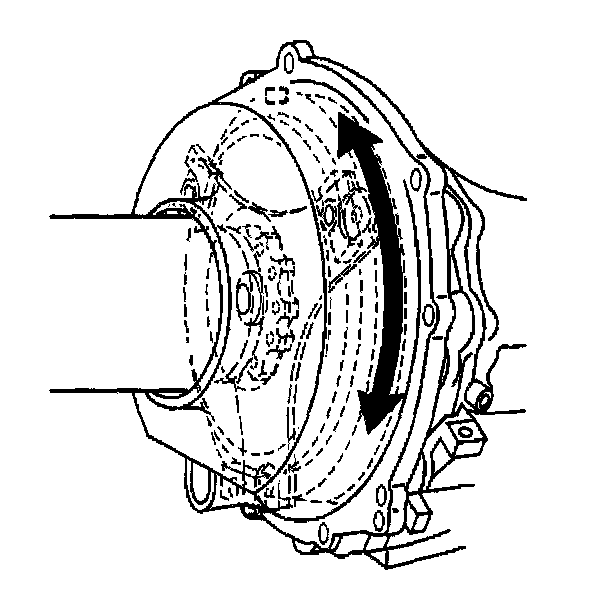
2. Align one of the torque converter bolt holes with the driveline support assembly access hole, if necessary.
Carefully rotate the torque converter, working through the access holes in the rear bellhousing and the transmission housing.
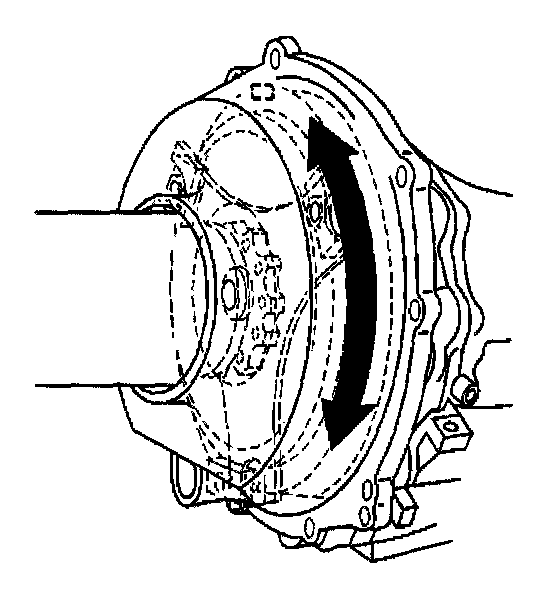
3. Align one of the flexplate bolt holes with the driveline support assembly access hole, if necessary.
3.1 Remove the J 42386-A from the engine flywheel.
3.2 Slowly turn the engine flywheel through the starter motor opening until the desired flexplate bolt hole lines up with the torque converter bolt hole.
3.3 Install the J 42386-A to the engine flywheel, in order to keep the flywheel from turning.
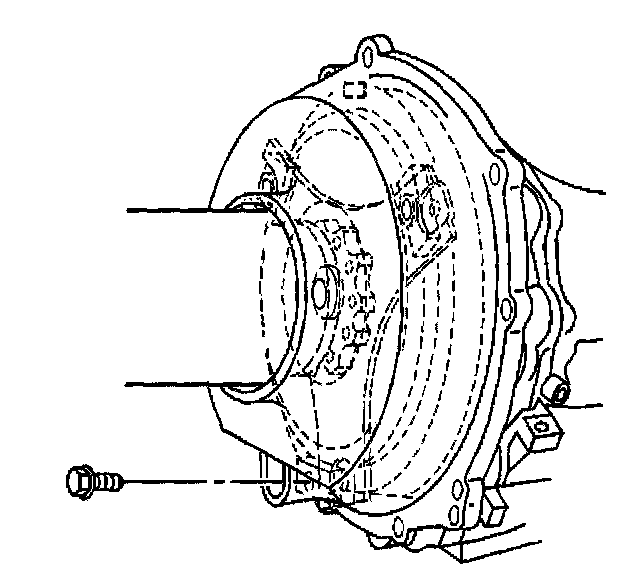
4. Install the flexplate to torque converter bolt through the driveline support assembly access hole.
HAND-TIGHTEN until FINGER-TIGHT, then torque to specification.
^ Tighten the flexplate to torque converter bolt to 63 Nm (47 ft. lbs.).
NOTICE: Refer to Fastener Notice in Service Precautions.
IMPORTANT:
^ HAND-START the flexplate to torque converter bolts before torquing to ensure proper alignment and to avoid cross threading.
^ Carefully WALK the transmission torque converter to the transmission flywheel through the torque converter access plug opening, if necessary. DO NOT use the bolts to draw the torque converter to the flexplate.
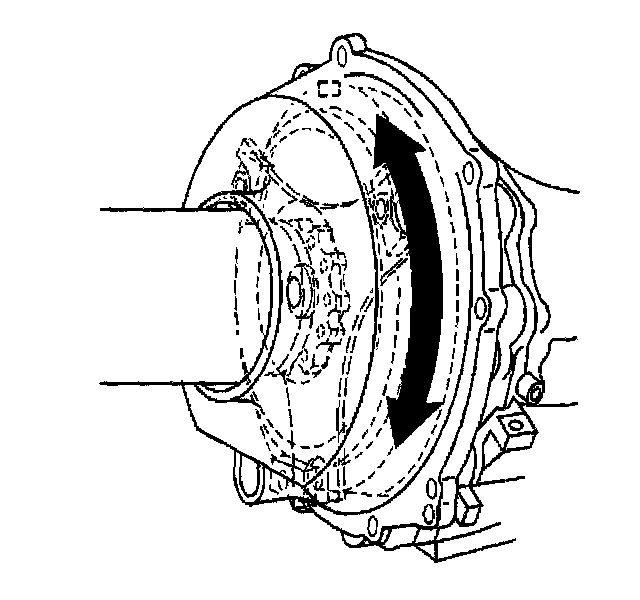
5. Remove the J 42386-A from the engine flywheel.
6. Turn the engine flywheel slowly until the next bolt holes line up with the rear bellhousing access hole.
7. Install the J 42386-A to the engine flywheel, in order to keep the flywheel from turning.
8. Repeat steps 4 through 7 to install the 2 remaining bolts.
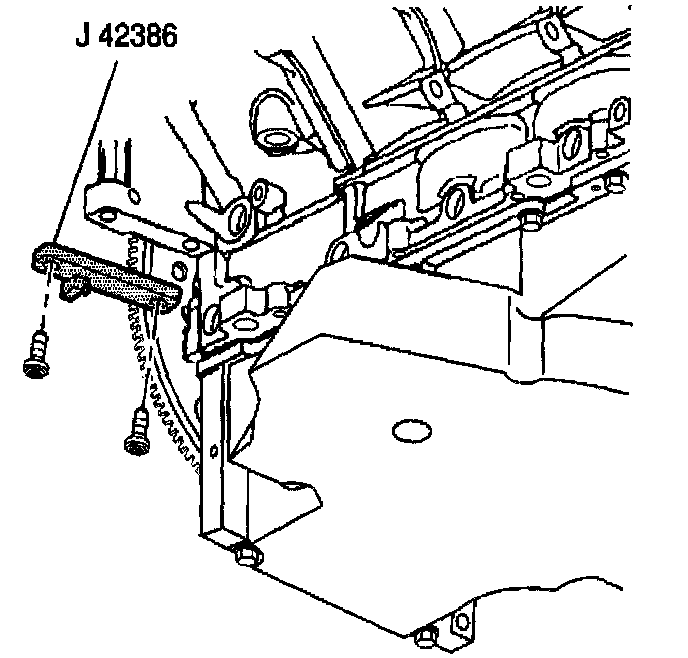
9. Remove the J 42386-A from the engine flywheel.
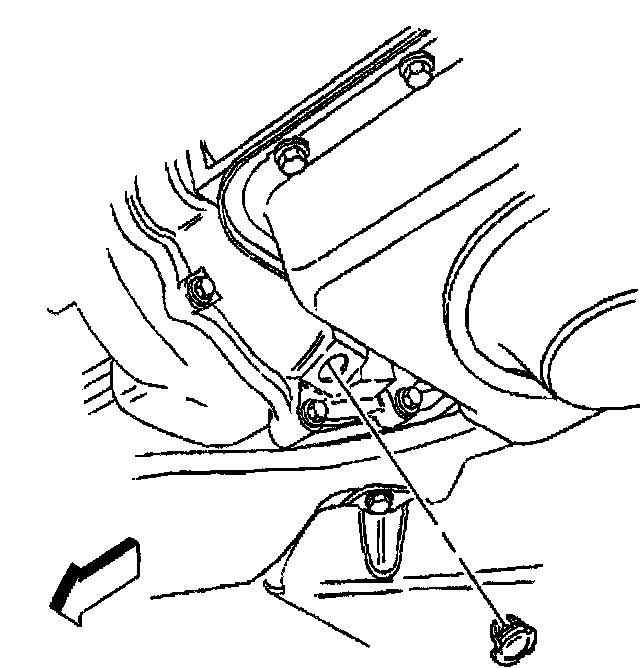
10. Install the torque converter access plug.
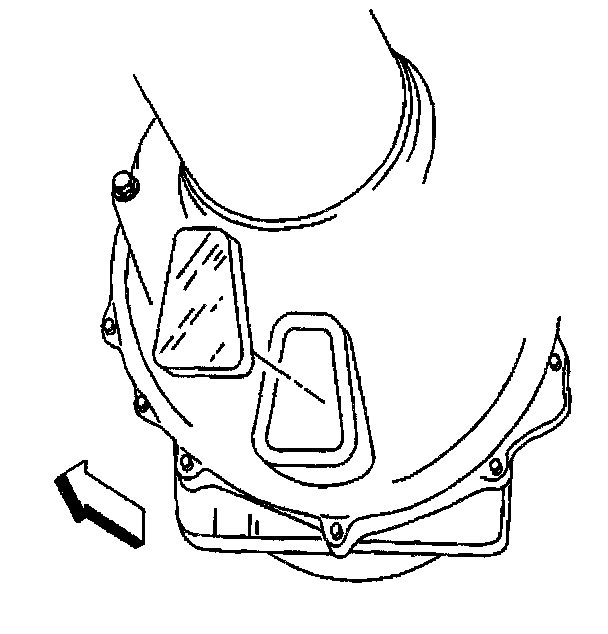
11. Install the driveline support assembly access plug.
12. Install the starter motor. Refer to Starter Motor Replacement in Starting and Charging.
13. Install the intermediate exhaust pipe. Refer to Intermediate Pipe Replacement in Exhaust System.
14. Lower the vehicle.
15. Connect the negative battery cable.
^ Tighten the negative battery cable bolt to 15 Nm (11 ft. lbs.).
16. Program the transmitters. Refer to Transmitter Programming/Synchronization in Keyless Entry.
17. Run the engine and inspect for the presence of vibration, repair if necessary. Refer to Torque Converter Vibration Test. Testing and Inspection