Shift Cable: Service and Repair
Range Selector Lever Cable Replacement
Removal Procedure

Caution:
Refer to Battery Disconnect Caution Battery Disconnect Caution in Cautions and Notices.
1. Disconnect the negative battery cable.
2. Remove the air filter housing assembly and bolts.
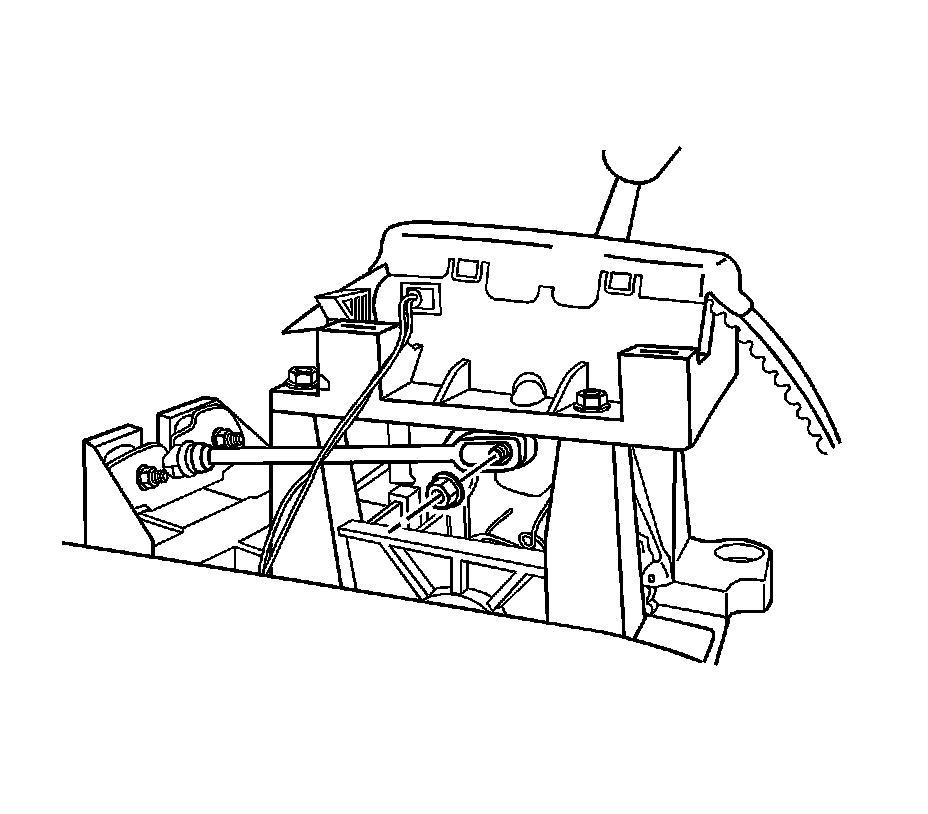
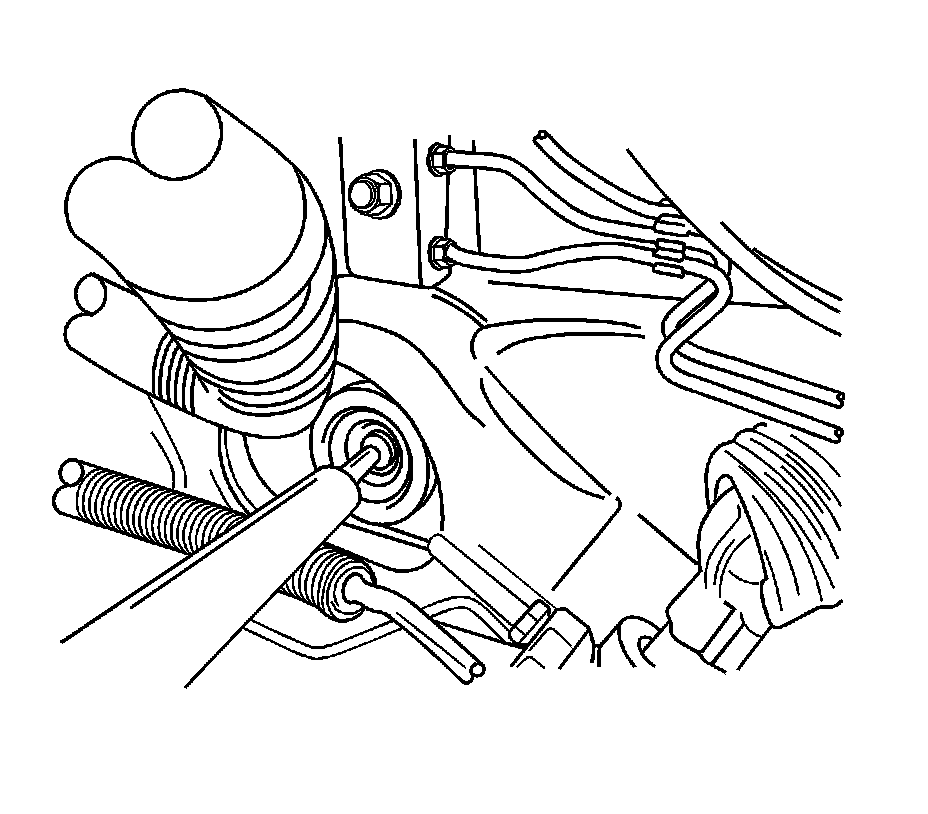
3. Remove the clip from the selector lever connection on the transaxle case.
4. Disconnect the shift control cable from the selector lever connection.
5. Remove the clip from the shift control cable at the transaxle mount connection.
6. Remove the floor console. Refer to Front Floor Console Replacement Front Floor Console Replacement.
7. Loosen the shift control cable adjuster pinch nut.
8. Loosen the nut from the cable bracket.
9. Remove the shift control cable from the shift control assembly.
10. Remove the shift control cable from the transaxle mount.
11. Pull the shift control cable, including the rubber grommet, through the fire wall of the vehicle.
Installation Procedure
1. Install the shift control cable into the fire wall of the vehicle.
2. Install the shift control cable onto the transaxle mount.
3. Install the shift control cable onto the shift control assembly.
4. Tighten the nut on the cable bracket.
Notice:
Refer to Fastener Notice Fastener Notice in Cautions and Notices.
5. Install the shift control cable adjuster pinch nut.
Tighten the nut to 8 Nm (71 lb in).
6. Install the clip to the shift control cable at the transaxle mount connection.
7. Install the clip to the select lever connection on the transaxle case.
8. Adjust the shift control cable. Refer to Range Selector Lever Cable Adjustment Adjustments.
9. Install the air filter housing assembly and the bolts.
Tighten the bolts to 10 Nm (89 lb in).
10. Connect the negative battery cable.