Control Arm Bushing: Service and Repair
Front Lower Control Arm Bushing Replacement
Tools Required
* KM-508-A Control Arm Bushing Remover/Installer
* KM-158 Remover/Installer
* KM-307-B Removal Plate
Disassembly Procedure
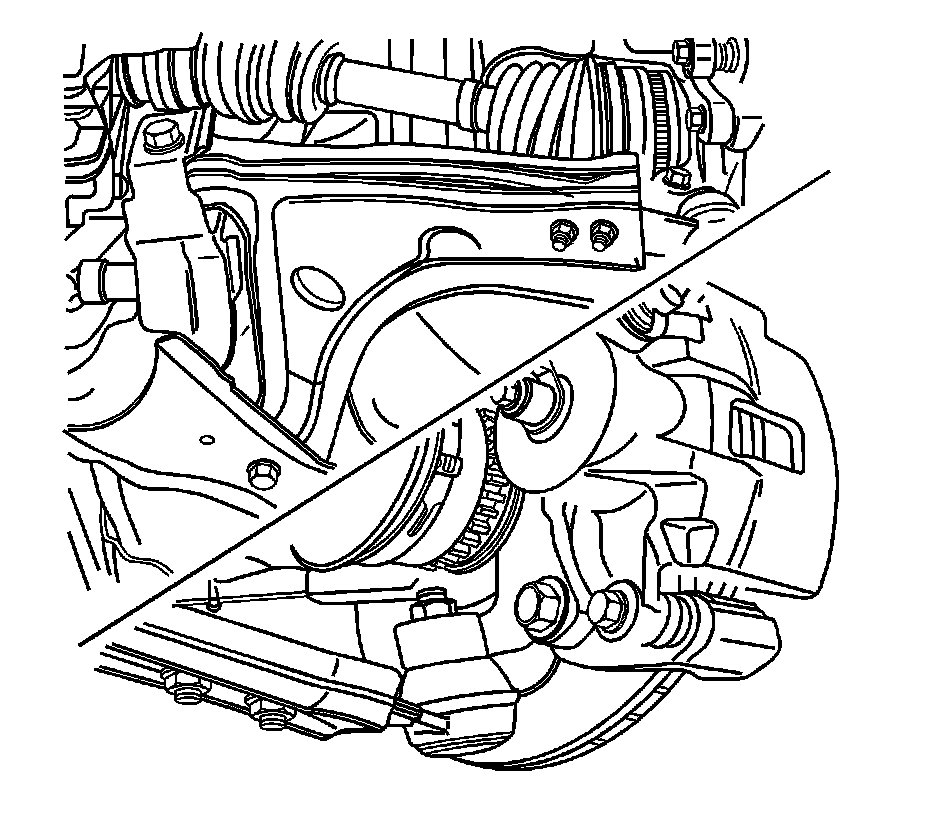
1. Remove the control arm.
2. Press off the rear bushing using a press, the KM-158, and the KM-307-B.

3. Press out the front bushing using the KM-508-A (2) and KM-158 (1).
Assembly Procedure
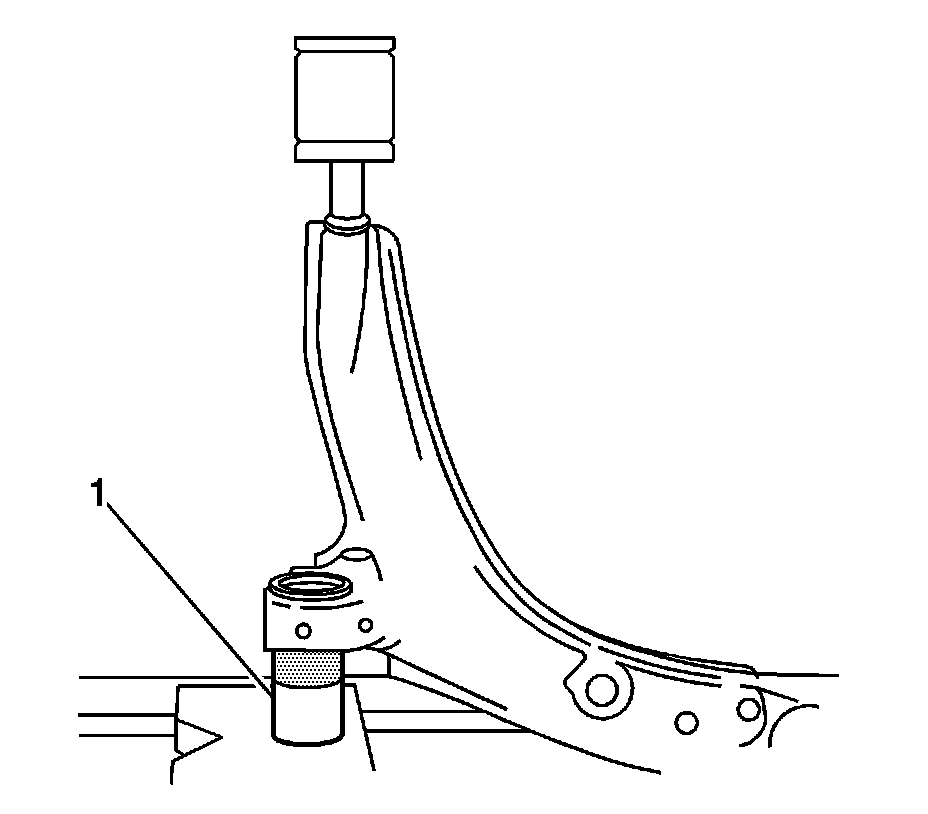
1. Coat the control arm rear shaft with a multipurpose lubricant.
2. Press the rear bushing onto the shaft. The flat of the bushing must be on the top side, the same as the ball joint. Use the KM-508-A (1) to support the control arm.

3. Coat the outside of the front bushing and the inside of the lower control arm with a multipurpose lubricant. Refer to Fluid and Lubricant Recommendations.
4. Press the new bushing into the control arm from the back to the front, using the KM-508-A (1).
5. Center the bushing.
6. Install the control arm.