Clock Replacement (Notchback)
Clock Replacement (Notchback)
Removal Procedure
Caution: Refer to Battery Disconnect Caution (Battery Disconnect Caution).
1. Disconnect the negative battery cable. Refer to Battery Negative Cable Disconnection and Connection (Service and Repair).
2. Remove the instrument panel center upper cover.
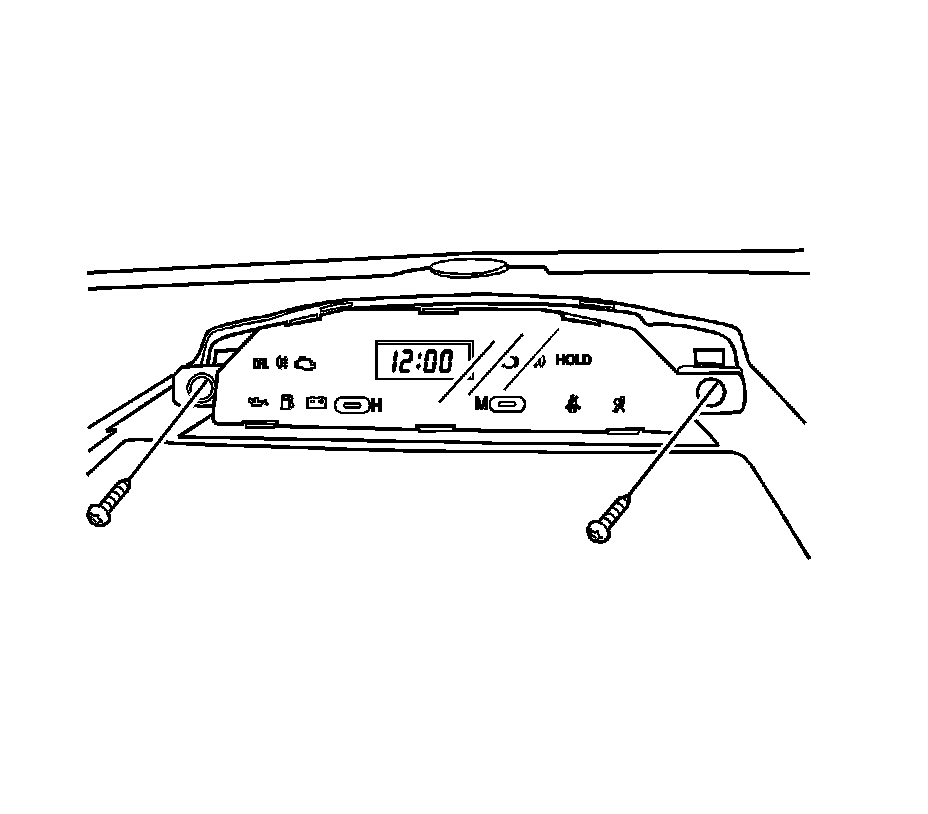
3. Remove the screws and the clock.
Installation Procedure
Notice: Refer to Fastener Notice (Fastener Notice).
1. Install the clock with the screws.
Tighten the clock screws to 2.5 N.m (23 lb in).
2. Install the instrument panel center upper cover.
3. Connect the negative battery cable. Refer to Battery Negative Cable Disconnection and Connection (Service and Repair).