Condenser HVAC: Service and Repair
REMOVALCAUTION: To prevent system contamination, whenever the A/C condenser core is replaced, also replace the suction accumulator/drier.
NOTE: If an A/C condenser core leak is suspected, the A/C condenser core must be leak tested before it is removed from the vehicle.
1. Recover the refrigerant. Refrigerant Recovery
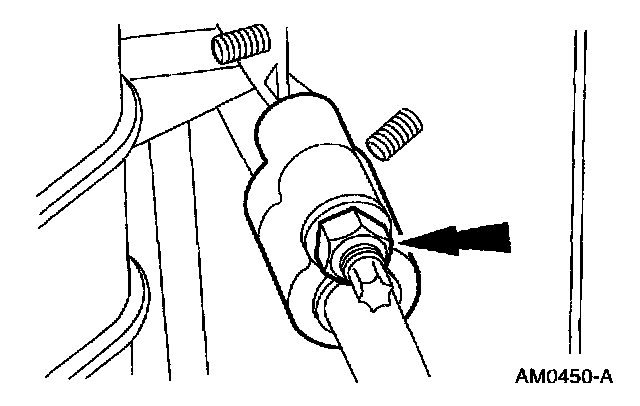
2. Disconnect the condenser to evaporator tube from the A/C condenser core.
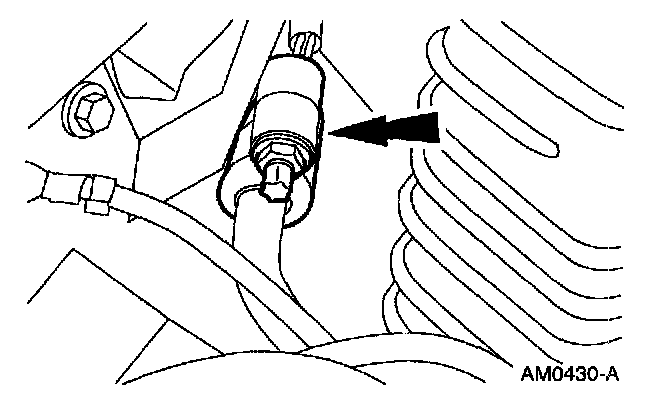
3. Disconnect the A/C manifold and tube from the A/C condenser core.
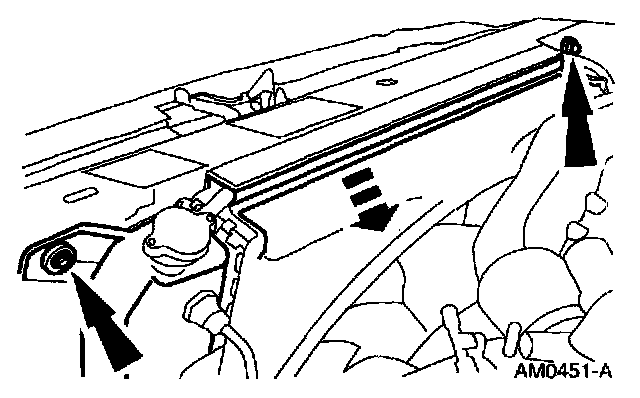
4. Remove the radiator mounting screws and tilt the radiator back.
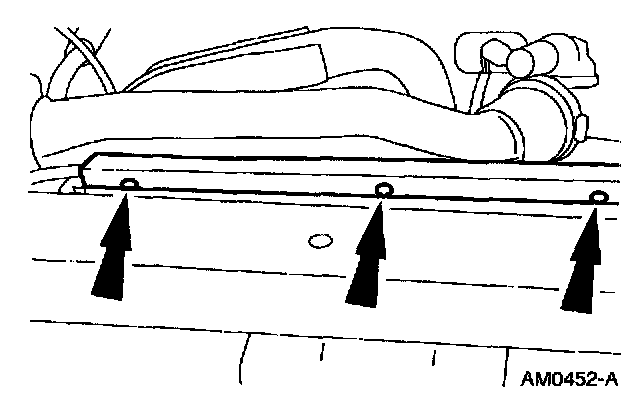
5. Remove the push pins and remove the top seal.
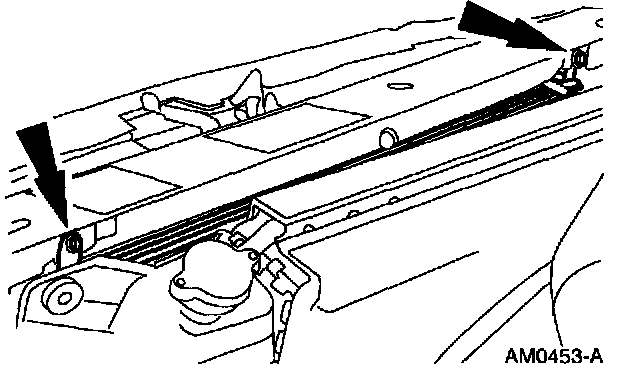
6. Remove the condenser core mounting screws and remove the A/C condenser core.
INSTALLATION
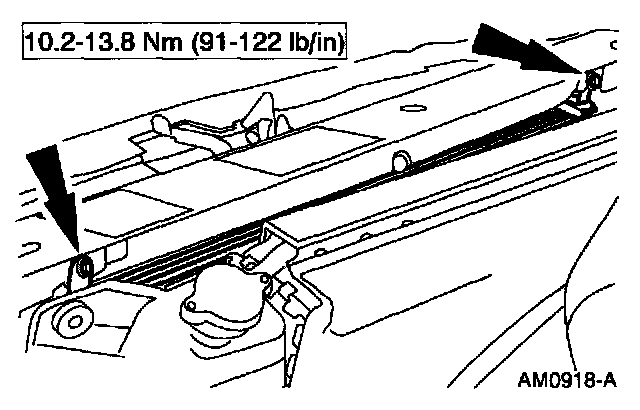
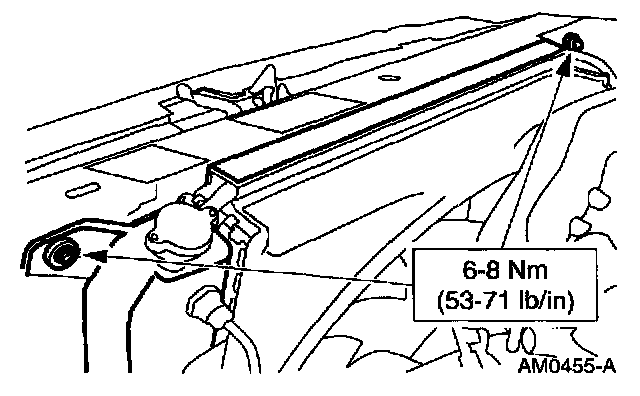
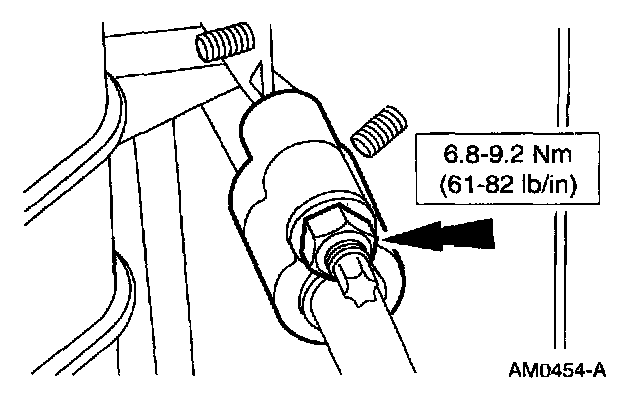
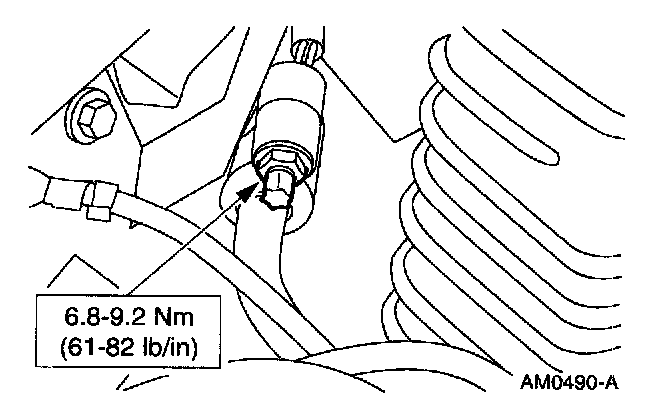
1. Follow the removal procedure in reverse order.
- Lubricate the O-ring seal with Motorcraft YN-12c refrigerant oil or equivalent meeting Ford specification WSH-M1C231-B.
- Lubricate the replacement A/C evaporator core with the correct amount of Motorcraft YN-12c refrigerant oil or equivalent meeting Ford specification WSH-M1C231-B.