Timing Cover: Service and Repair
Removal1. Drain the engine coolant.
2. Remove the crankshaft damper.
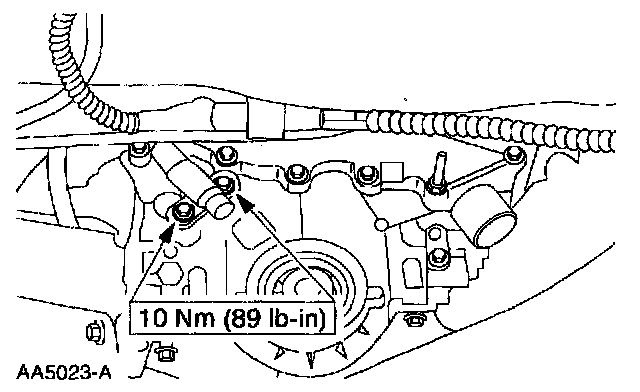
3. Remove the oil pan to engine front cover bolts.
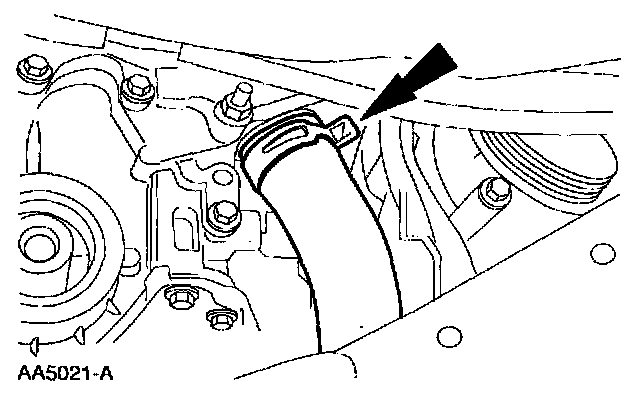
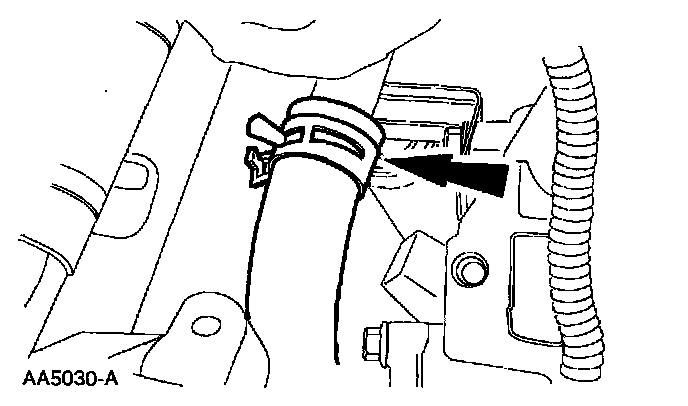
4. Disconnect the lower radiator hose.
- Reposition the clamp.
- Disconnect the hose.
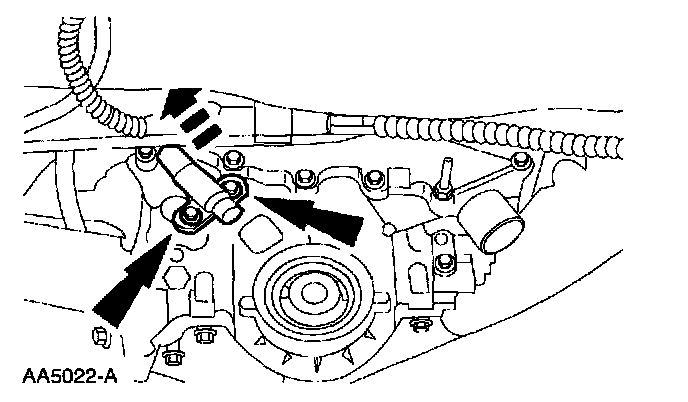
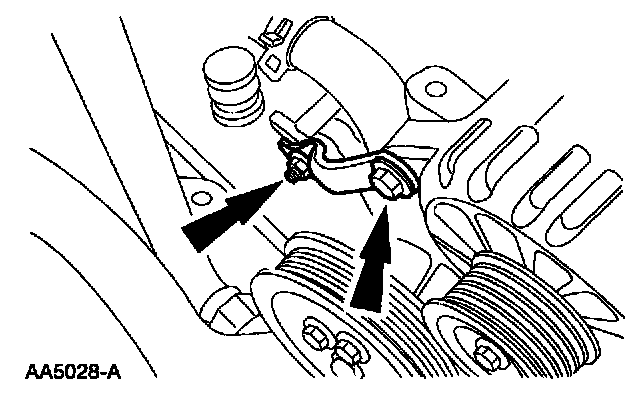
5. Remove the Crankshaft Position (CKP) sensor.
- Disconnect the sensor.
- Remove the bolts.
- Remove the sensor.
6. Lower the vehicle.
7. Remove the accessory drive belt idler pulley.
- Remove the bolt.
- Remove the pulley.
8. Remove the accessory drive belt tensioner.
- Remove the bolt.
- Remove the tensioner.
9. Remove the bracket.
- Remove the nut.
- Remove the bolt.
- Remove the bracket.
10. Disconnect the heater hose.
- Reposition the clamp.
- Disconnect the hose.

11. Remove the water pump pulley.
- Remove the bolts.
- Remove the pulley.
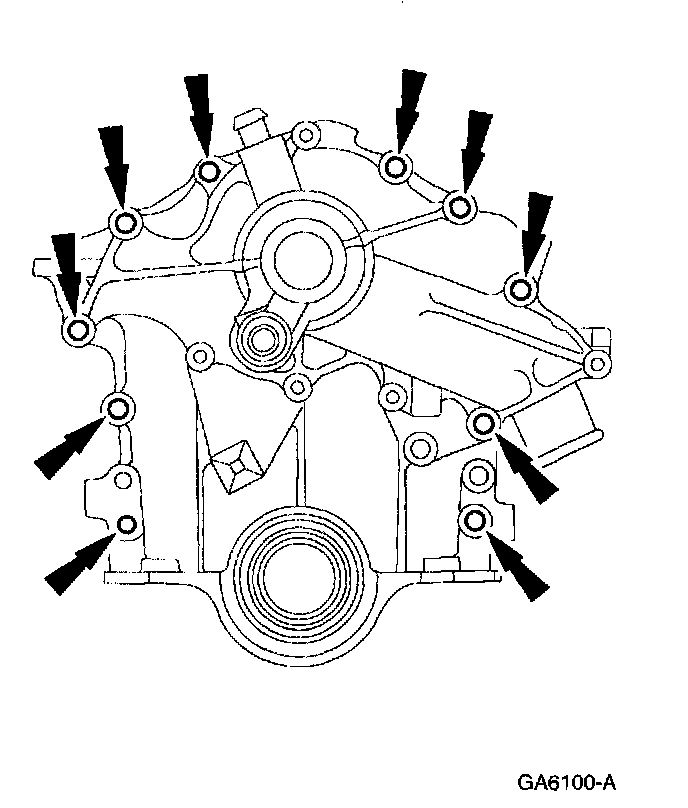
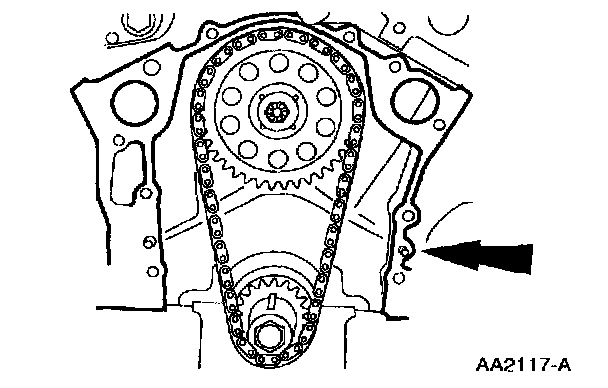
12. Remove the engine front cover and water pump as an assembly.
- Remove the bolts.
- Remove the front cover.
13. Remove and discard the front cover gasket.
Installation
1. Clean all sealing surfaces and position a new front cover gasket.
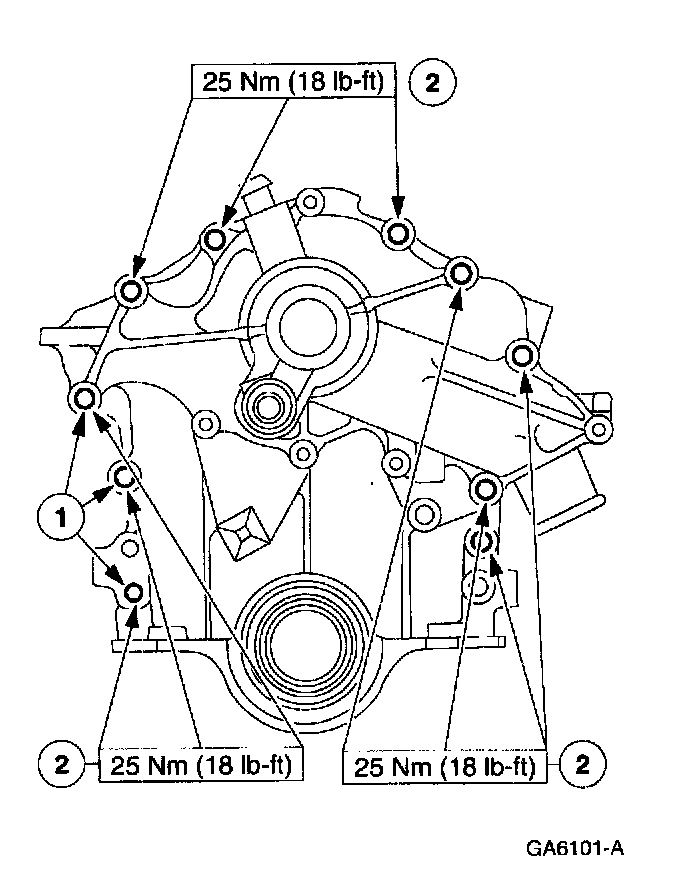
2. Install the engine front cover and water pump assembly.
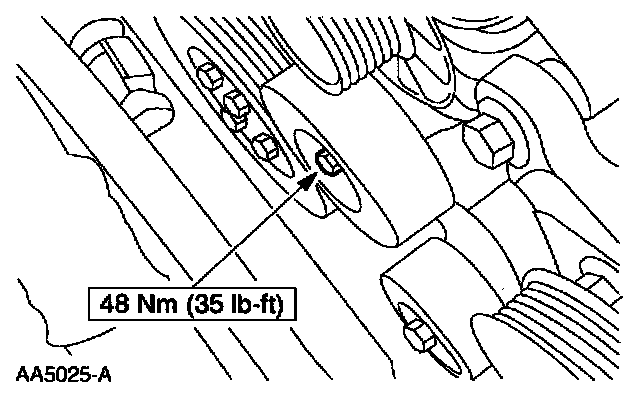
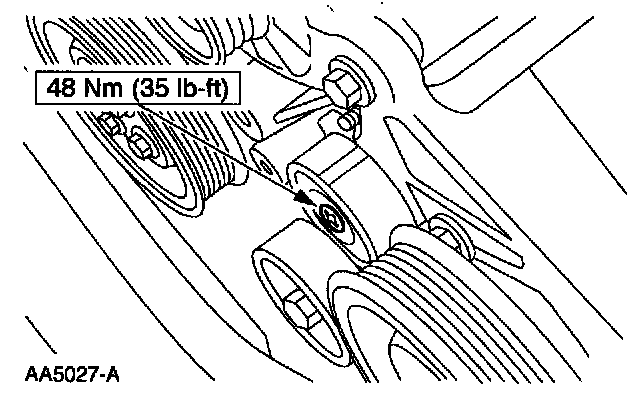
- Apply Pipe Sealant with Teflon D8AZ-19951A or equivalent meeting Ford specification WSK-M24G350-A2 to the bolts indicated.
- Install the remaining bolts.
3. Install the water pump pulley.
- Install the pulley.
- Install the bolts.
4. Connect the heater hose.
- Connect the hose.
- Position the clamp.
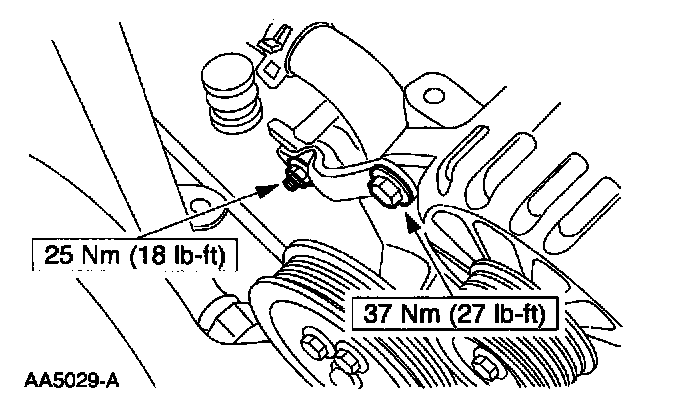
5. Install the bracket.
- Position the bracket.
- Install the bolt.
- Install the nut.
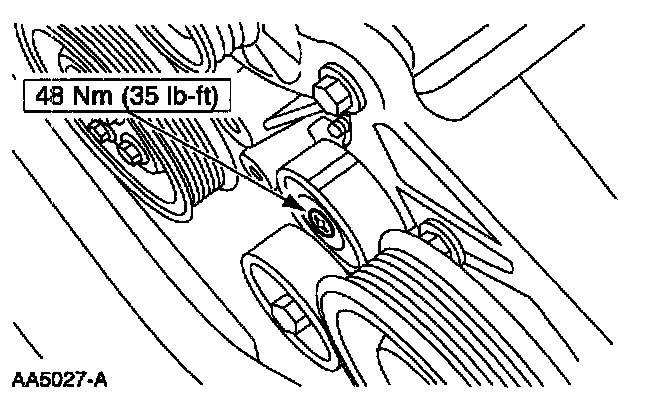
6. Install the accessory drive belt tensioner.
- Position the tensioner.
- Install the bolt.
7. Install the accessory drive belt idler pulley.
- Position the pulley.
- Install the bolt.
8. Raise the vehicle on a hoist.
9. Install the Crankshaft Position (CKP) sensor.
- Position the sensor.
- Install the bolts.
- Connect the connector.
10. Connect the lower radiator hose.
- Connect the hose
- Reposition the clamp.
11. Install the oil pan to engine front cover bolts.
12. Install the crankshaft damper.
13. Fill and bleed the cooling system.