Front Fender: Service and Repair
FENDERRemoval
1. Remove front bumper.
2. Remove windshield cowl grille.
3. Remove the headlamp assembly.
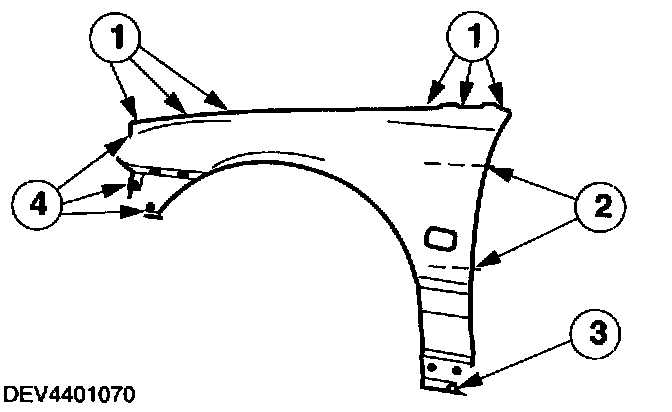
4. Remove fender (shown on removed fender).
1 Six bolts at top.
2 Two bolts at rear.
3 One bolt at bottom.
4 Three bolts at front.
Installation
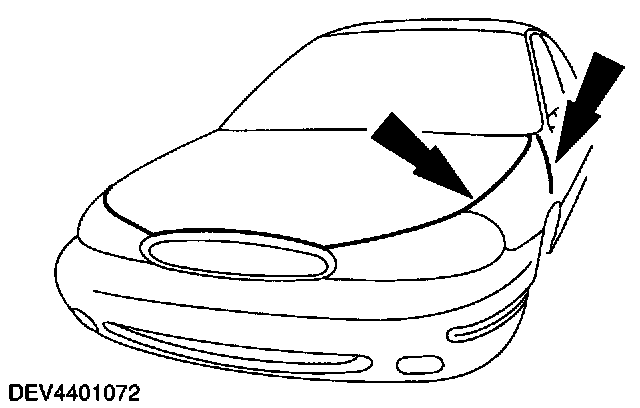
1. NOTE: Door must be completely closed and have equal gaps at A - pillar to rear door and rocker panel. The vehicle must be standing on a flat surface.
Install RH fender.
- Position fender and screw in all bolts finger-tight.
- Check gap and edge alignment to door and adjust.
- Tighten rear bolt at top.
2. Install LH fender.
- Tighten front bolt on edge of web plate slightly.
- Close hood carefully.
- Adjust fender - hood gap, raise hood and tighten front bolt on web plate edge.
- Adjust edge alignment to door.
- Tighten bolts in A - pillar from wheel arch.
- Check gap width to door and tighten bolt below on rocker panel.
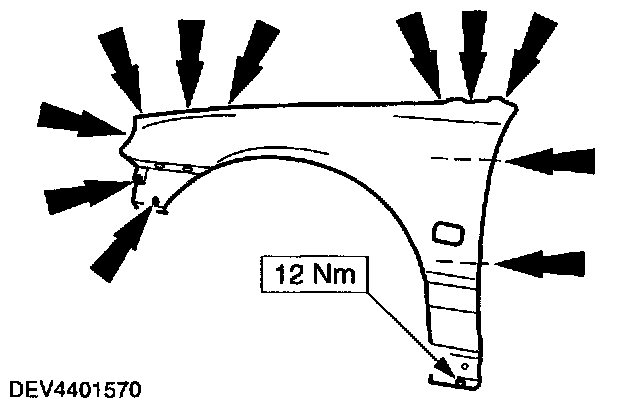
3. Tighten fender bolts.
- Check all gaps and tighten remaining bolts.
4. Install the headlamp assembly.
5. Install windshield cowl grille.
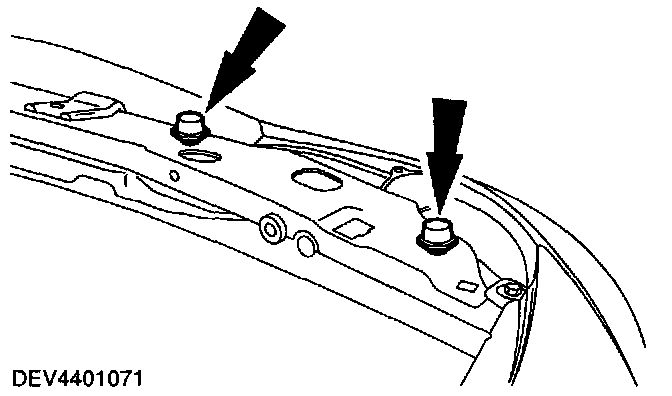
6. Put back hood bump stop rubber.
7. Install front bumper.