Condenser HVAC: Service and Repair
REMOVALNOTE:
- Installation of a new suction accumulator/drier is not required when repairing the air conditioning system except when there is physical evidence of system contamination from a failed A/C compressor or damage to the suction accumulator/drier.
- If an A/C condenser core leak is suspected, the A/C condenser core must be leak tested before it is removed from the vehicle.
1. Perform the Refrigerant Discharging and Recovery Procedure.

2. Remove the bolt.
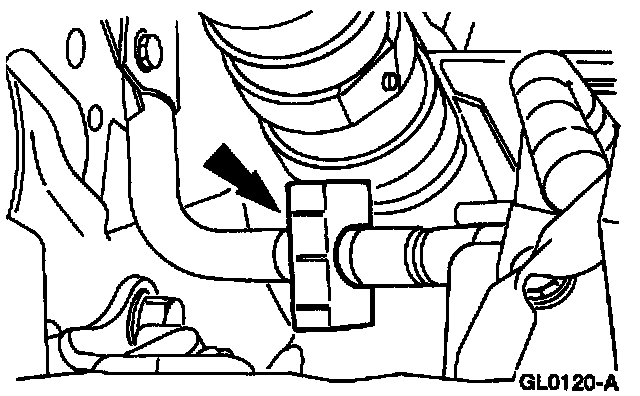
3. Disconnect the A/C manifold and tube suction side spring lock coupling.
CAUTION: Plug all ports to prevent contamination from dirt or moisture.
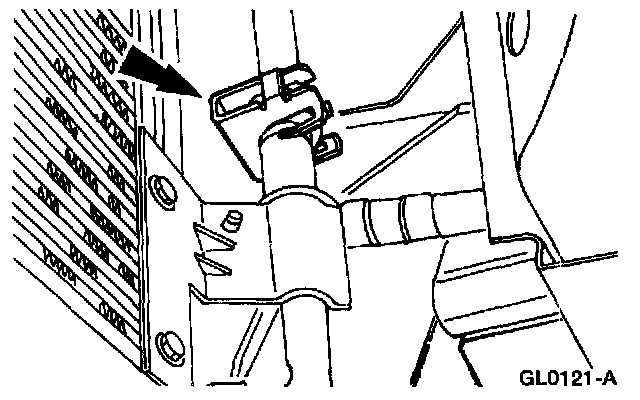
4. Disconnect the front condenser to evaporator line spring lock coupling.
CAUTION: Plug all ports to prevent contamination from dirt or moisture.
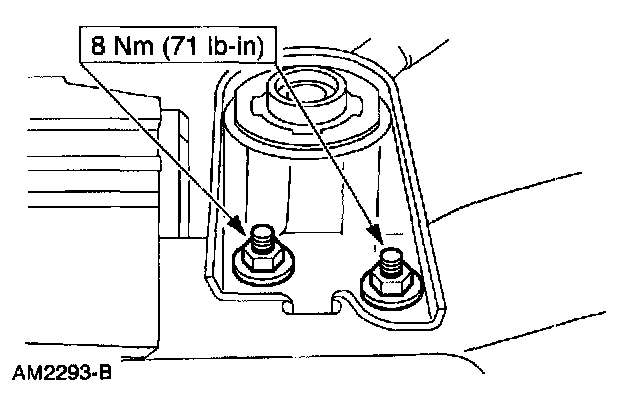
5. Remove the nuts and the LH radiator upper support bracket.
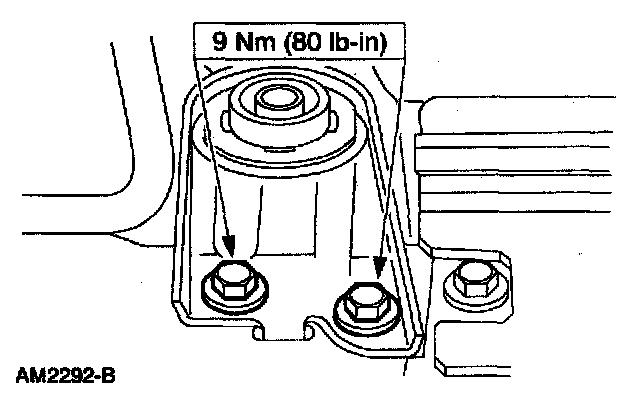
6. Remove the bolts and the RH radiator upper support bracket.
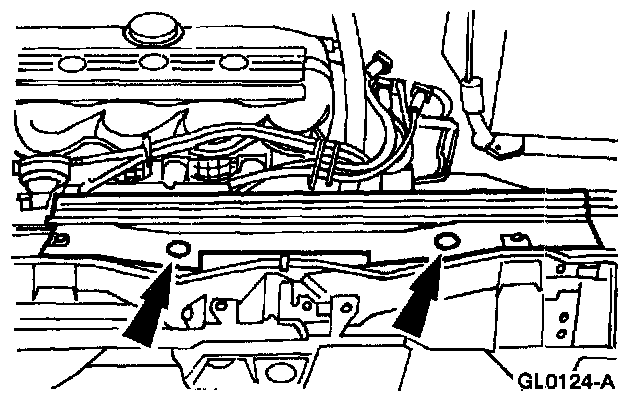
7. Remove the pin-type retainers and the upper radiator air deflector.
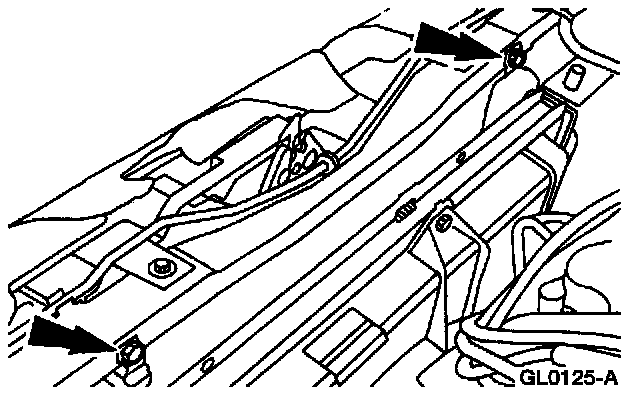
8. Remove the bolts and the A/C condenser core mounting brackets.
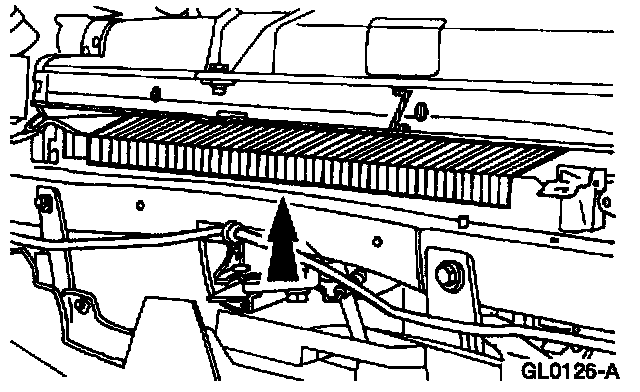
9. Remove the A/C condenser core.
INSTALLATION
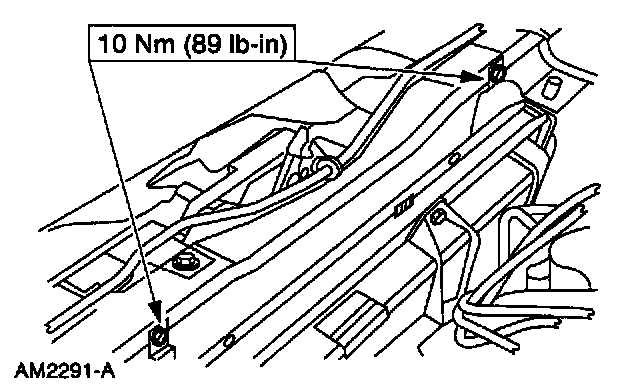
1. To install, reverse the removal procedure.
- Service the new A/C condenser core with the correct amount of PAG Compressor Oil YN-12-C or equivalent meeting Ford specification WSH-M1C231-B.