Windshield Washer Pump: Service and Repair
REMOVALAll vehicles

1. Remove the windshield washer reservoir filler neck.
2. Raise and support the vehicle.
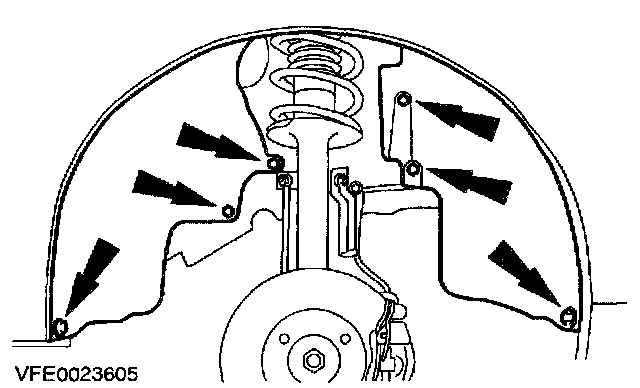
3. Remove the right-hand fender splash shield (wheel shown removed for clarity).

4. Remove the washer reservoir.
^ Disconnect the electrical connectors.
^ Pull off the hoses.

5. Remove the windshield washer pump with rubber gasket (shown with reservoir installed).
1. Disconnect the electrical connector.
2. Disconnect the hoses.
3. Lift out the pump.
Vehicles with headlamp washer system

6. Remove the headlamp washer pump and rubber seal.
1. Disconnect the electrical connector.
2. Disconnect the hoses.
3. Lift out the pump.
INSTALLATION

1. Press an additional cap onto the rear vent tube of the reservoir.
1. Front ventilation tube
2. Rear ventilation tube
3. Additional cap
NOTE: Procedure if there is a concern over washer system water coming from the filled windscreen washer reservoir when the vehicle accelerates or decelerates strongly.
2. To install, reverse the removal procedure.
NOTE: When installing the reservoir, the filler neck must be inserted using Vaseline.