Windshield Moulding / Trim: Service and Repair
WINDOW MOULDINGRemoval and Installation
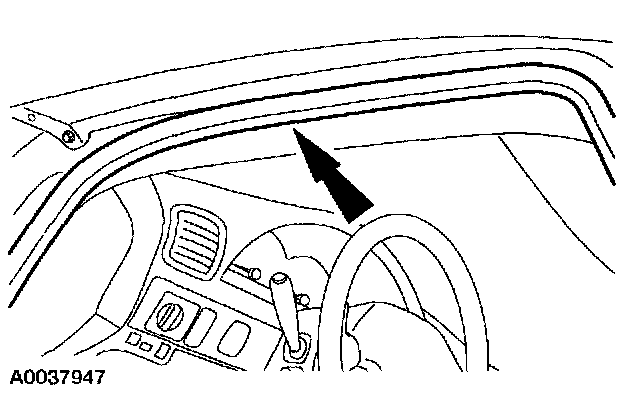
1. Position the LH and the RH weatherstrip aside.
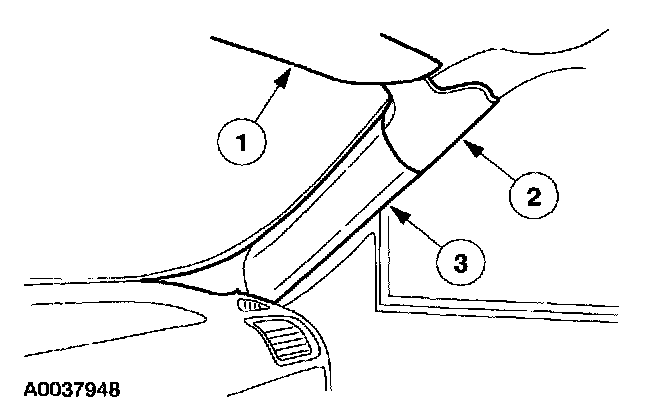
2. Remove the LH and RH windshield side garnish mouldings.
1 Remove the header panel.
2 Position the upper windshield side garnish moulding aside.
3 Remove the windshield side garnish mouldings.
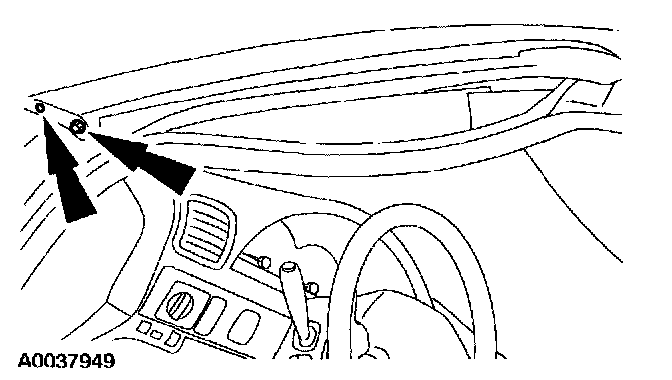
3. Remove the windshield moulding screw and the pin-type retainer.
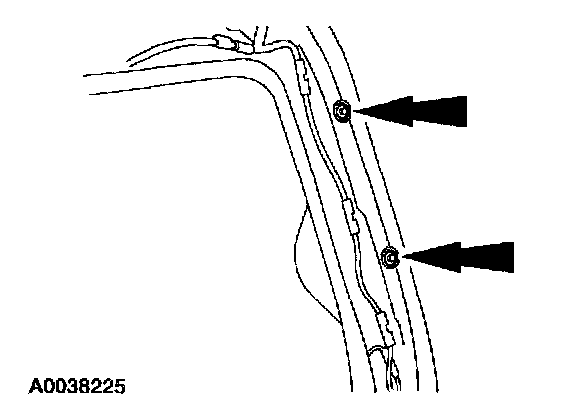
4. Remove the LH and the RH windshield moulding nuts.
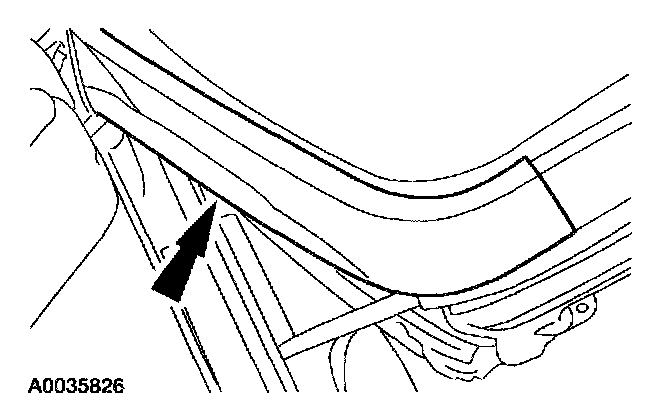
5. Remove the LH and RH windshield mouldings.
- Release the bottom retainer.
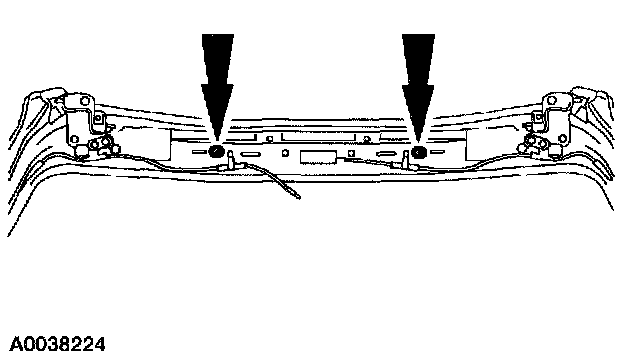
6. Remove the windshield center moulding nuts.
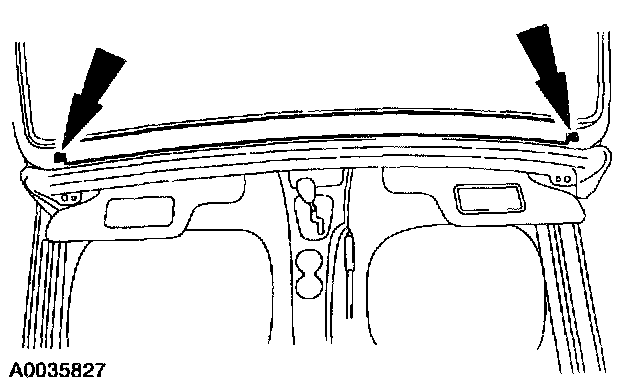
7. Remove the screws and the windshield center moulding.
- Release the center retainer.
8. To install, reverse the removal procedure.