Removal and Installation
Strut and Spring AssemblySpecial Tools:
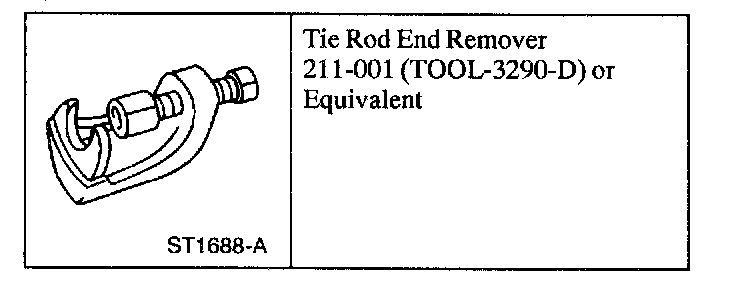
Special Tool(s)
Removal
All Vehicles
1. Loosen the wheel nuts.
2. Raise and support the vehicle.
3. Remove the wheel.
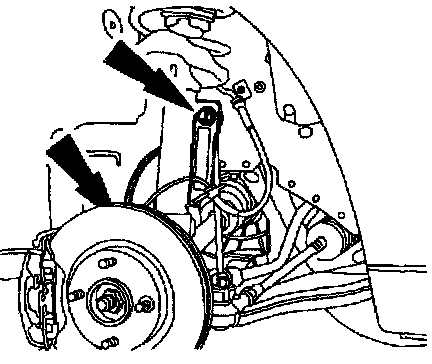
4. Detach the brake hose from the support bracket and detach the stabilizer bar connecting link.
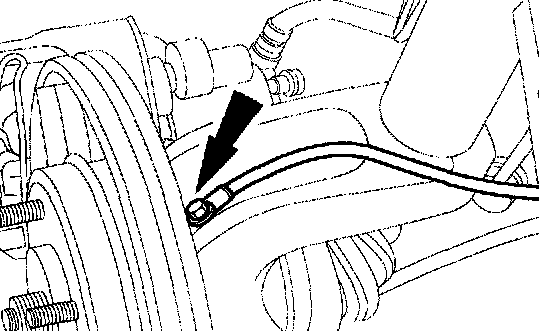
Vehicles with anti-lock brakes
5. Detach the wheel sensor.
All Vehicles
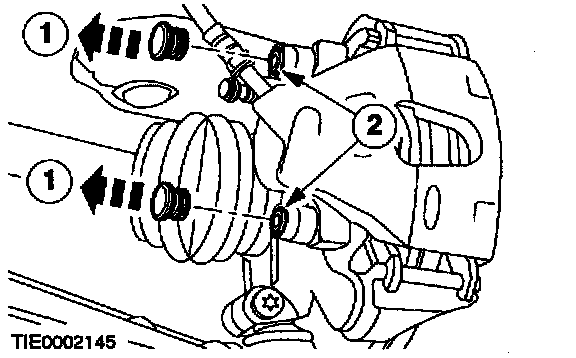
6. Remove the front brake caliper retaining bolts.
1 Remove the bolt covers.
2 Remove the bolts.
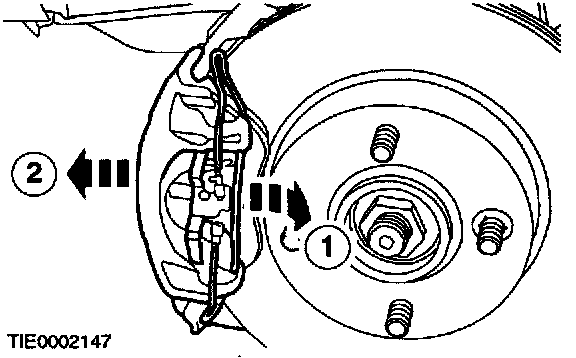
7. CAUTION: Secure the caliper out of the way to prevent damage to the flexible hose.
Detach the front brake caliper.
1 Rotate the retaining spring.
2 Remove and support the caliper.
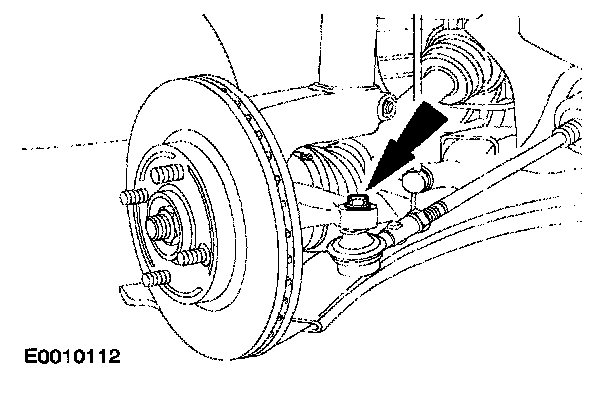
8. Remove the tie-rod end retaining nut.
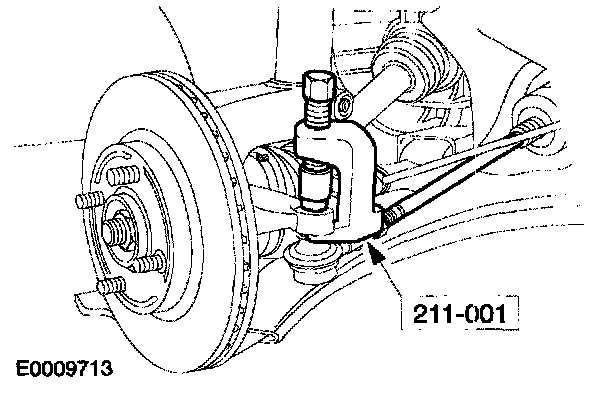
9. CAUTION: Protect the ball joint seal using a soft cloth to prevent damage.
Using the special tool, detach the tie-rod end ball joint.
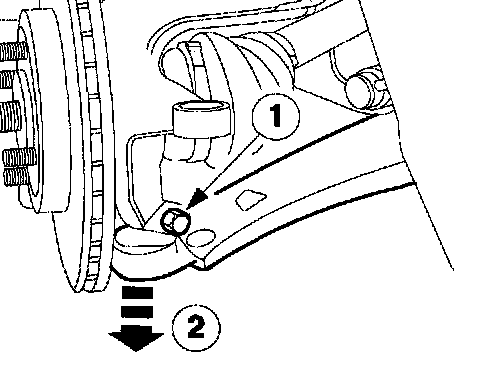
10. CAUTION: Protect the lower arm ball joint seal using a soft cloth to prevent damage.
Detach the lower arm ball joint.
1 Remove the bolt.
2 Detach the ball joint.
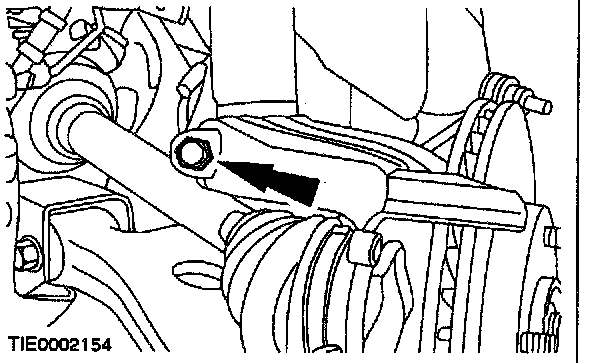
11. Remove the wheel knuckle bolt.
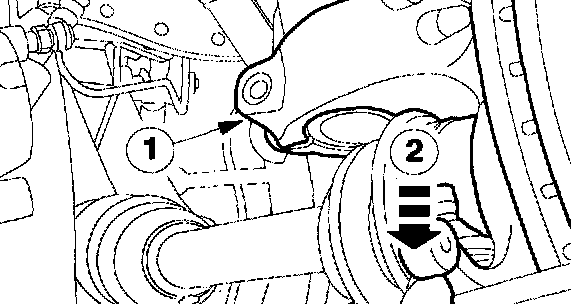
12. Detach the wheel knuckle.
1 Using a suitable lever, release the knuckle.
2 Detach the wheel knuckle.
^ Support the halfshaft out of the way.
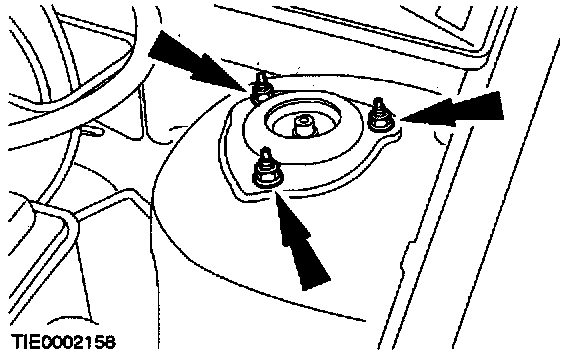
13. CAUTION: Support the strut and spring assembly to prevent damage.
Remove the strut tower nuts.
14. Remove the strut and spring assembly.
Installation
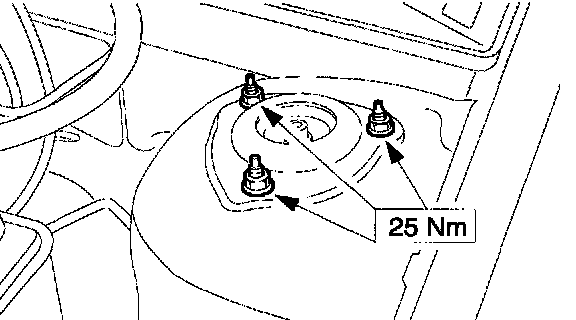
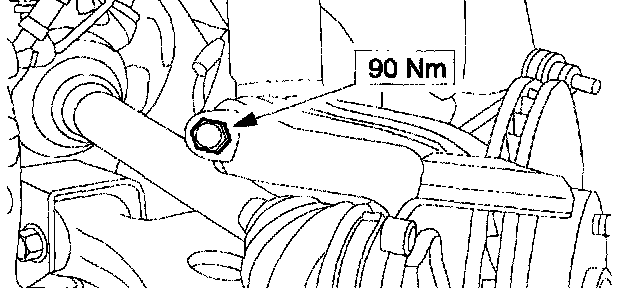
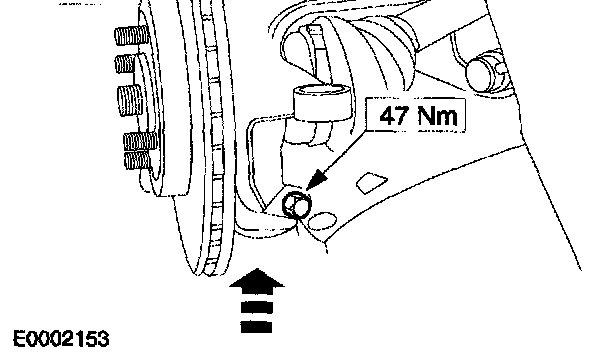
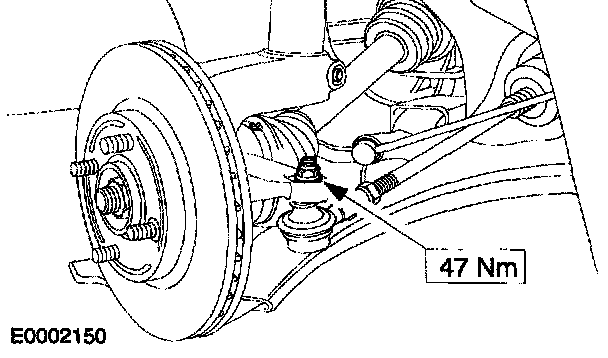
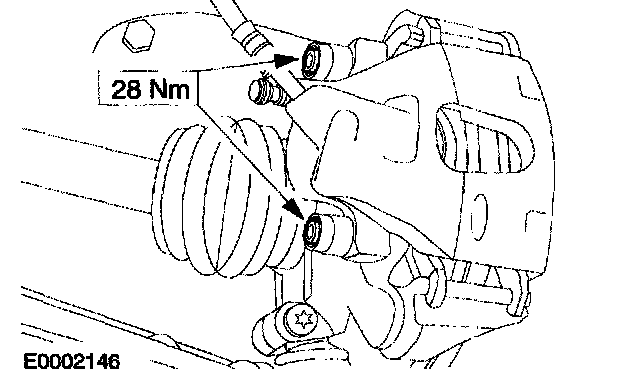
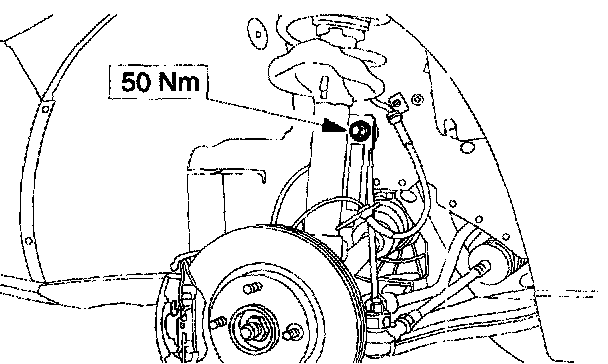
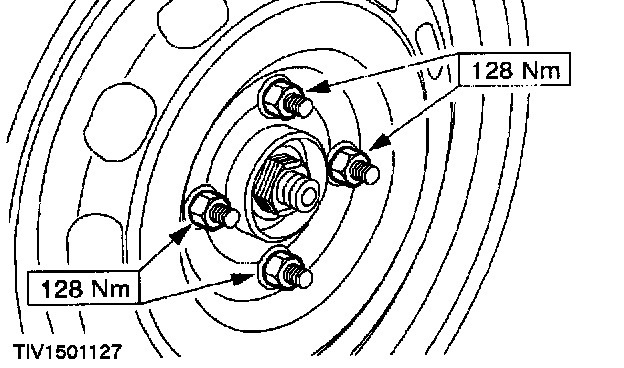
1. To install, reverse the removal procedure.
2. Check the front wheel alignment.