Air Duct: Service and Repair
INSTRUMENT PANEL AIR DISTRIBUTION DUCTSDISASSEMBLY
1. Remove the instrument panel. Refer to: Body and Frame, Interior Trim, Dashboard/Instrument Panel, Service and Repair, Service and Repair
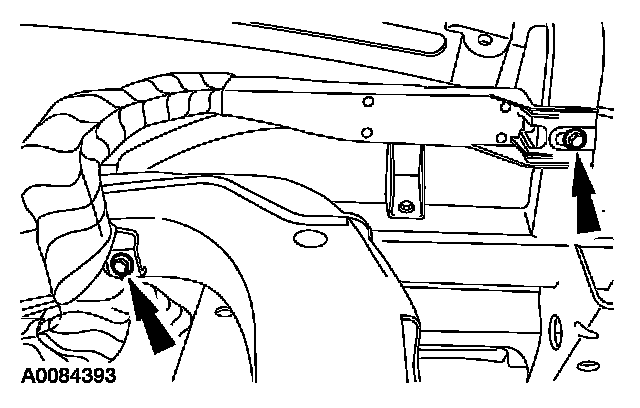
2. Remove the two screws and position the wire harness aside.
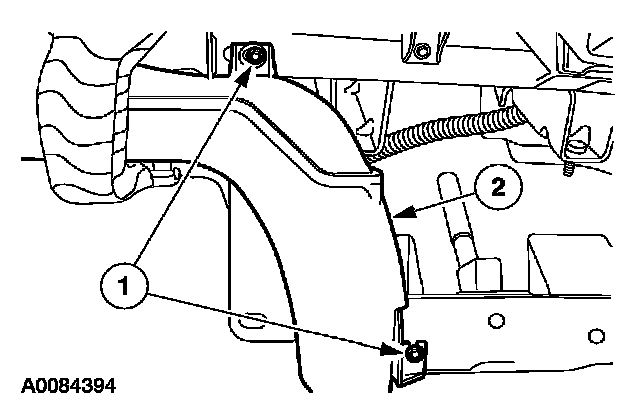
3. Remove the LH floor duct.
1 Remove the screws.
2 Remove the LH floor duct.
4. Remove the RH panel register.
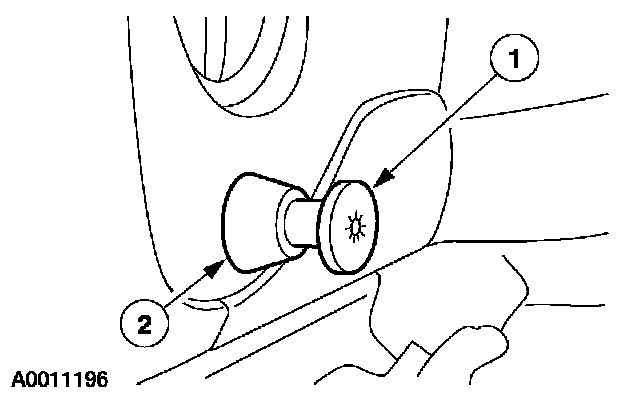
5. Remove the headlamp switch knob.
1 Remove the headlamp switch knob.
2 Rotate the headlamp switch bezel counterclockwise and remove.
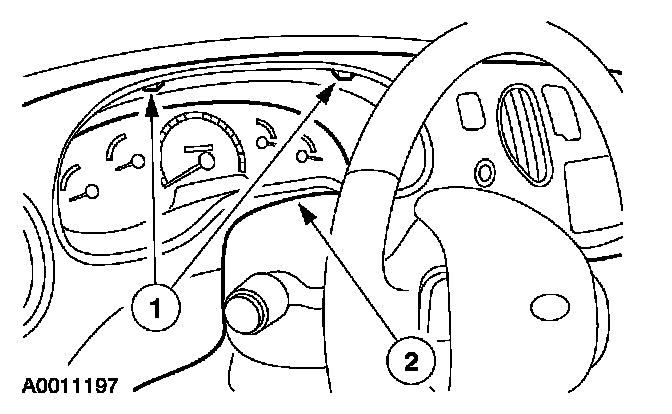
6. Remove the instrument cluster finish panel.
1 Remove the bolts.
2 Remove the instrument cluster finish panel.
- Disconnect the electrical connectors.
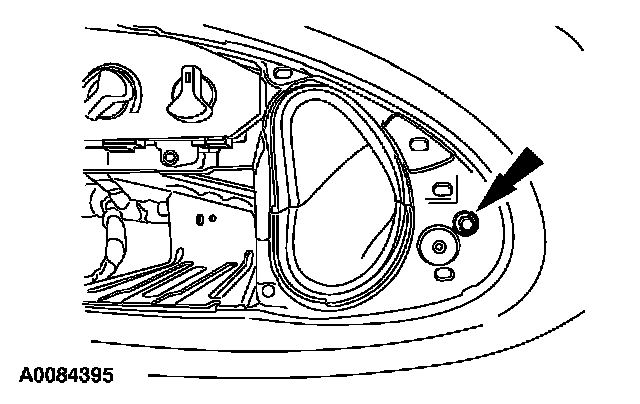
7. Remove the screw.
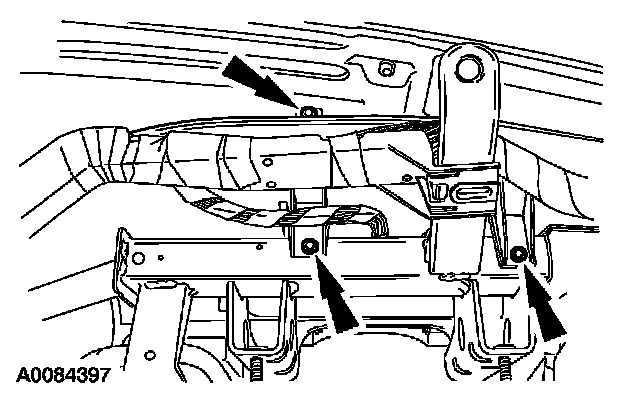
8. Remove the three LH panel duct screws.
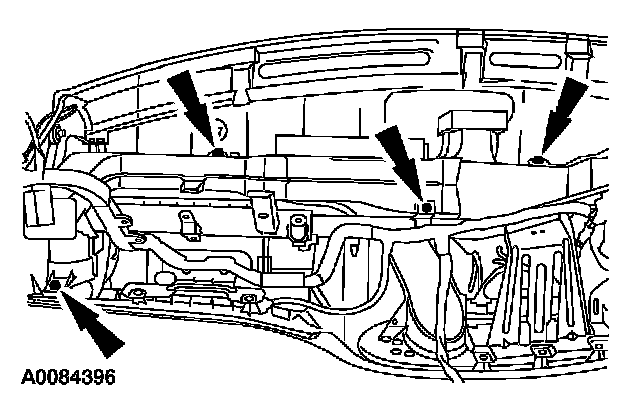
9. Remove the four RH panel duct screws and the RH panel duct.
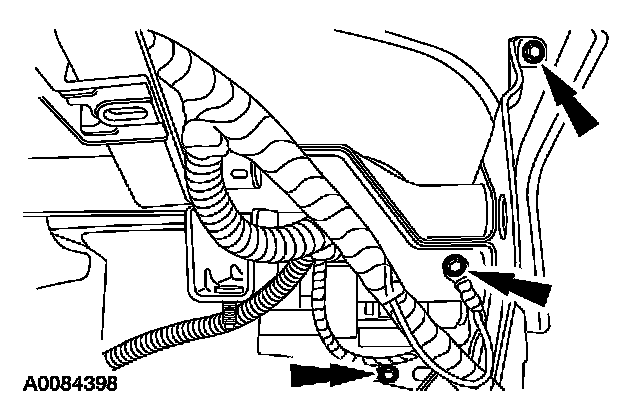
10. Remove the two instrument panel reinforcement screws and the ground bolt.
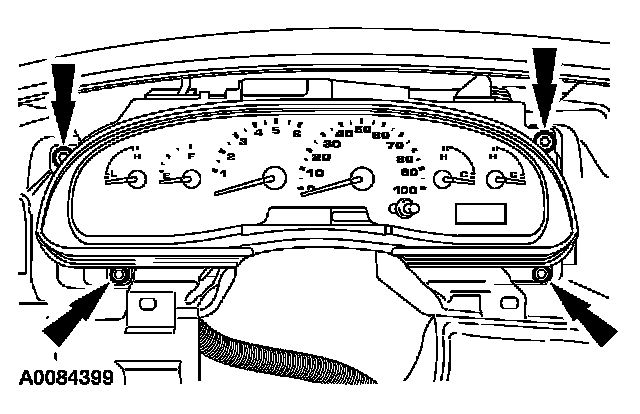
11. Remove the four screws and the instrument cluster.
- Disconnect the electrical connectors.
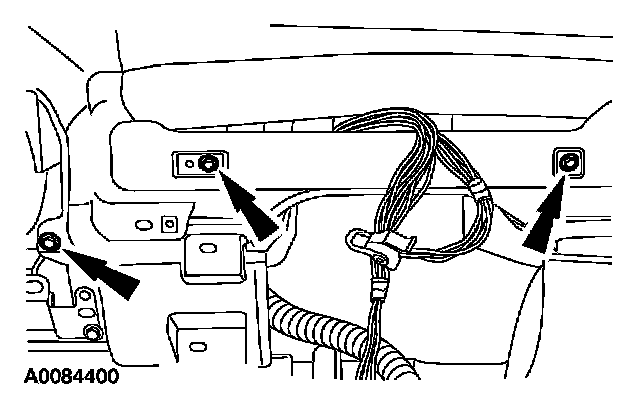
12. Remove the screws in the instrument cluster opening.
13. Remove the LH panel duct.
ASSEMBLY
1. To assemble, reverse the disassembly procedure.