Part 2 of 2
Engine ContinuedAll vehicles
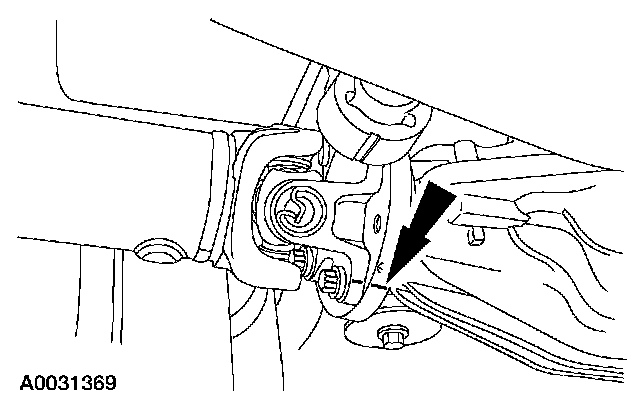
58. NOTE: The axle pinion flange is shown, the transfer case output flange, if equipped, is similar.
Mark the driveshaft flange to the rear axle pinion flange, and if equipped, the transfer case rear output flange for assembly reference.
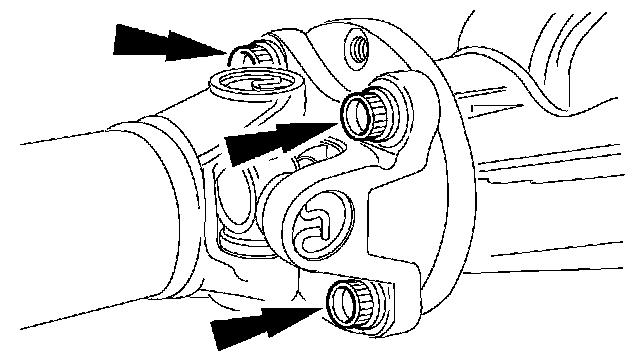
59. Remove the four rear axle flange bolts.
4x2 vehicles
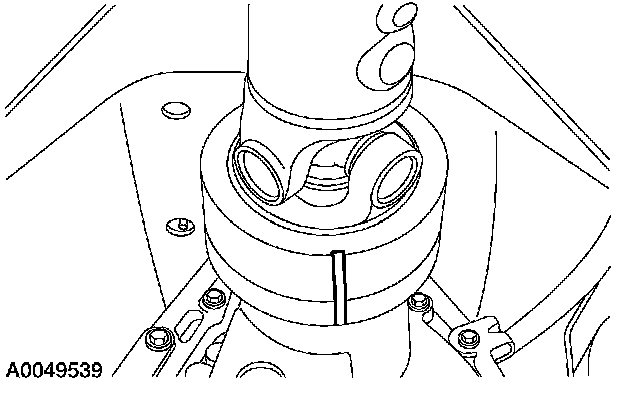
60. Index-mark the driveshaft at the six o'clock position.
4x4 vehicles
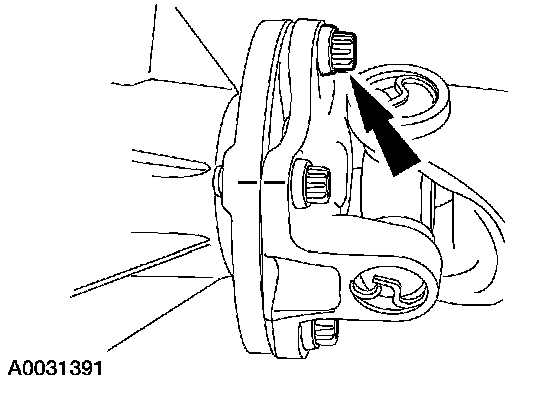
61. Remove the four transfer case flange bolts.
All vehicles
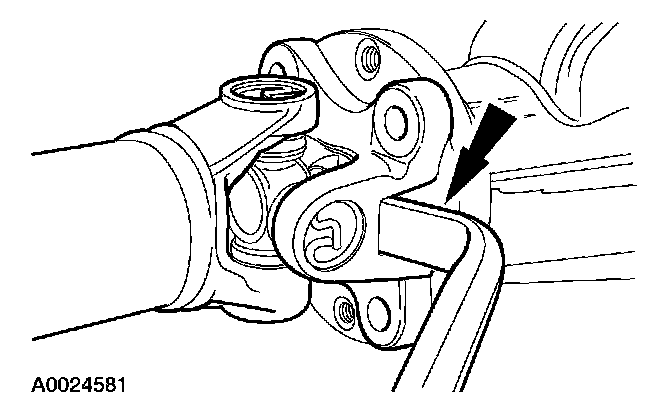
62. CAUTION: The driveshaft flange fits tightly on the rear axle pinion flange pilot. Never hammer on the driveshaft or any of its components to disconnect the driveshaft flange from the pinion flange.
NOTE: Do not rotate the driveshaft.
Using a suitable tool as shown, disconnect the driveshaft flange and remove the driveshaft.
4x2 vehicles
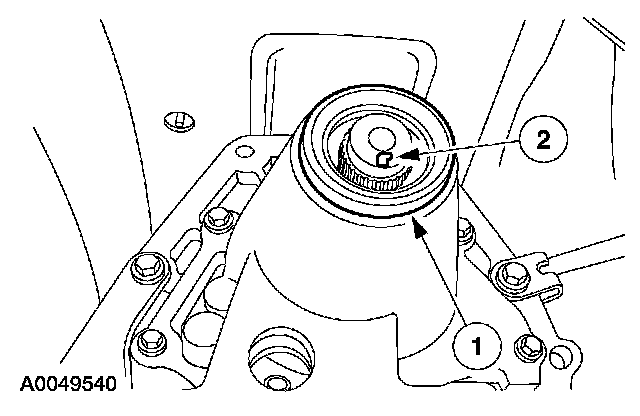
63. Index-mark the transmission output shaft at the six o'clock position.
1. Pull the seal away from the transmission output shaft.
2. Mark the output shaft at the six o'clock position.
All vehicles
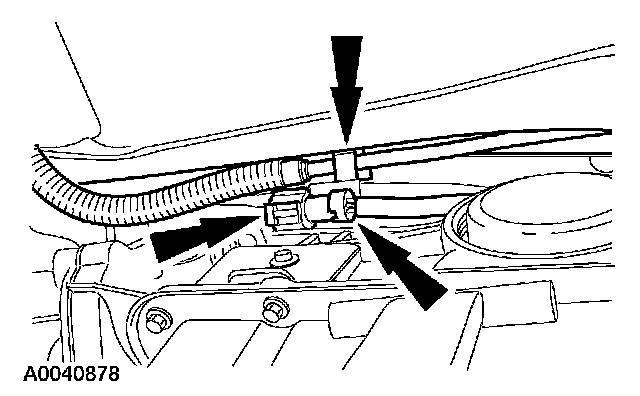
64. Disconnect the RH catalyst monitor connector and the fuel tubes from the bracket.
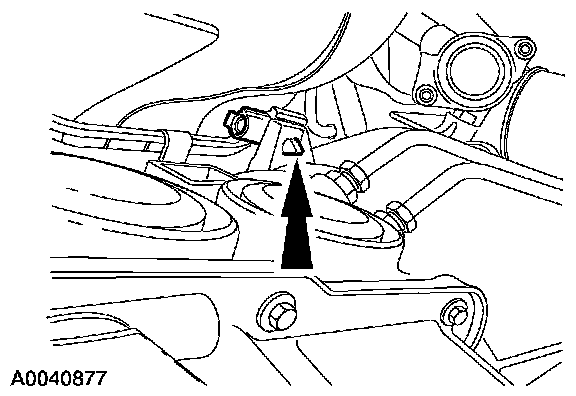
65. Disconnect the RH H02S electrical connector from the transmission.
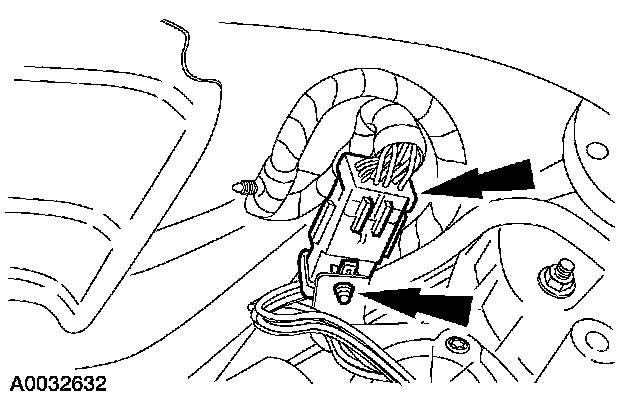
66. If equipped, disconnect the shift motor electrical connector.
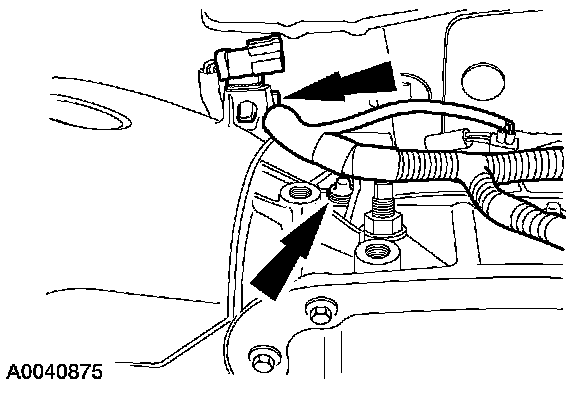
67. Disconnect the LH H02S electrical connector retainer and the harness clip from the transmission.
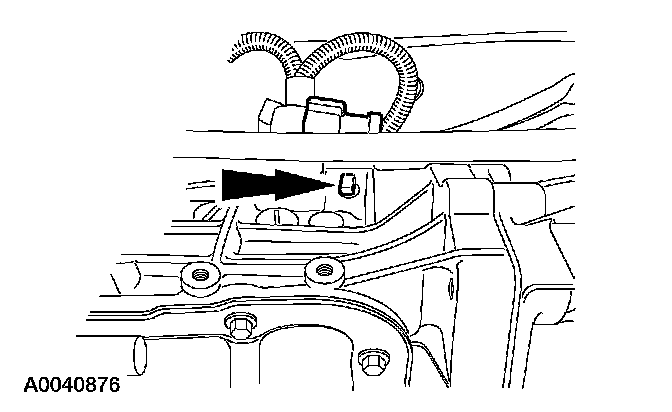
68. Disconnect the LH catalyst monitor connector from the transmission.
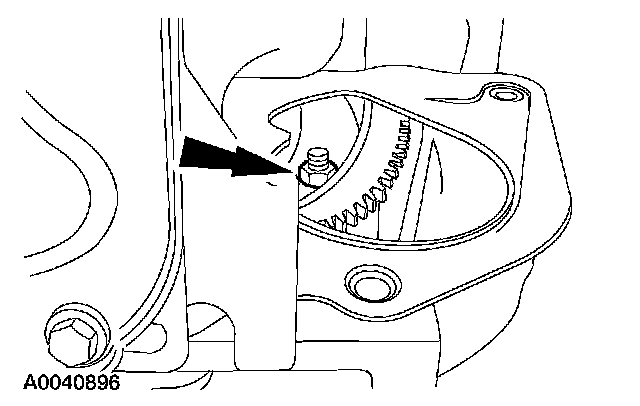
69. NOTE: Make an identifying mark on the nut, stud and flexplate to allow for correct installation.
Remove the four torque converter nuts.
^ Rotate the crankshaft to access all the nuts.
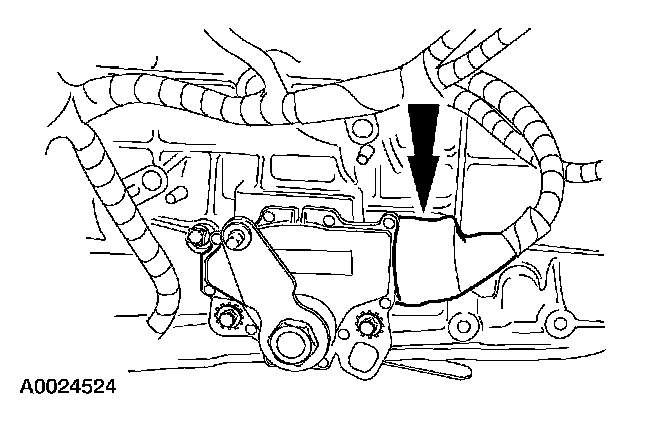
70. Move the rubber boot back to gain access to the connector.
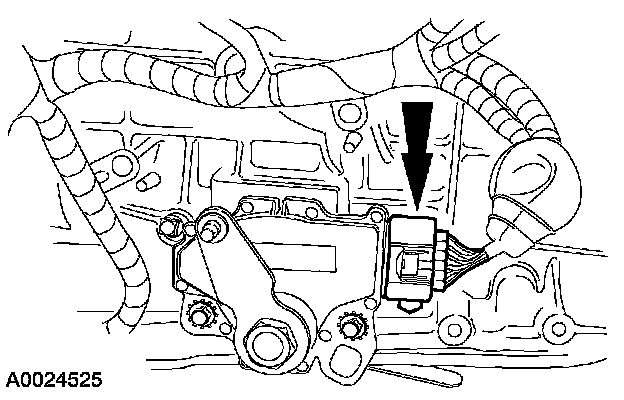
71. Disconnect the digital transmission range sensor.
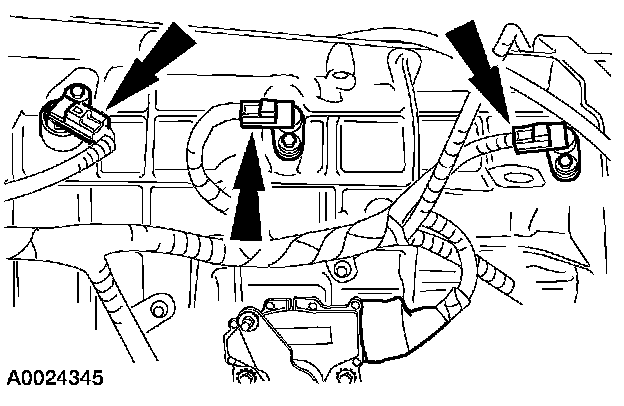
72. Disconnect the electrical connectors.
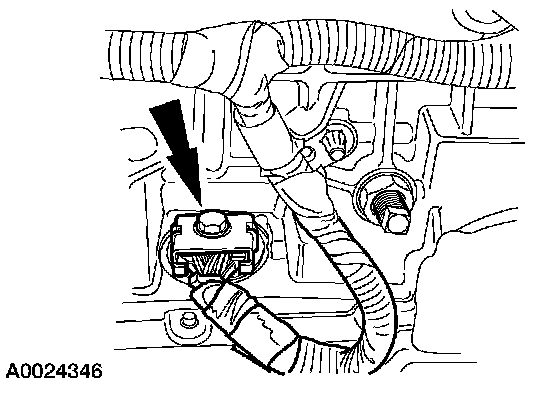
73. NOTE: Clean the area around the connector to prevent contamination of the solenoid body connector.
Remove the screw and disconnect the solenoid body electrical connector.
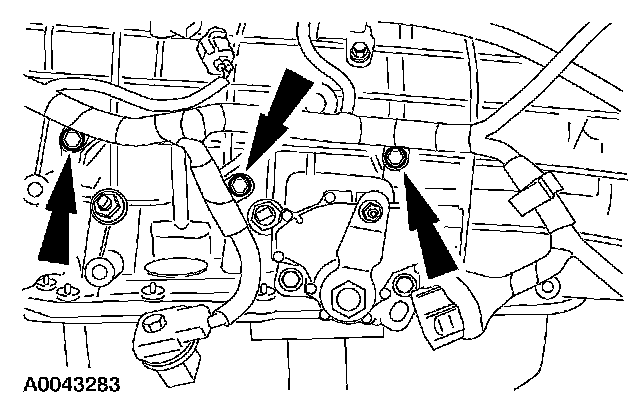
74. Disconnect the harness retainers.
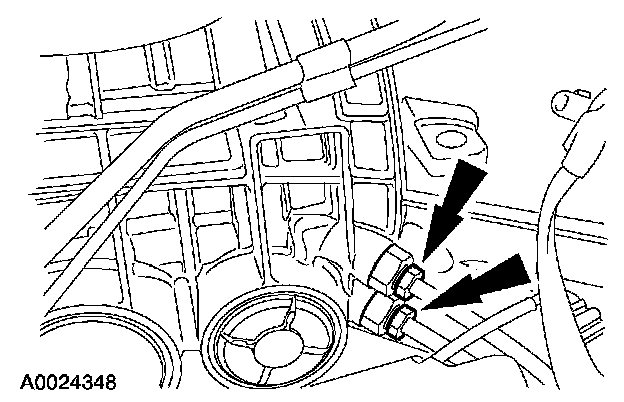
75. CAUTION: Do not damage the cooler tubes. Hold the transmission case fitting with a wrench.
Disconnect the transmission cooler tubes.
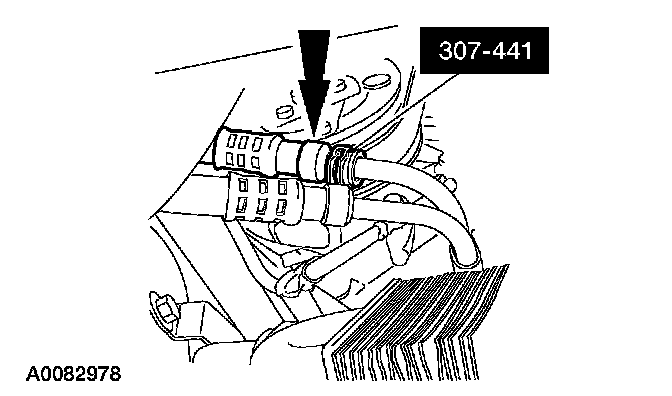
76. Disconnect the transmission cooler tubes and allow them to drain into a suitable container.
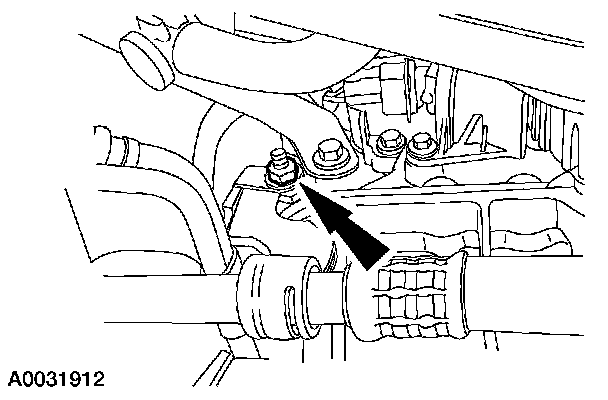
77. Remove the nut and the cooler tubes and bracket.
4x4 vehicles
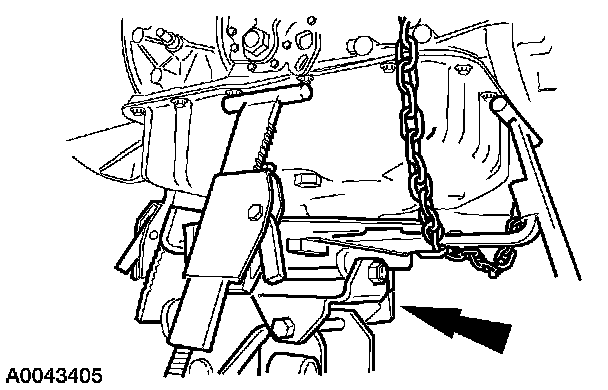
78. WARNING: Secure the transmission to the jack with a safety chain. Failure to follow these instructions can result in personal injury.
Support the transmission with a transmission jack.
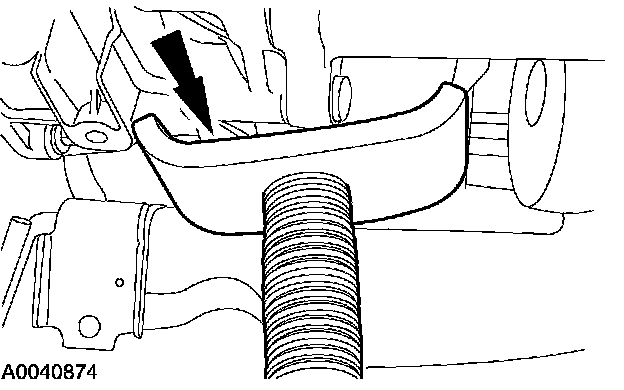
79. Remove the jack stand from the transfer case.
All vehicles
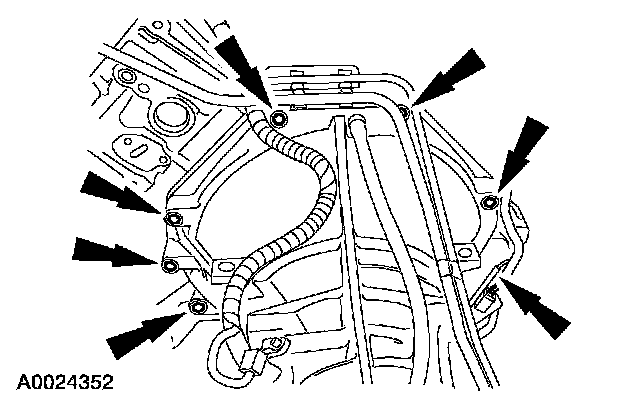
80. Remove the eight engine-to-transmission retaining bolts.
81. Remove the transmission.
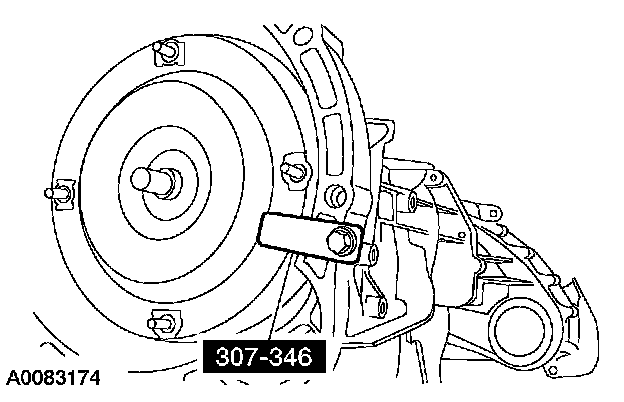
82. Install the special tool.
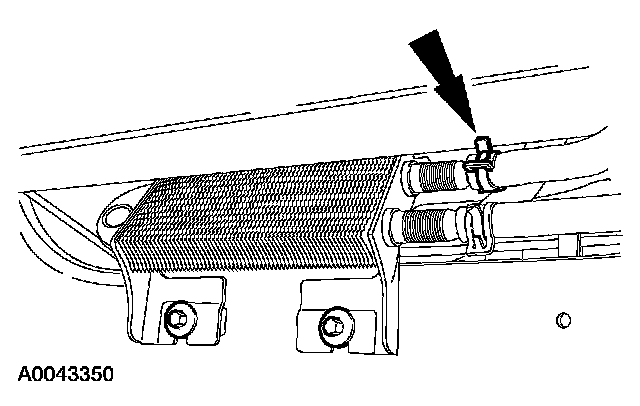
83. Disconnect the power steering return hose and allow it to drain into a suitable container.
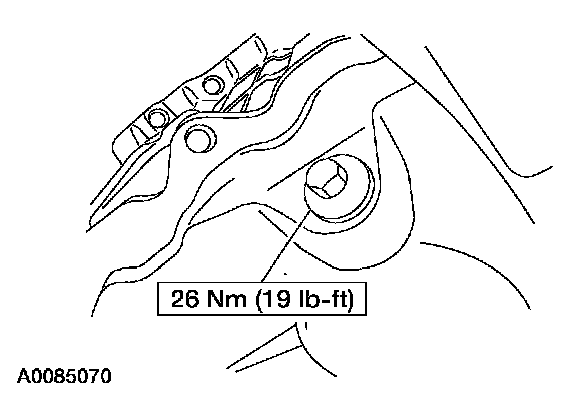
84. Drain the engine oil and remove the oil filter.
^ Install the drain plug when finished.
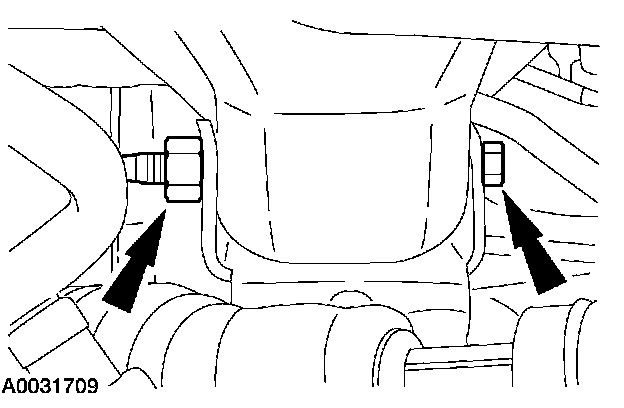
85. Remove the LH engine support insulator bolt.
86. Lower the vehicle.
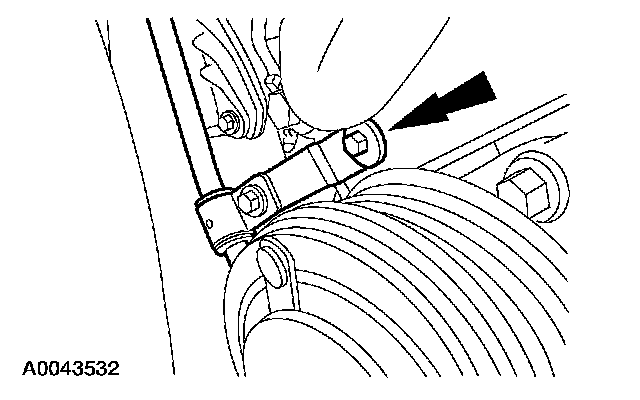
87. Remove the bolt and power steering tube support bracket.
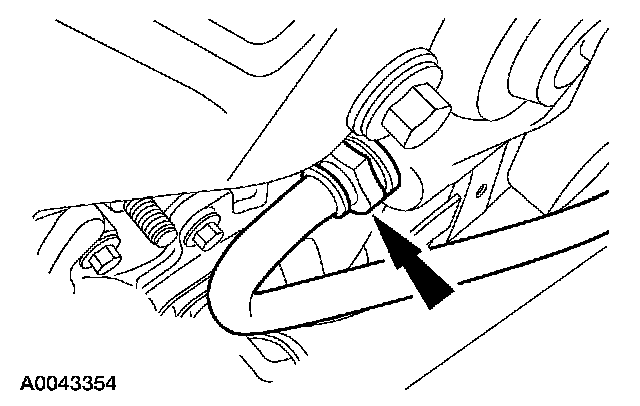
88. Disconnect the power steering pressure (PSP) tube.
^ Remove and discard the O-ring seal.
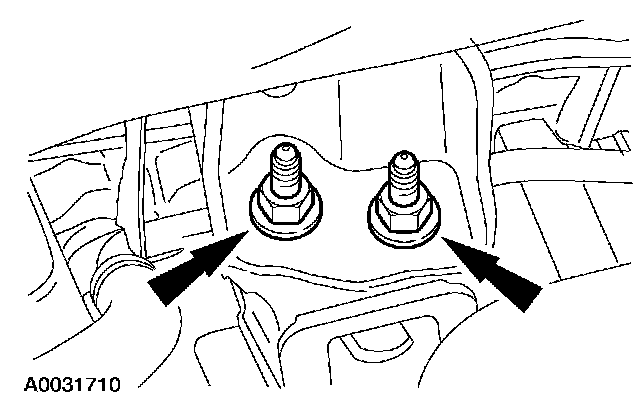
89. Remove the RH engine support insulator nuts.
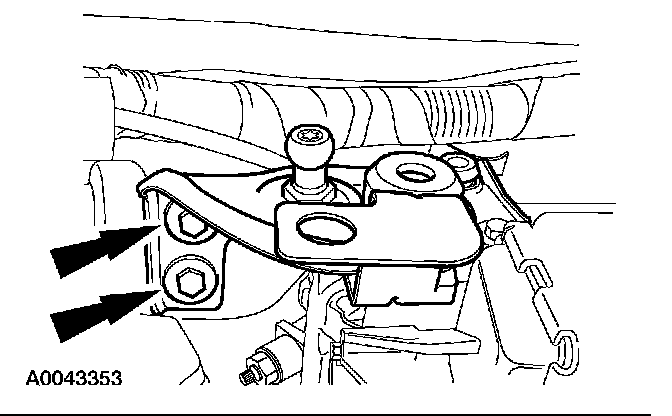
90. Remove the bolts and the LH radiator support bracket.
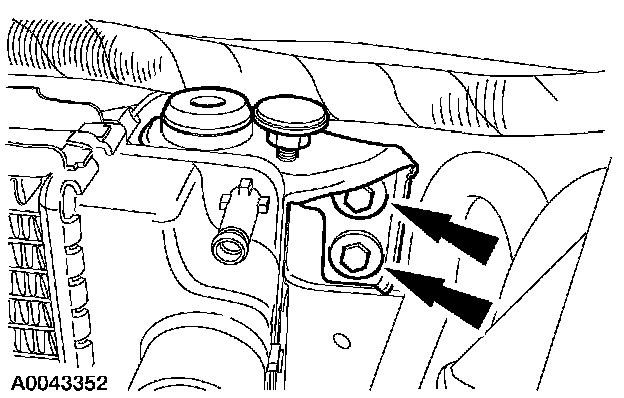
91. Remove the bolts and the RH radiator support bracket.
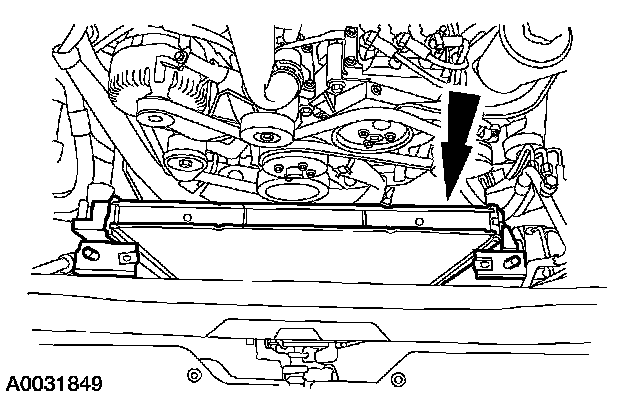
92. Remove the radiator and A/C condenser as an assembly.
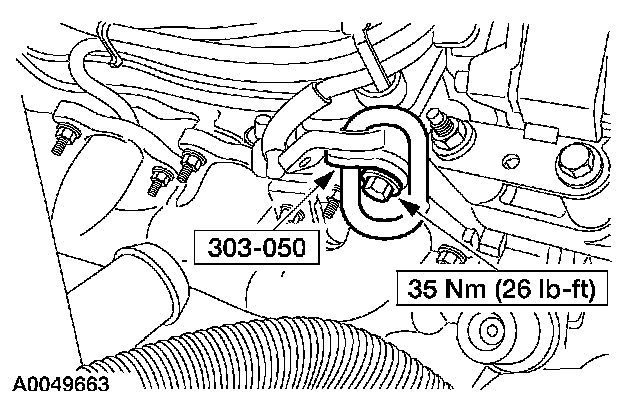
93. Install the right side lifting bracket.
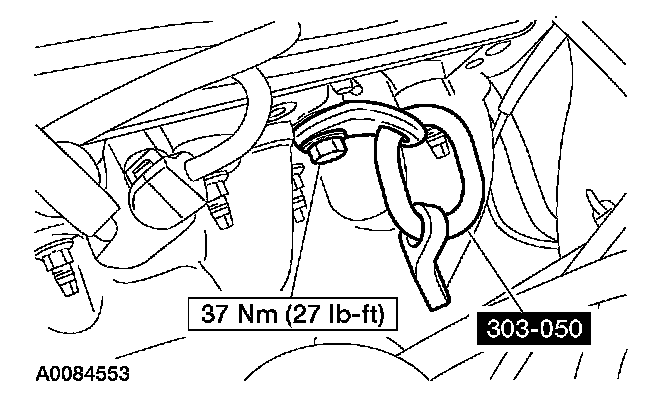
94. Install the left side lifting bracket.
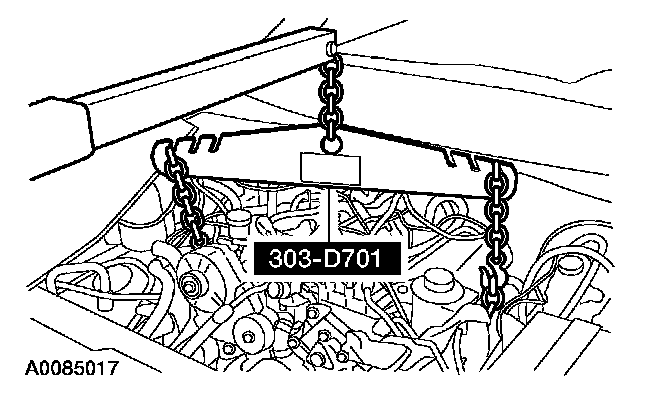
95. Attach a floor crane to the spreader bar and remove the engine.