Evaporative Check Valve: Service and Repair
FUEL VAPOR CONTROL TUBE ASSEMBLY VALVEREMOVAL
WARNING:
- The evaporative emission system contains fuel vapor and condensed fuel vapor. Although not present in large quantities, it still presents the danger of explosion or fire. Disconnect the battery ground cable from the battery to minimize the possibility of an electrical spark occurring, which can cause a fire or explosion if fuel vapor or liquefied fuel are present in the area. Failure to follow these instructions may result in personal injury.
- Do not smoke or carry lighted tobacco or open flame of any type when working on or near any fuel-related component. Highly flammable mixtures are always present and may be ignited. Failure to follow these instructions may result in personal injury.
1. Remove the fuel tank.
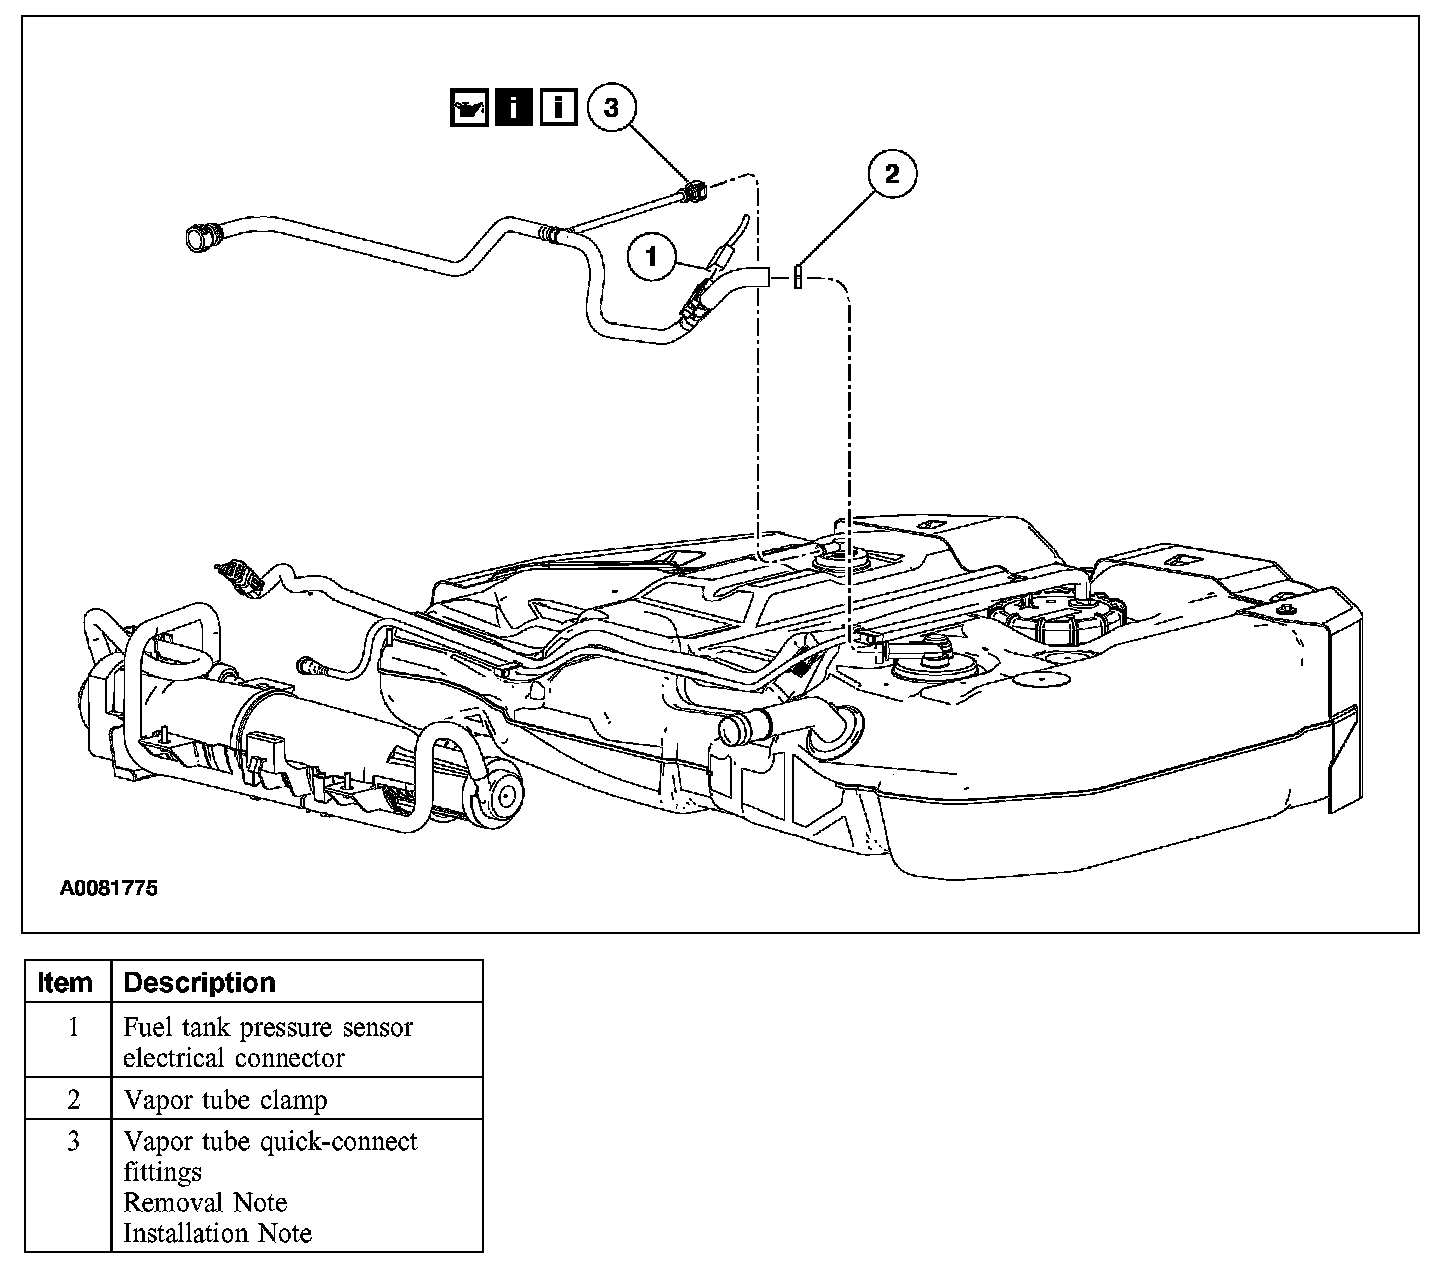
2. Remove the parts in the order indicated in the illustration and table.
Item 3: Vapor Tube Quick-Connect Fittings Removal Note
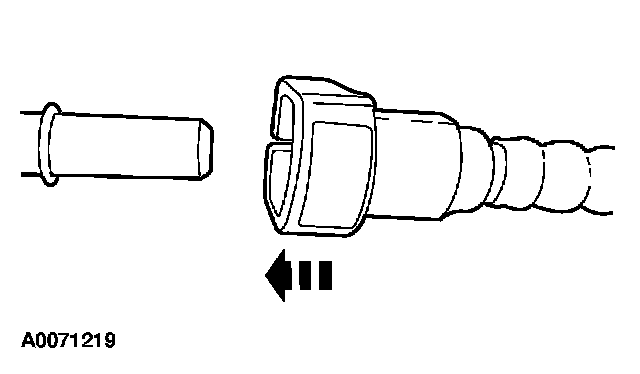
1. CAUTION: When reusing liquid or vapor tube connectors, make sure to use compressed air to remove any foreign material from the connector retaining clip area before separating the tube.
NOTE: If the fuel tube or retainer clip is broken or damaged, install a new clip using a suitable fuel line disconnect tool to separate the retainer clip legs. Once the retainer clip legs have been separated, lift the clip out of the connector housing, lifting from the stamped side of the connector body.
Disconnect the fuel tube quick release coupling.
- Push the connector towards the tube to release pressure.
- Press the fuel tube quick release coupling button and pull the fuel tube to disconnect.
INSTALLATION
1. To install, reverse the removal procedure.
2. Carry out a leak test. Evaporative Emission System Leak Test
3. Carry out the evaporative emission repair verification drive cycle. Evaporative Emission Repair Verification Drive Cycle
Item 3: Vapor Tube Quick-Connect Fittings Installation Note
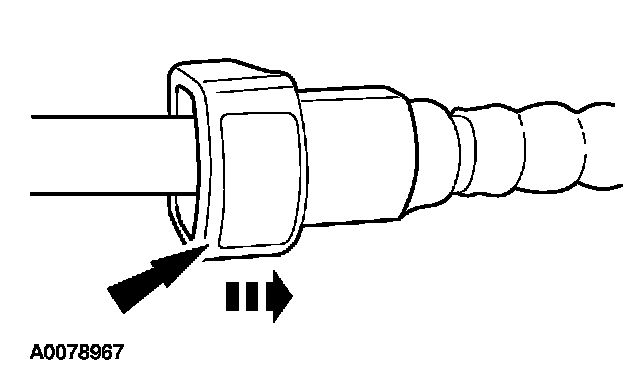
1. CAUTION: Make sure the fuel tube clicks into place when installing the tube. To make sure the tube is fully seated, pull on the tube.
NOTE: Apply clean engine oil to the end of the tube before inserting a tube into the connector.
Install the fuel tube quick-release coupling.