Part 1
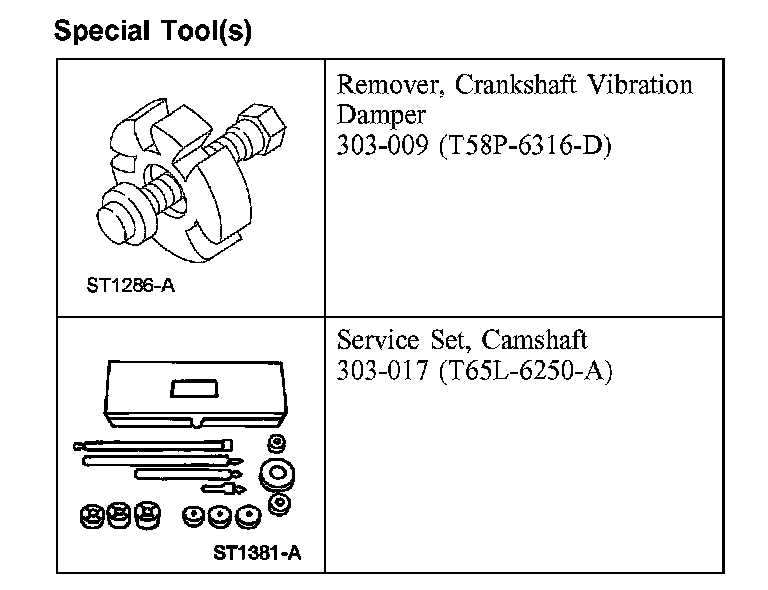
EngineSpecial Tool(s):
Disassembly (Steps 1-27)
Vehicles equipped with a manual transmission
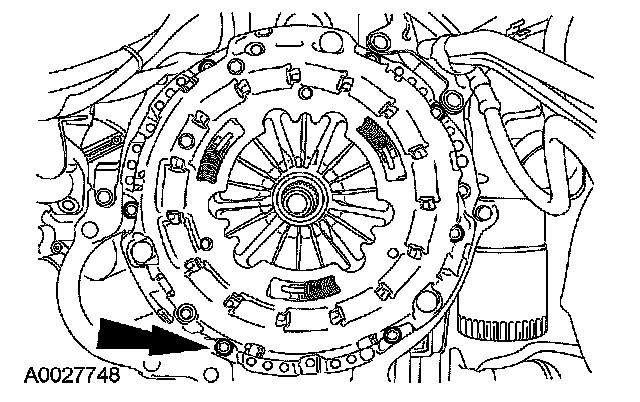
1. CAUTION: If the clutch disc and pressure plate are to be reinstalled, bolts must be removed evenly or permanent damage to the diaphragm spring will occur resulting in complete clutch release.
NOTE: If the parts are to be reused, index-mark the clutch pressure plate to the flywheel.
Remove the bolts, the clutch pressure plate and the clutch disc.
All vehicles
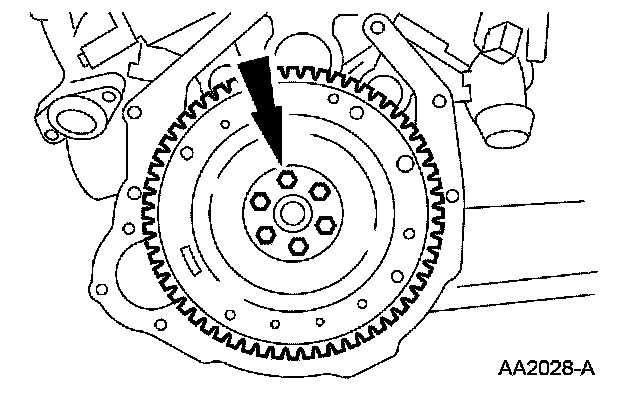
2. Remove the flywheel or flexplate.
3. Remove the engine-to-transmission spacer plate.
4. Mount the engine to a suitable engine stand and remove the lifting equipment and Lifting Eyes.
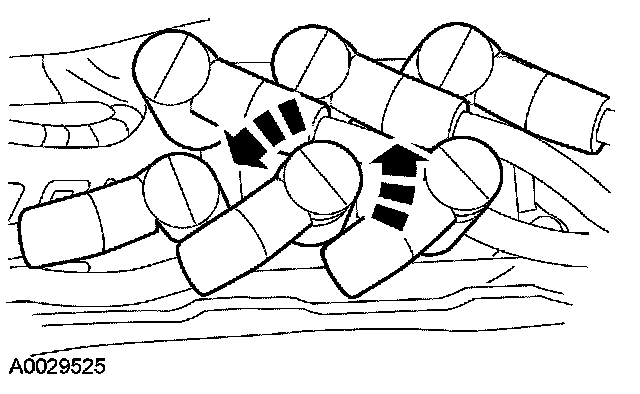
5. CAUTION: Do not pull on the spark plug wires. Twist the boot while pulling upwards.
Disconnect the spark plug wires.
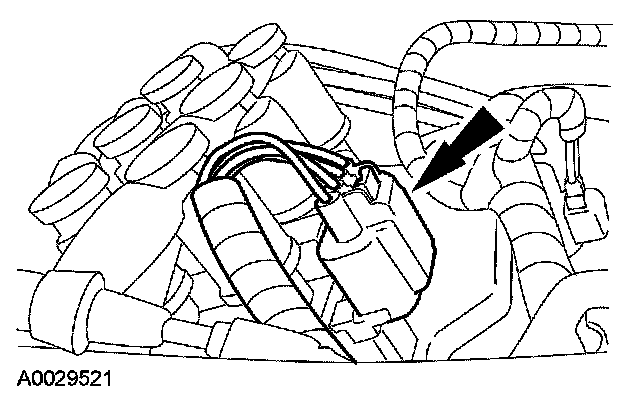
6. Disconnect the ignition coil electrical connector.
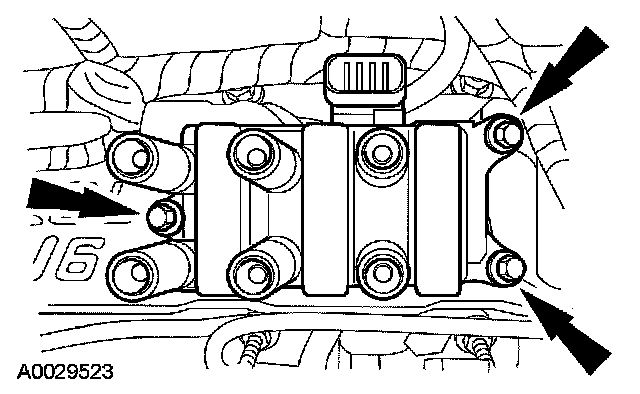
7. Remove the bolts and the ignition coil assembly.
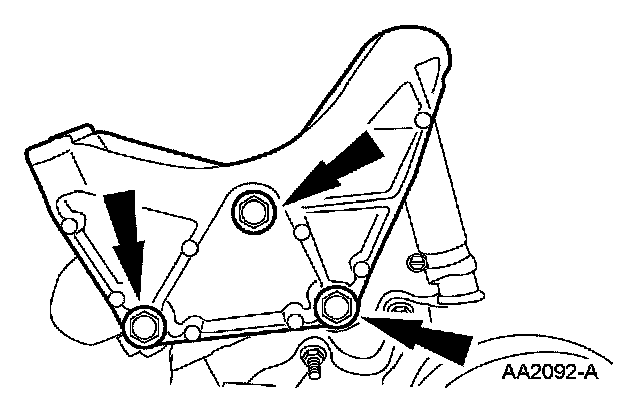
8. Remove the bolts and the generator mounting bracket.
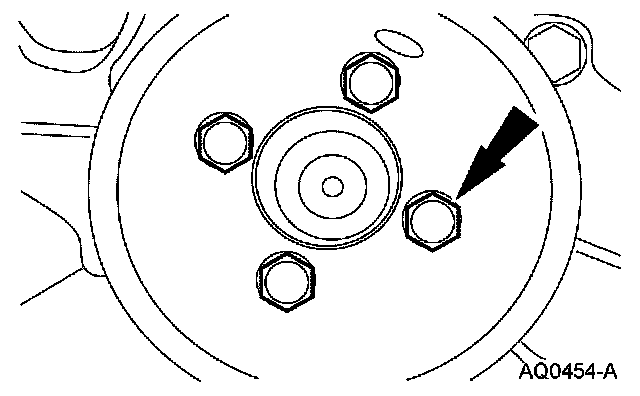
9. Remove the 4 bolts and the coolant pump pulley.
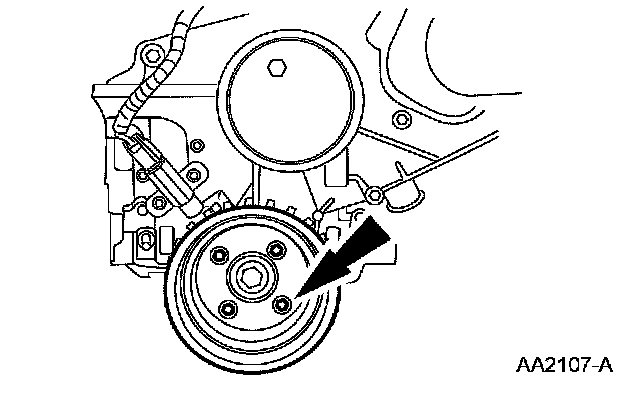
10. Remove the 4 bolts and the crankshaft pulley.
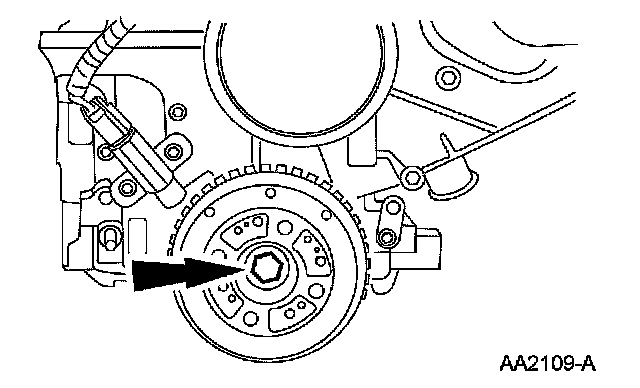
11. Remove the crankshaft damper bolt.
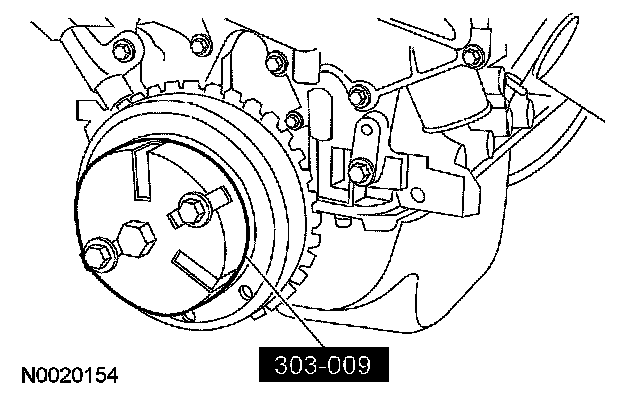
12. Using a the special tool, remove the crankshaft damper.
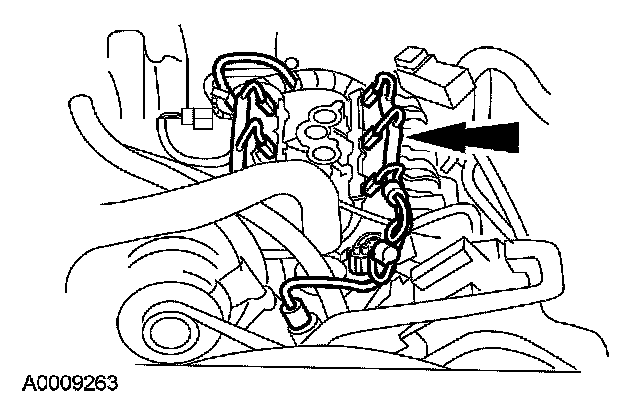
13. Disconnect the engine control sensor wiring from:
^ the engine coolant temperature (ECT) sensor.
^ the coolant temperature indicator sender unit.
^ the fuel injectors.
^ the camshaft position (CMP) sensor.
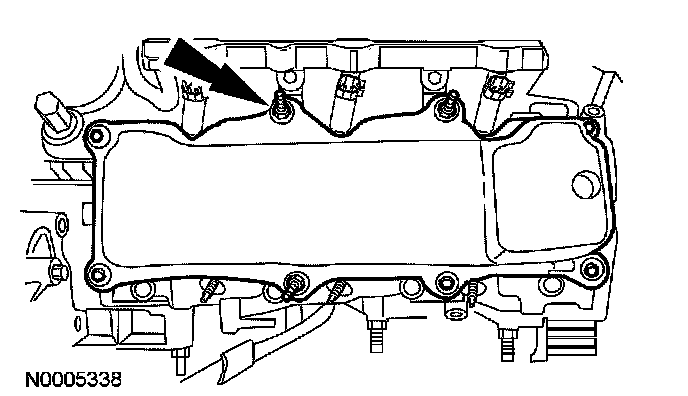
14. NOTE: To prevent stretching the valve cover gasket, loosen silicone gasket and sealant from the cylinder head by sliding a flat knife between the valve cover gasket and cylinder head.
Remove the valve covers.
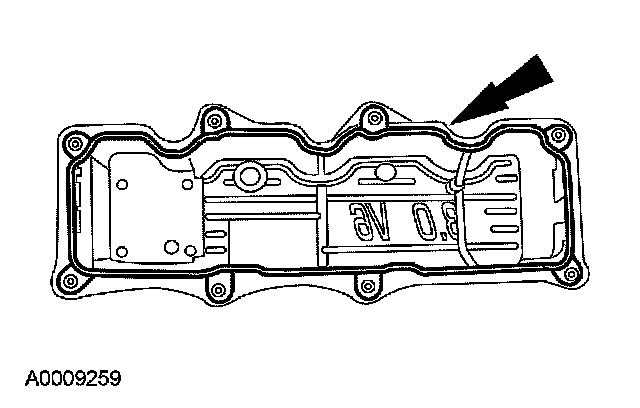
15. Remove and discard the valve cover gaskets.
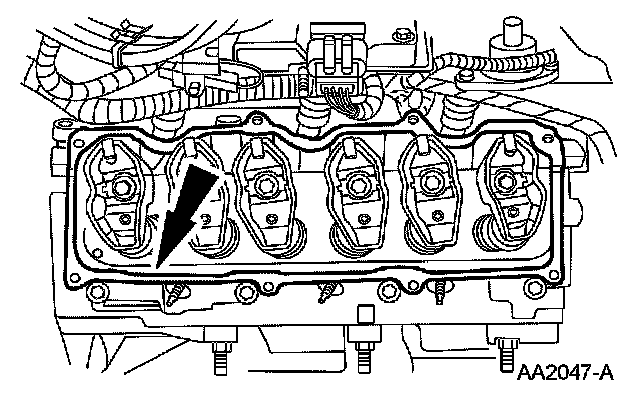
16. CAUTION: Do not use metal scrapers, wire brushes, power abrasive discs or other abrasive means to clean the sealing surfaces. These tools cause scratches and gouges, which make leak paths. Use a plastic scraping tool to remove all traces of old sealant.
Clean the sealing surfaces.
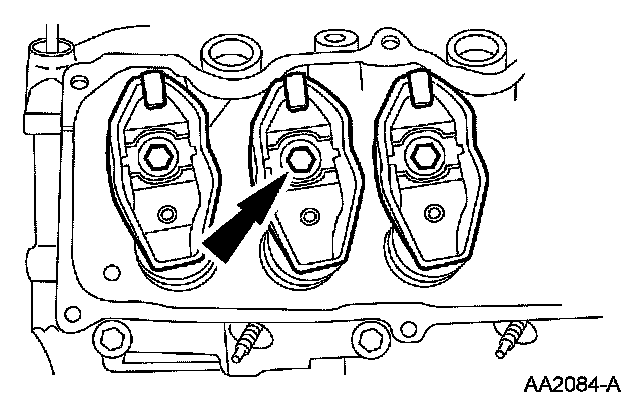
17. Remove the rocker arms and the push rods.
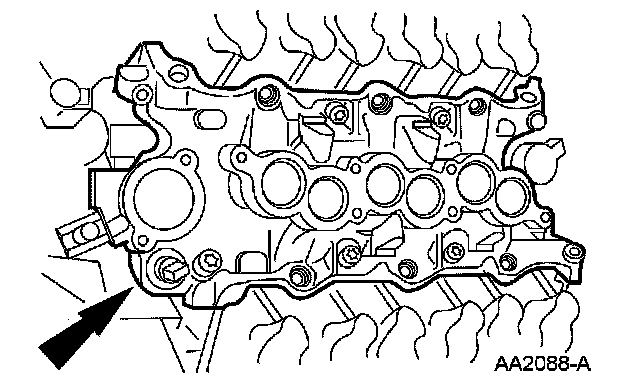
18. Remove the lower intake manifold.
^ Remove the 8 bolts.
^ Remove the lower intake manifold.
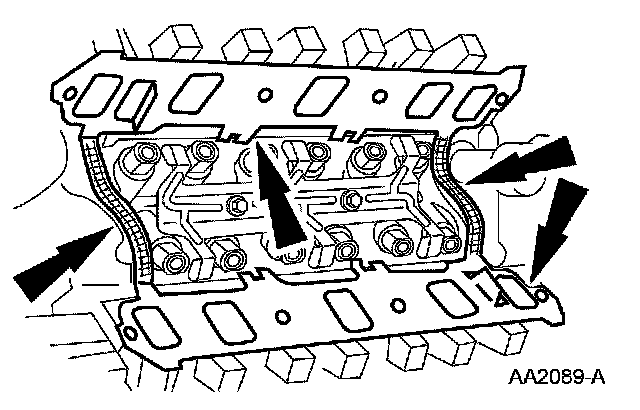
19. Remove and discard the intake manifold gaskets and end seals.
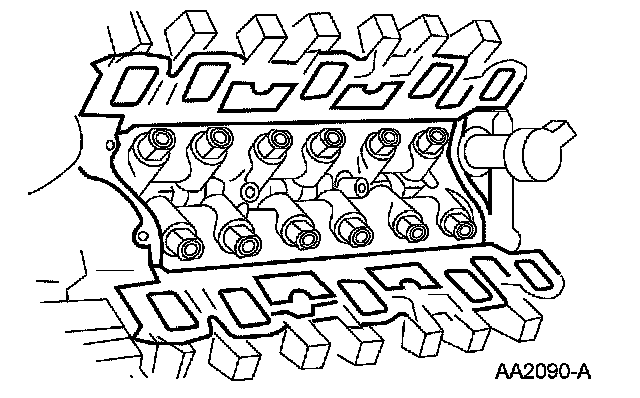
20. CAUTION: Do not use metal scrapers, wire brushes, power abrasive discs or other abrasive means to clean the sealing surfaces. These tools cause scratches and gouges, which make leak paths. Use a plastic scraping tool to remove all traces of old sealant.
Clean the sealing surfaces.
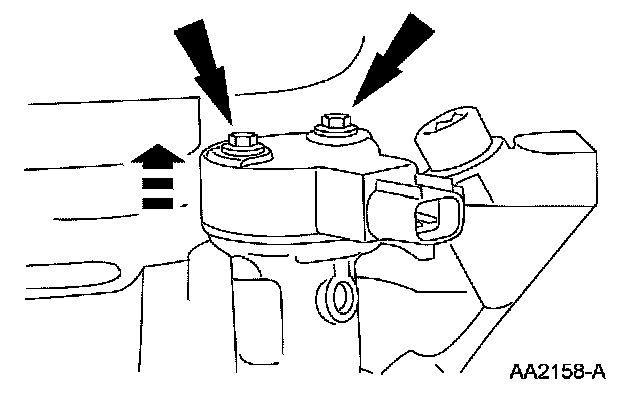
21. Remove the screws and the camshaft position (CMP) sensor.
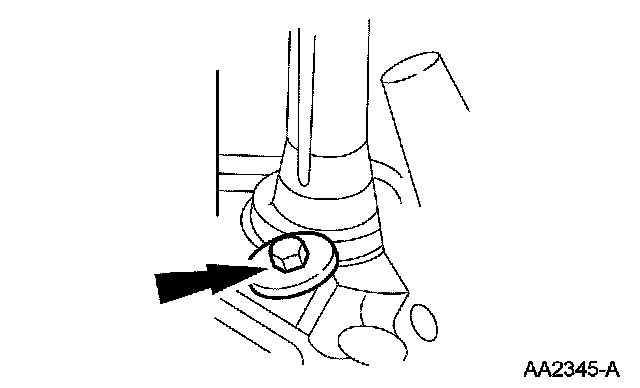
22. Remove the camshaft synchronizer bolt.
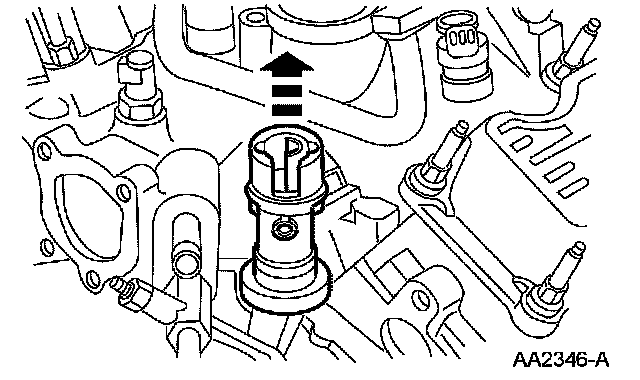
23. NOTE: In some cases the oil pump intermediate shaft may not come out with the synchronizer assembly. If so, retrieve the intermediate shaft before proceeding.
Remove the camshaft synchronizer.
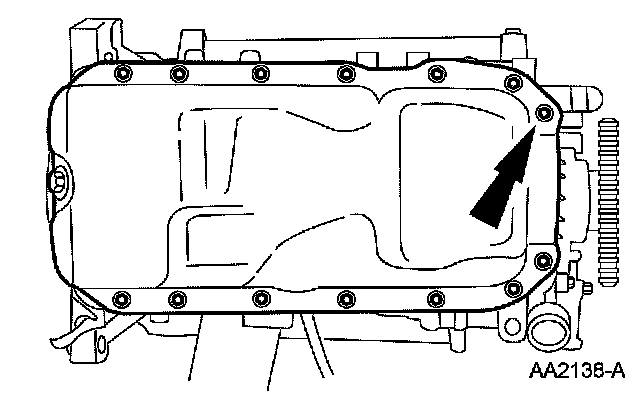
24. Remove the bolts and oil pan.
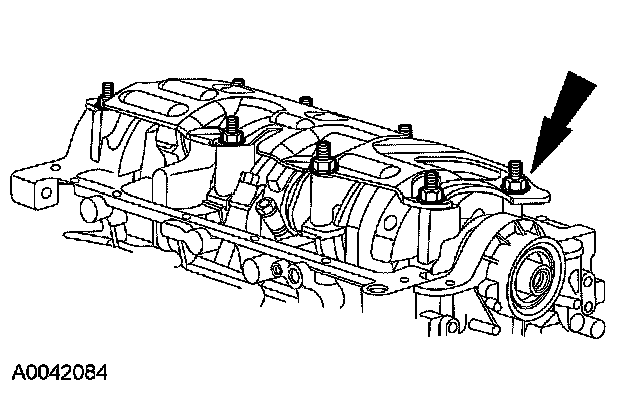
25. Remove the nuts and oil pan baffle.
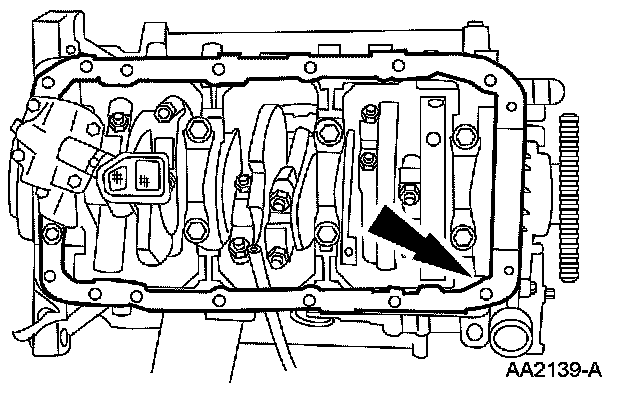
26. Remove and discard the oil pan gasket.
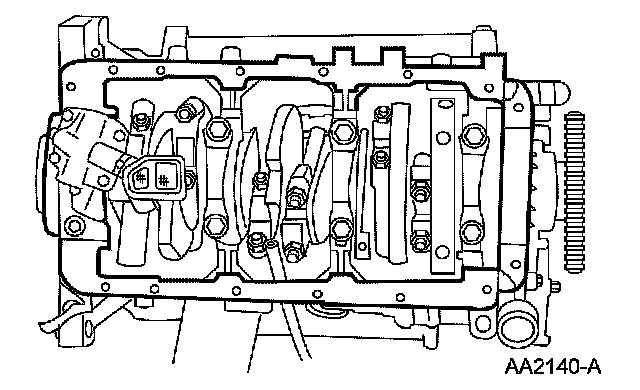
27. CAUTION: Do not use metal scrapers, wire brushes, power abrasive discs or other abrasive means to clean the sealing surfaces. These tools cause scratches and gouges, which make leak paths. Use a plastic scraping tool to remove all traces of old sealant.
Clean the surfaces.