Part 1
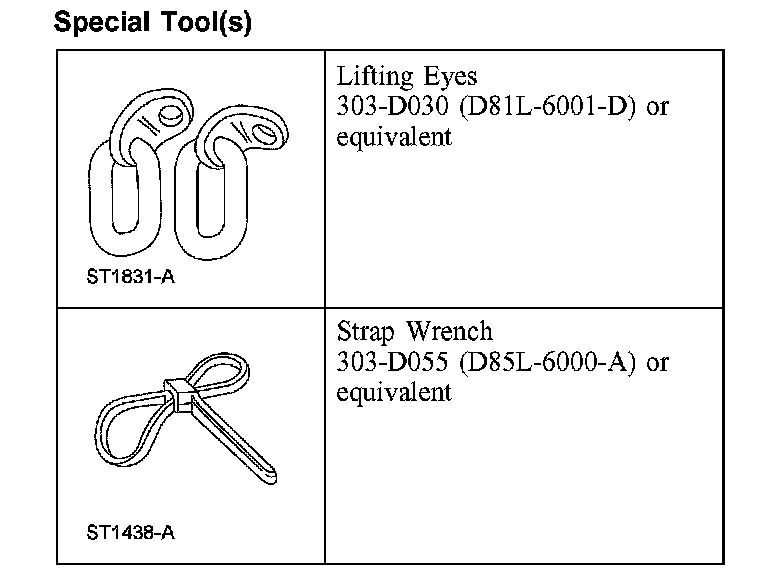
EngineSpecial Tool(s):
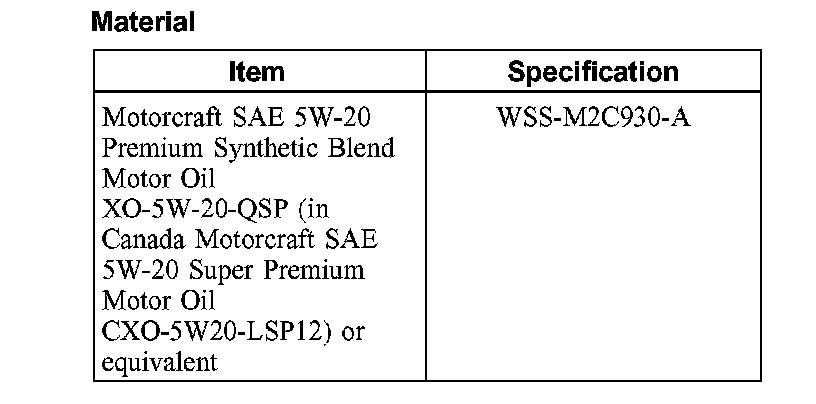
Material:
Installation (Steps 1-22)
All vehicles
1. NOTE: For vehicles equipped with an automatic transmission, make sure the torque converter stud and the flexplate marks made during removal are aligned.
Position the engine in the vehicle.
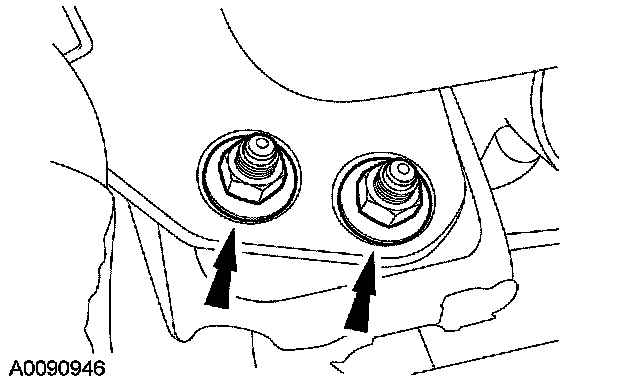
2. Install the 4 nuts.
^ Tighten to 109 Nm (80 ft. lbs.).
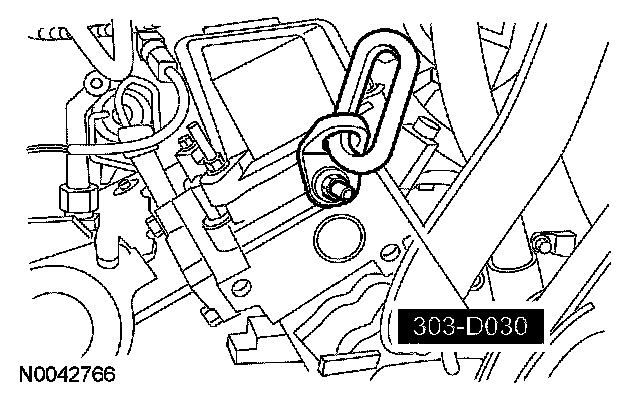
3. NOTE: RH shown, LH similar. Remove the Lifting Eyes.
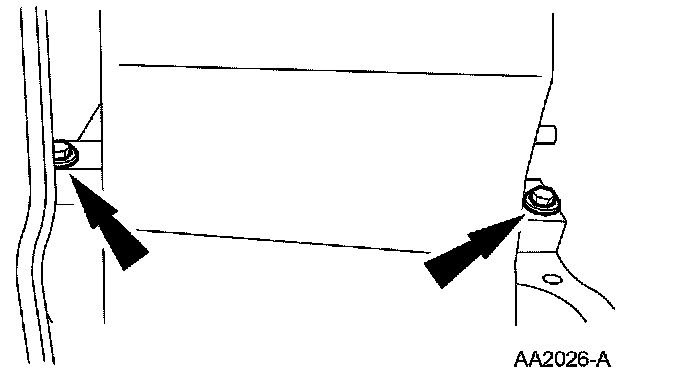
4. Install the 8 transmission-to-engine bolts.
^ Tighten to 45 Nm (33 ft. lbs.).
Vehicles equipped with automatic transmission
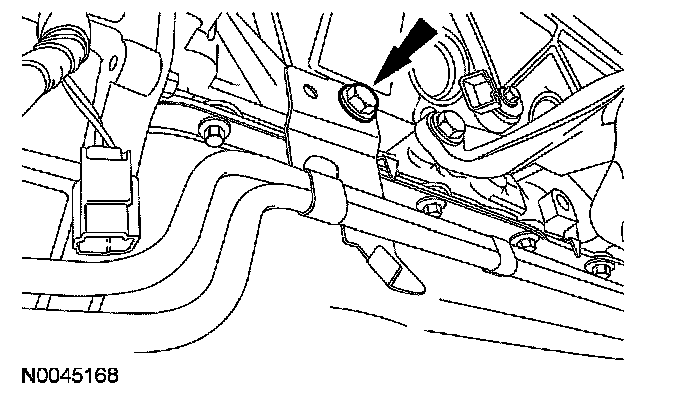
5. Install the transmission cooler line bracket and bolt.
^ Tighten to 11 Nm (8 ft. lbs.).
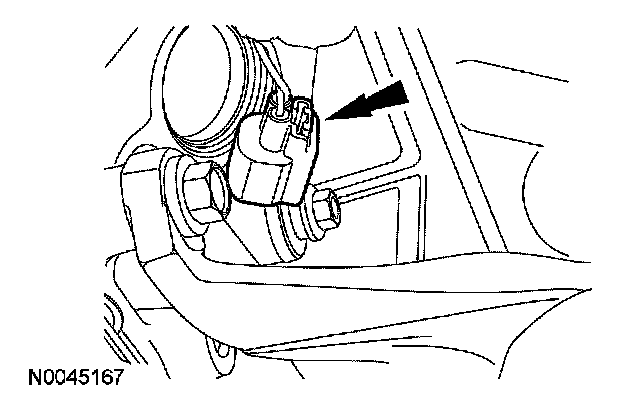
6. Connect the knock sensor (KS) electrical connector.
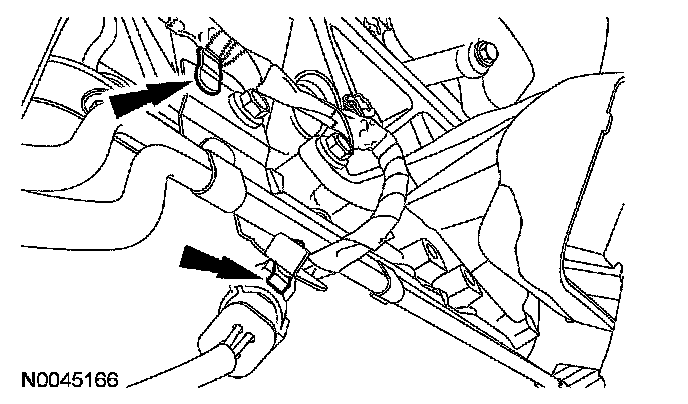
7. Connect the wire push-pin retainers.
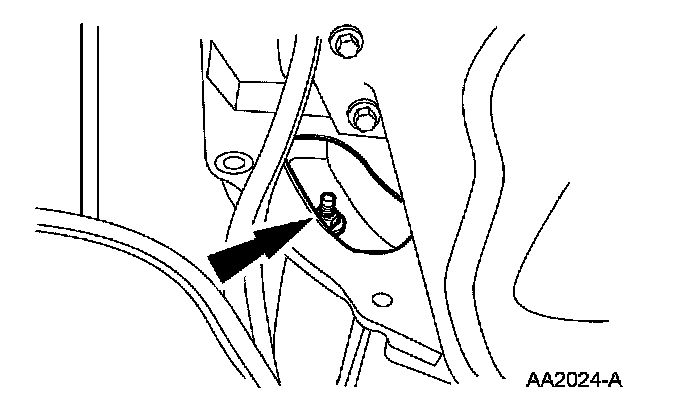
8. Install the 4 torque converter nuts.
^ Tighten to 35 Nm (26 ft. lbs.).
^ Install the access plate.
All Vehicles
9. Install the starter motor. For additional information, refer to Starting System.
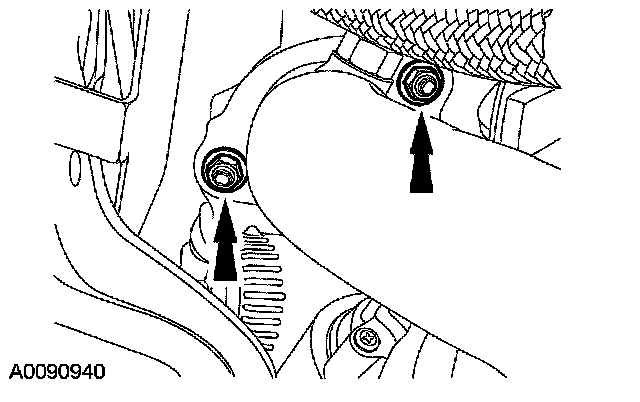
10. NOTE: LH shown, RH similar.
Connect the dual converter Y-pipe and install the nuts.
^ Tighten to 40 Nm (30 ft. lbs.).
11. Install the LH heated oxygen sensor (HO2S). For additional information, refer to Computers and Control Systems.
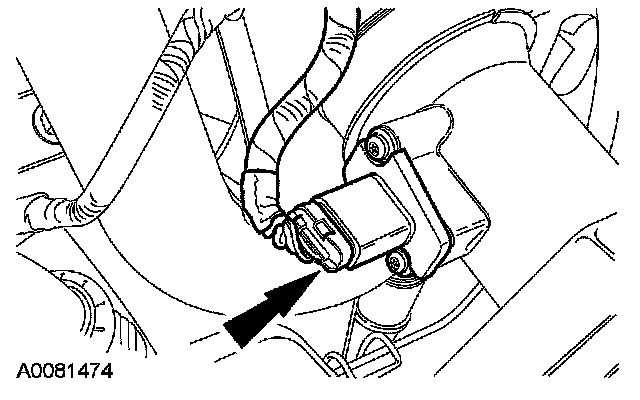
12. Connect the engine sensor control wiring to the mass air flow (MAF) sensor.
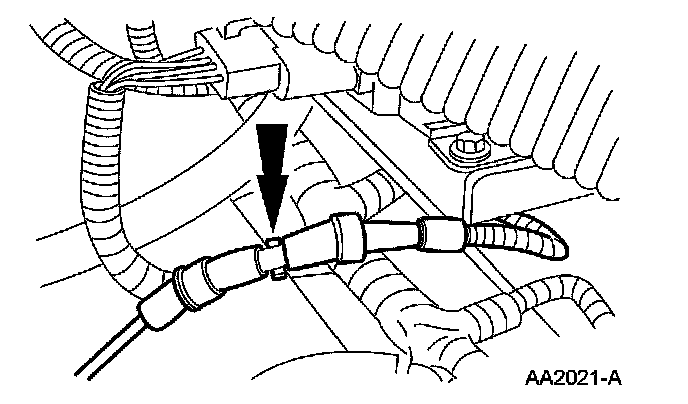
13. Connect the vacuum hose to the vacuum reservoir.
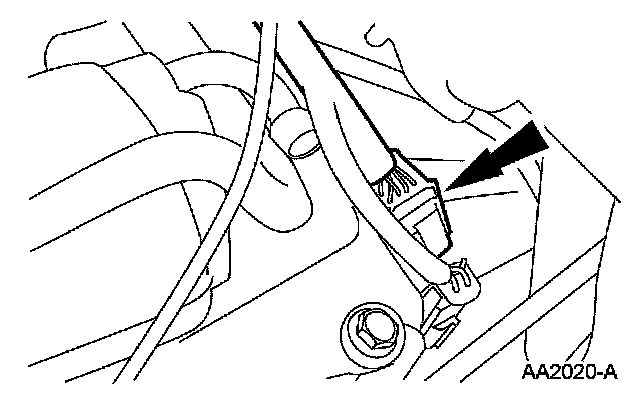
14. Connect the transmission wiring harness connectors.
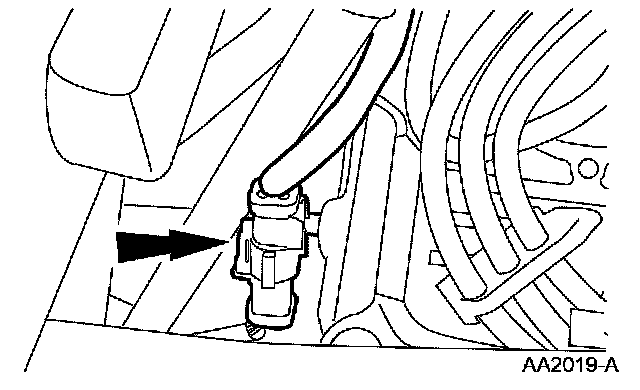
15. Connect both HO2S electrical connectors.
16. Position and connect the generator wiring harness. For additional information, refer to Alternator.
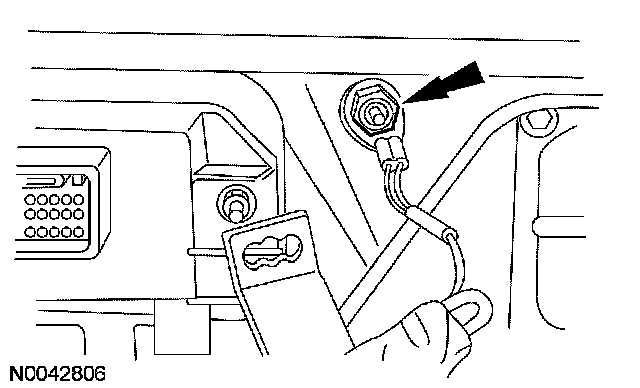
17. Install the powertrain control module (PCM) ground strap and nut.
^ Tighten to 10 Nm (89 inch lbs.).
18. Install the PCM wiring bracket.
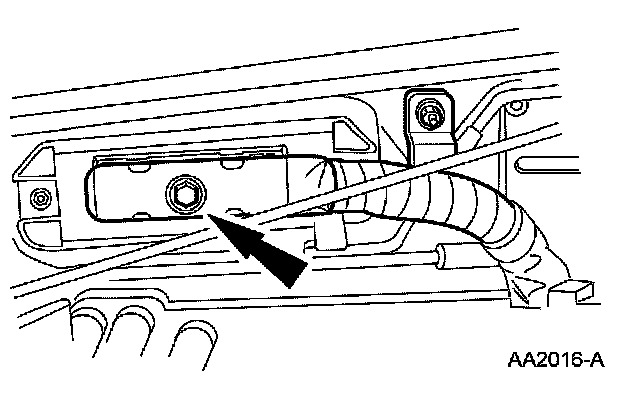
19. Connect the engine control wiring harness to the PCM.
^ Tighten to 6 Nm (53 inch lbs.).
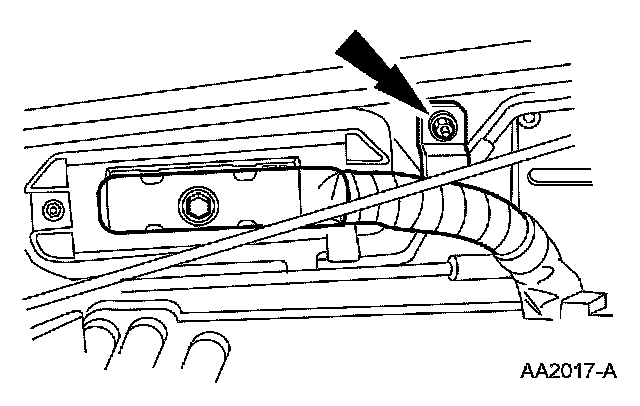
20. Install the PCM wiring harness retaining nut.
21. Connect the fuel tubes. For additional information, refer to Fuel Delivery and Air Induction.
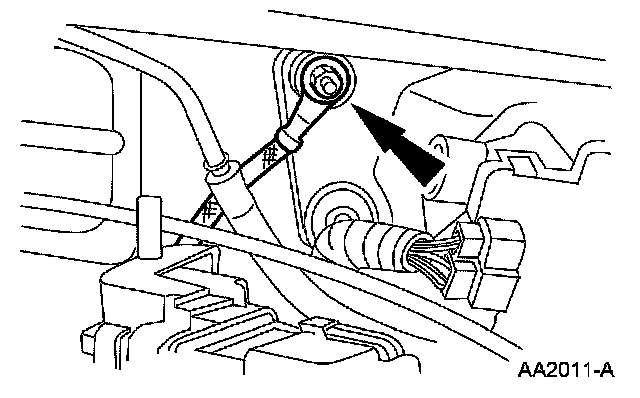
22. Install the ground cable.
^ Tighten to 10 Nm (89 inch lbs.).