Torqshift Automatic Transmission
Fluid Pan, Gasket and FilterMaterial:
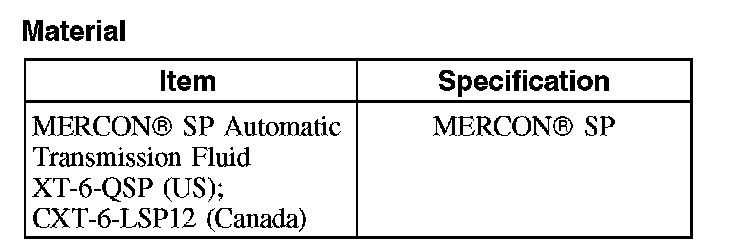
Removal
1. With the vehicle in NEUTRAL, position it on a hoist. For additional information, refer to Maintenance/Service and Repair.
2. Remove the transmission fluid drain plug and allow the fluid to drain.
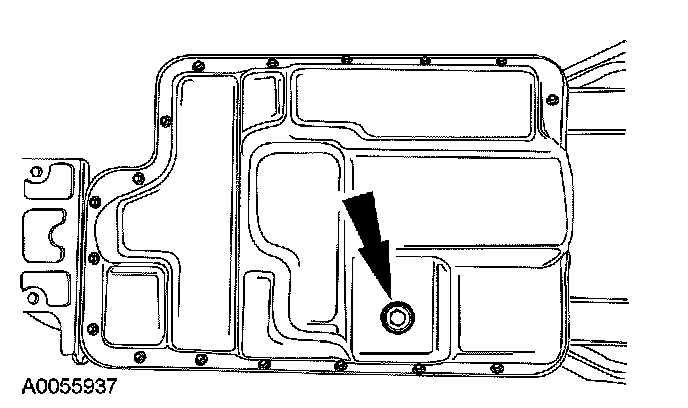
3. Remove the transmission fluid pan and gasket.
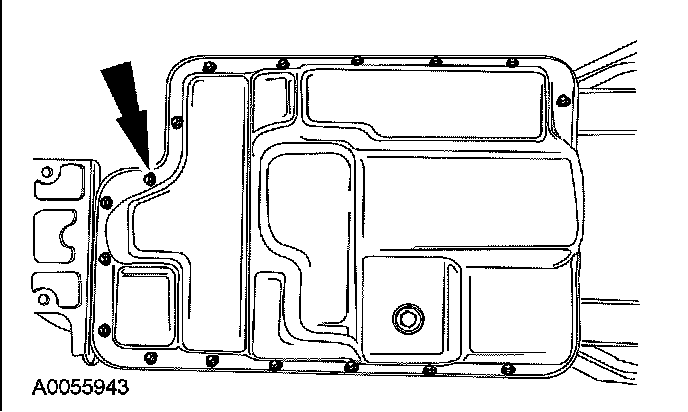
4. Remove the transmission fluid filter.
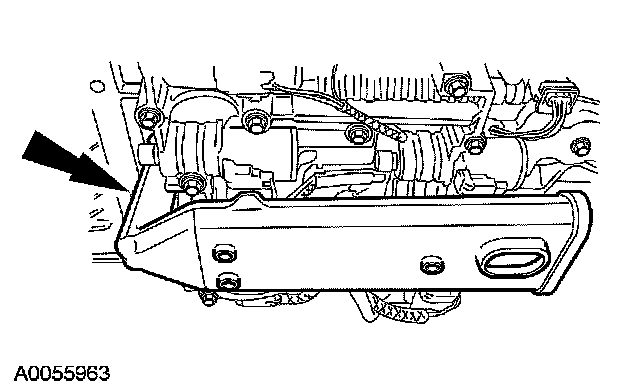
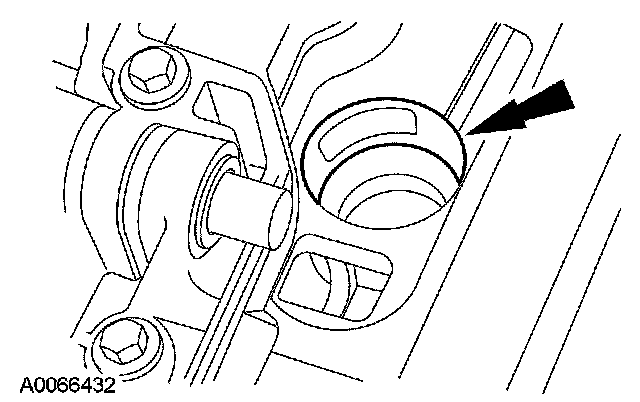
5. CAUTION: Carefully remove the transmission fluid filter seal. Damage to the seal bore will cause transmission failure.
Inspect the transmission fluid bore for the transmission fluid seal. If the seal is in the bore, carefully remove the seal.
Installation
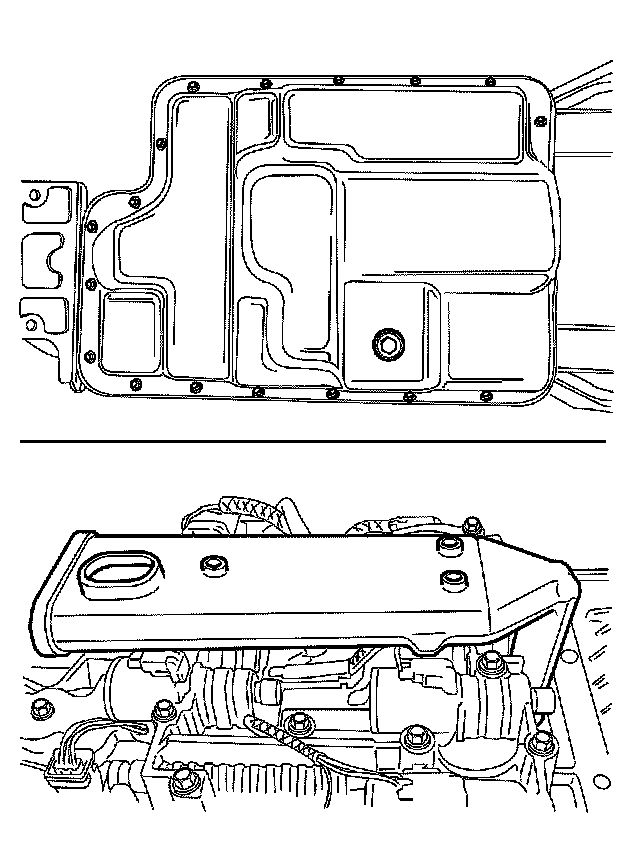
Early Build Vehicles With Externally Mounted Remote Filter
CAUTION: Early build vehicles, those equipped with an externally mounted remote filter, are also equipped with a different design sump filter and bottom pan. Always pair the sump filter with the correct bottom pan design, to avoid cavitation, filter cracking and transmission damage.
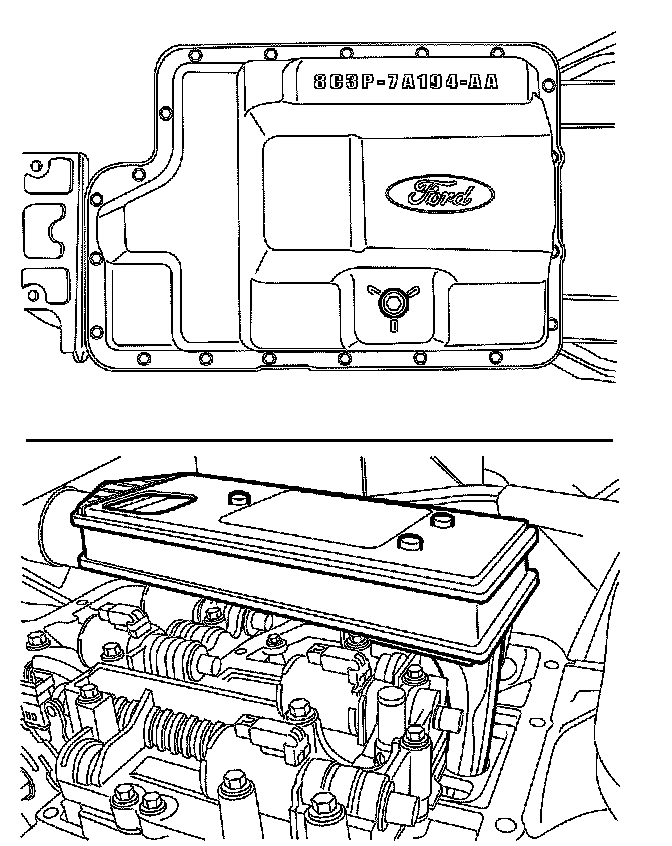
Late Build Vehicles Without Remote Filter and With Serviceable High Efficiency Sump Filter (HESF)
CAUTION: Late build vehicles replace the remote filter with a serviceable high efficiency sump filter (HESF), which requires a wider and deeper bottom pan. Always pair the sump filter with the correct bottom pan design, to avoid cavitation, filter cracking and transmission damage.
1. NOTE: Prior to installing the transmission filter, make sure that the old fluid filter seal has been removed.
Install a new fluid filter and seal assembly.
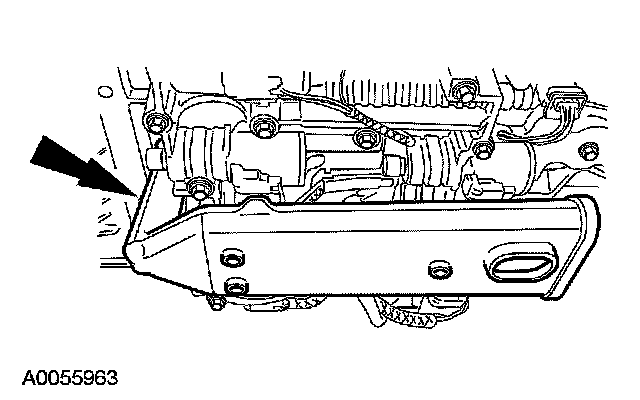
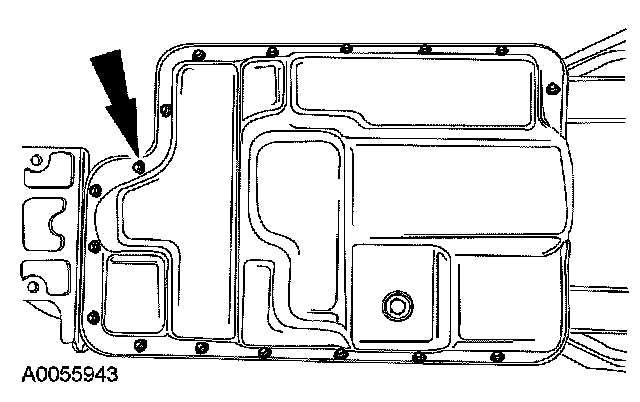
2. NOTE: Tighten all the transmission fluid pan bolts in a crisscross pattern.
Install the fluid pan gasket and fluid pan.
^ Tighten to 20 Nm (15 ft. lbs.)
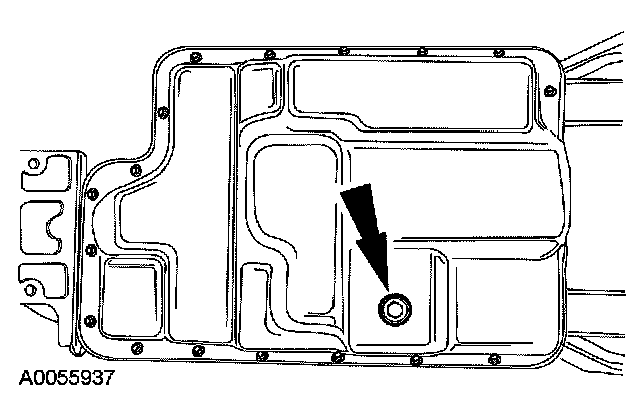
3. Install the transmission fluid drain plug.
^ Tighten to 25 Nm (18 ft. lbs.)
4. CAUTION: The use of any other transmission fluid than specified can result in the transmission failing to operate in a normal manner or transmission failure.
Fill the transmission.
^ Add 7.0 L (7.5 qt) of clean automatic transmission fluid to the transmission through the fluid filler tube.
5. Start the engine. Move the transmission range selector lever through all the gear ranges, checking for engagements.
6. With the vehicle in NEUTRAL, engine running and the transmission at normal operating temperature 66 - 77°C (150 - 170°F), check and adjust the transmission fluid level and check for any leaks.
If fluid is needed, add fluid in increments of 0.24L (0.5 pt) until the correct level is achieved (fluid should be in the hot range cross-hatched area of the fluid level indicator).