Shift Cable: Service and Repair
Transmission Selector Lever CableRemoval and Installation
CAUTION: Do not drive the vehicle without the selector lever cable installed.
1. With the vehicle in DRIVE, position it on a hoist.
2. Turn the ignition to the OFF position.
3. Remove the 6 retainers and the LH splash shield.
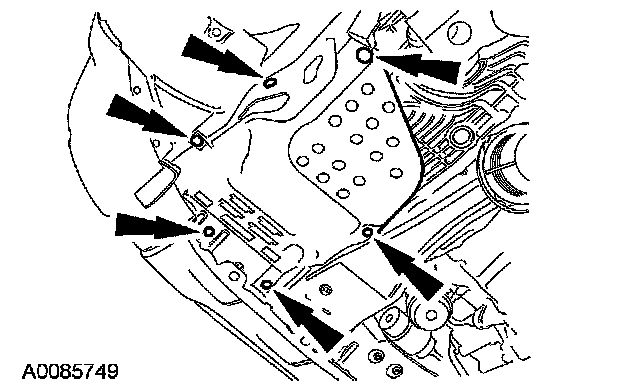
4. Remove the bolts and the transaxle control snow shield.
^ To install, tighten to 22 Nm (16 ft. lbs.).
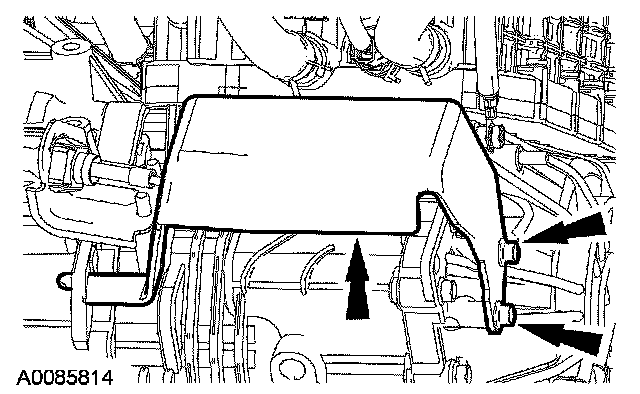
5. CAUTION: Before installation, make sure the transmission control lever is in the DRIVE position with the ignition in the OFF position.
Loosen the adjustment screws on the transaxle end of the shift cable, then disconnect the transaxle control cable by loosening the selector lever adjustment screw.
^ Release the transaxle control cable from the control lever.
^ Remove the nuts from the transaxle control cable bracket.
^ To install, tighten the selector lever cable bracket nuts to 22 Nm (16 ft. lbs.).
^ To install, tighten the selector lever cable adjustment screw to 8 Nm (71 inch lbs.).
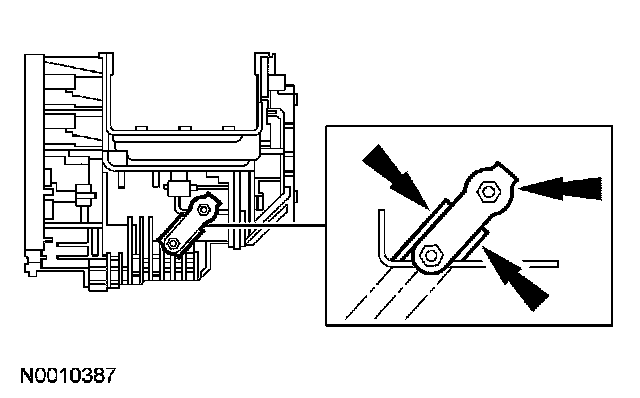
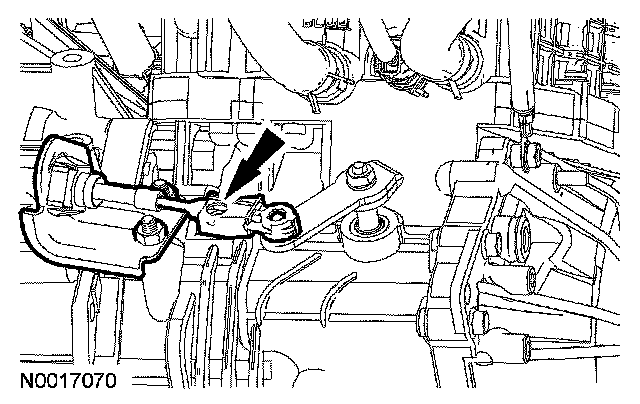
6. Disconnect the pin-type retainers from the engine locator boss.
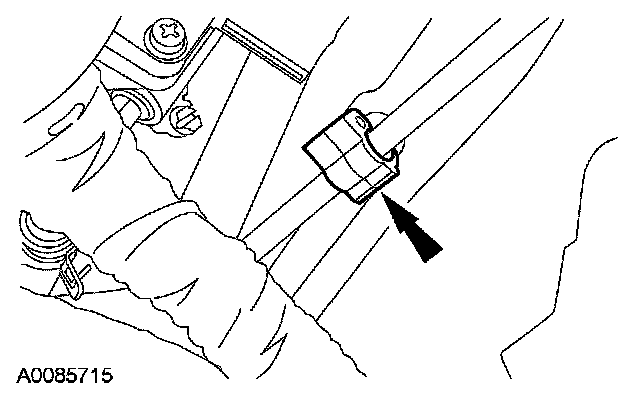
7. Disconnect the pin-type retainer.
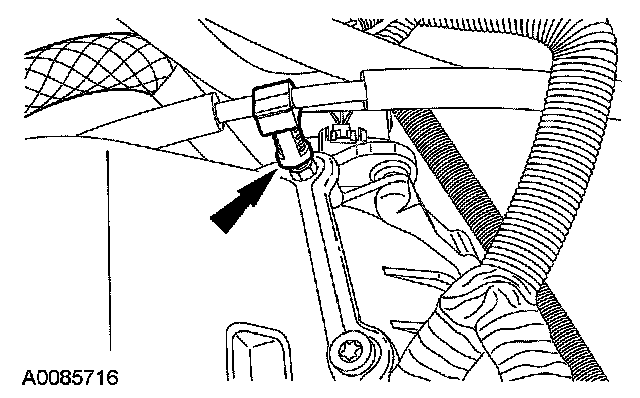
8. Remove the transmission selector lever trim ring.
^ Carefully pry up the 4 trim ring clips (inserted into the bezel) and remove the trim ring.
9. Remove the floor console finish panel.
10. Remove the shift cable grommet nuts.
^ To install, tighten to 11 Nm (8 ft. lbs.).
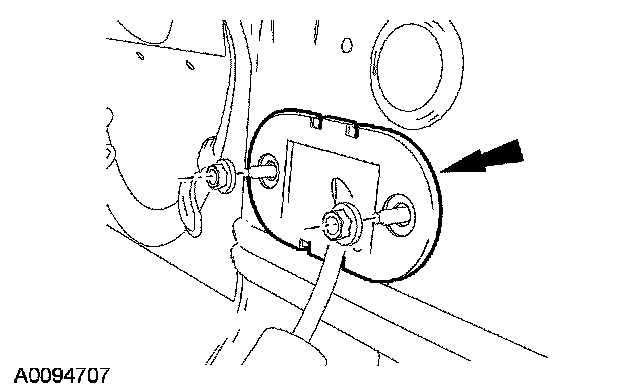
11. CAUTION: Before installation, make sure that the transmission selector lever is in the DRIVE position with the ignition in the OFF position.
Disconnect the shift cable end from the transmission selector lever ball stud.
12. Release the cable retainer from the transmission selector lever assembly.
13. To install, reverse the removal procedure.
^ Adjust the selector lever cable.