Installation
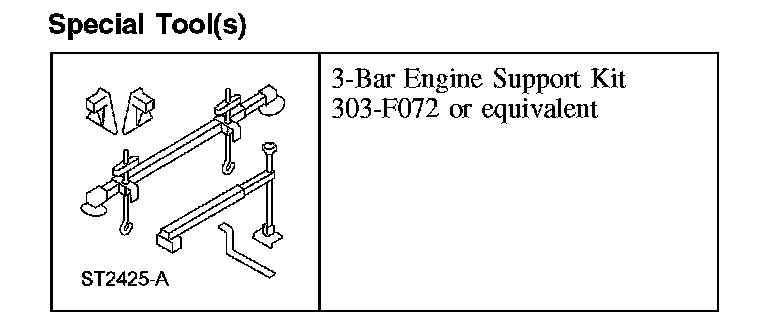
TransaxleSpecial Tool(s):
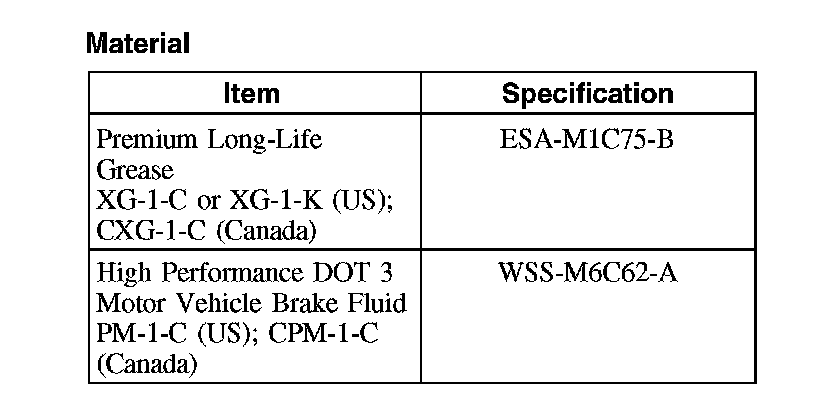
Material:
1. Do not lubricate the splines on the input shaft.
2. WARNING: Secure the transaxle to the transmission jack with a safety chain. Failure to follow these instructions may result in personal injury.
Raise and position the transaxle.
3. Install the 3 short transaxle-to-engine bolts.
^ Tighten to 47 Nm (35 ft. lbs.).
4. Install the long transaxle-to-engine bolt.
^ Tighten to 47 Nm (35 ft. lbs.).
5. Install the exhaust outlet pipe.
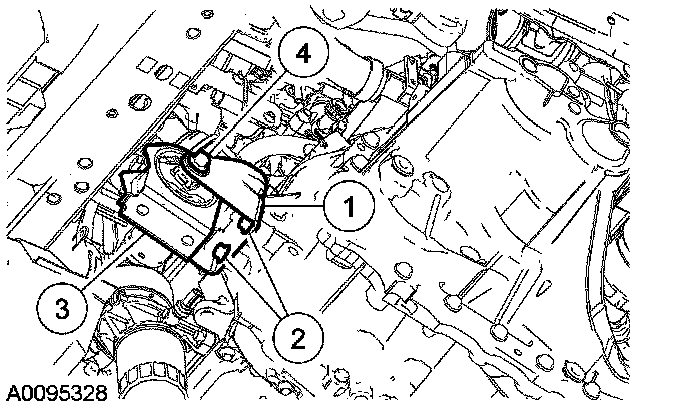
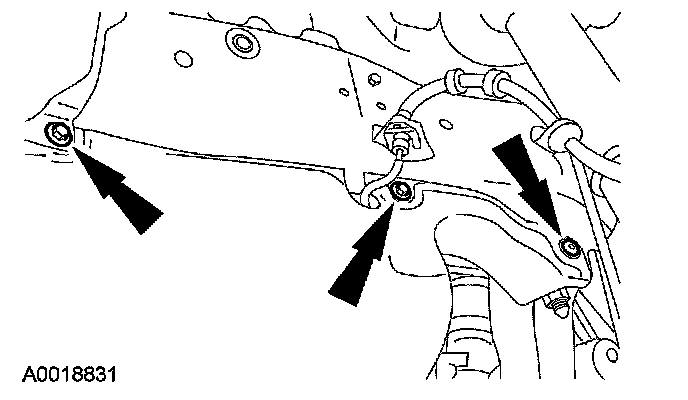
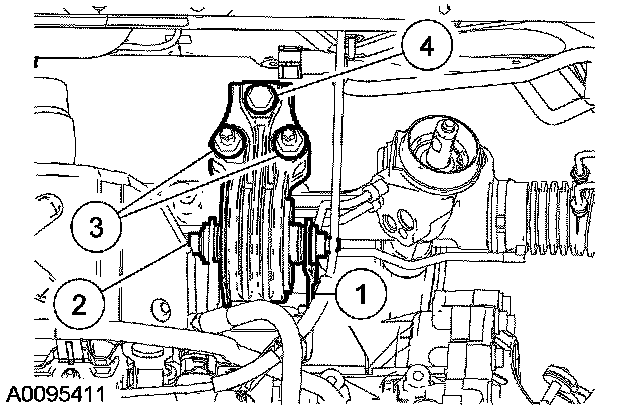
6. Install the transaxle front support insulator bracket.
1. Install the transaxle front support insulator bracket.
2. Install the 3 bolts.
^ Tighten to 48 Nm (35 ft. lbs.).
3. Install the transaxle front support insulator.
4. Install the through-bolt.
^ Tighten to 115 Nm (85 ft. lbs.).
7. CAUTION: Make sure to use the seal protector when installing the RH intermediate shaft and the LH halfshaft. Failure to use the seal protector may result in transmission oil leaks.
Install the RH intermediate axleshaft and the LH halfshaft
8. If equipped, install the transfer case.
9. Install the starter motor assembly.
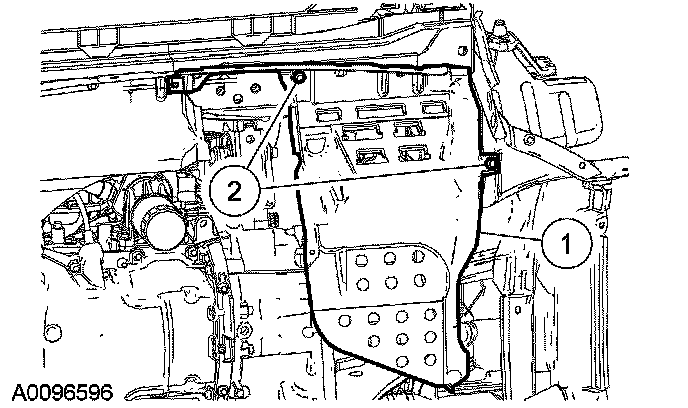
10. Install the LH side splash shield.
1. Position the LH splash shield.
2. Install the 2 screws.
11. Install the 3 LH splash shield screws.
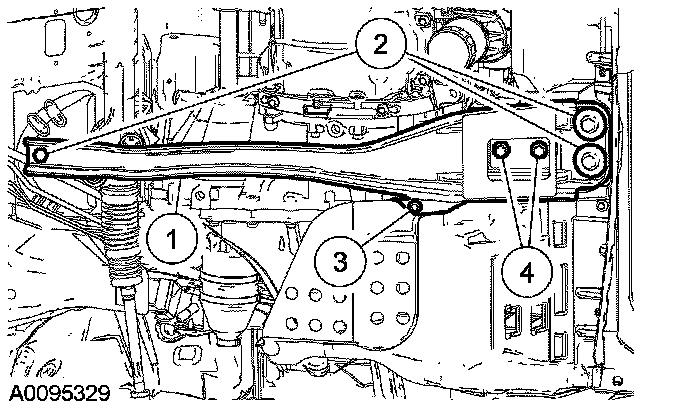
12. Install the front-to-aft crossmember.
1. Position the crossmember.
2. Install the 2 bolts and nut.
^ Tighten the bolts to 90 Nm (66 ft. lbs.).
^ Tighten the new nut to 175 Nm (129 ft. lbs.).
3. Install the splash shield screw.
4. Install the 2 transaxle front support insulator bolts.
^ Tighten to 90 Nm (66 ft. lbs.).
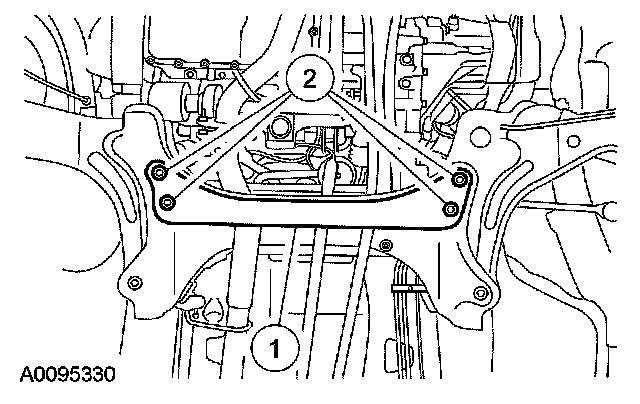
13. Install the crossmember.
1. Position the crossmember.
2. Install the bolts.
^ Tighten to 115 Nm (85 ft. lbs.).
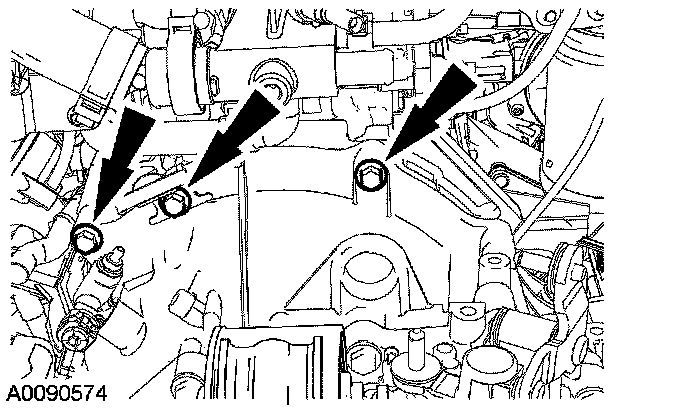
14. Install the 3 upper transaxle-to-engine bolts. Tighten the bolts to 45 Nm (33 ft. lbs.).
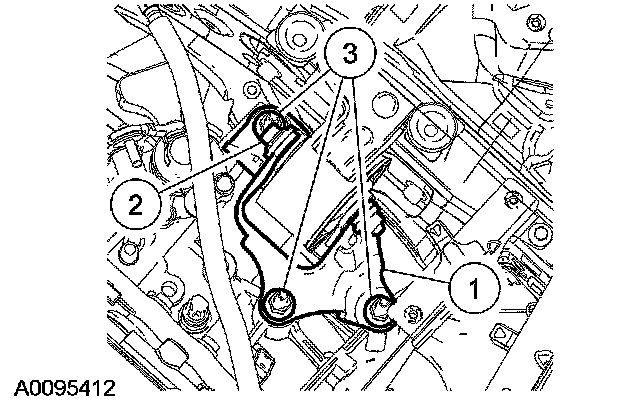
15. Install the transaxle rear support insulator.
1. Position the transaxle rear support insulator.
2. Install the through-bolt.
^ Tighten to 115 Nm (85 ft. lbs.).
3. Install the nuts.
^ Tighten to 80 Nm (59 ft. lbs.).
4. Install the bolt.
^ Tighten to 80 Nm (59 ft. lbs.).
16. Install the LH transaxle support insulator bracket.
1. Position the LH transaxle support insulator bracket.
2. Install the through-bolt.
^ Tighten to 103 Nm (76 ft. lbs.).
3. Install the 3 nuts.
^ Tighten to 40 Nm (30 ft. lbs.).
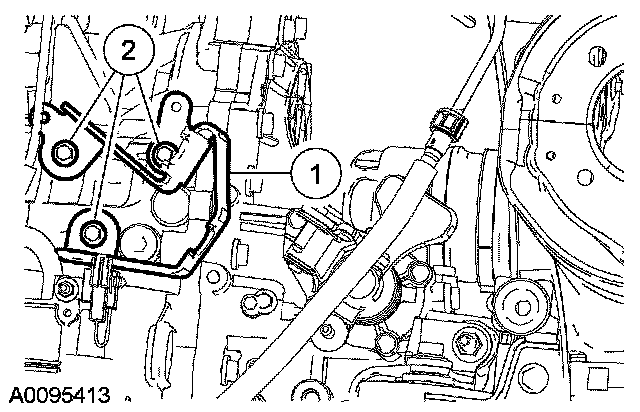
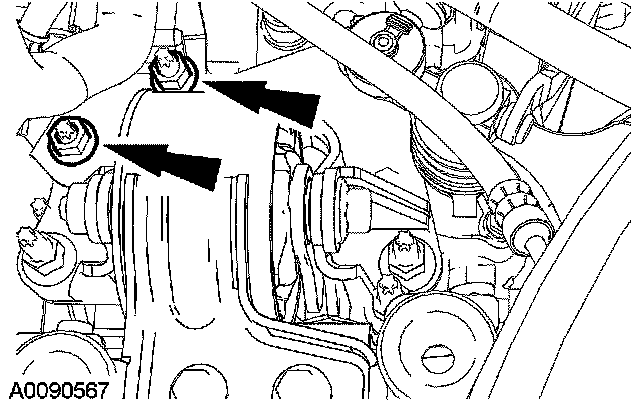
17. Install the shift cable bracket.
1. Position the shift cable bracket.
2. Install the 3 bolts.
^ Tighten to 22 Nm (16 ft. lbs.).
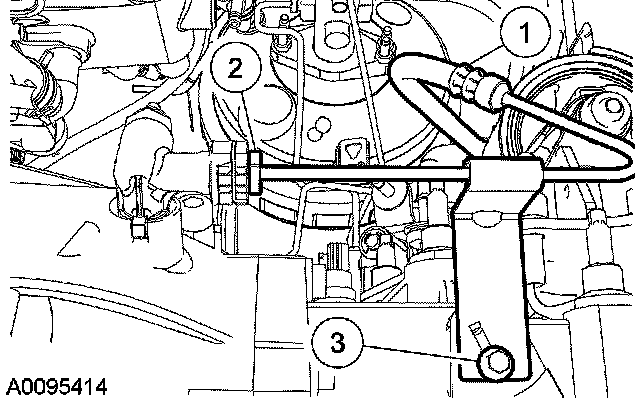
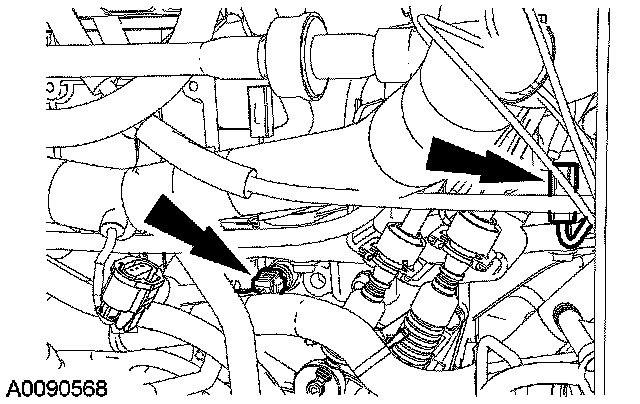
18. Connect the clutch hydraulic line.
1. Position the clutch hydraulic line.
2. Connect the clutch hydraulic line from the clutch slave cylinder.
3. Install the clutch hydraulic line bracket-to-transaxle bolt.
^ Tighten to 2.5 Nm (22 inch lbs.).
19. Connect the shift cables.
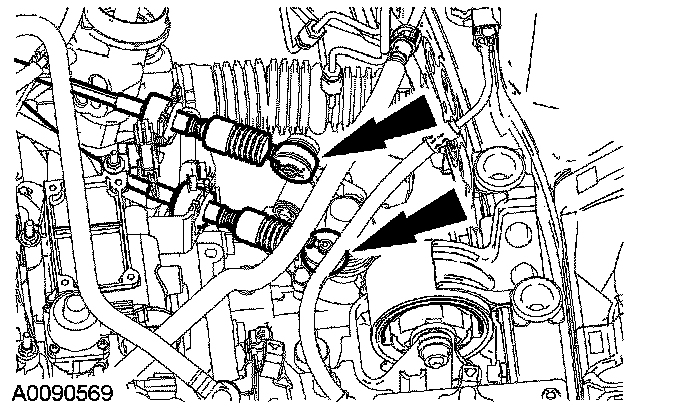
20. Connect the reverse switch and vehicle speed sensor (VSS) connectors.
21. Install the wiring harness bracket nuts.
^ Tighten to 12 Nm (9 ft. lbs.).
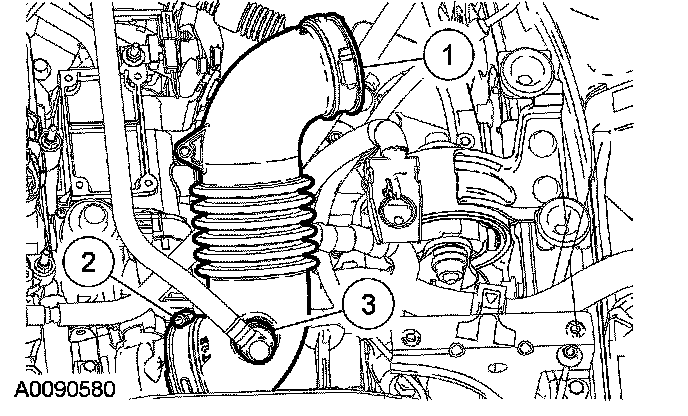
22. Install the air cleaner outlet tube.
1. Install the air cleaner outlet tube.
2. Tighten the clamp.
3. Connect the emission management tube and hose.
23. Install the battery tray.
24. Install the air cleaner assembly.
25. Fill the transaxle fluid.
26. WARNING: Carefully read cautionary information on product label. For EMERGENCY MEDICAL INFORMATION seek medical advice. In the USA or Canada on Ford/Motorcraft products call: 1-800-959-3673. For additional information, consult the product Material Safety Data Sheet (MSDS) if available. Failure to follow these instructions may result in personal injury.
CAUTION: Brake fluid is harmful to painted and plastic surfaces. If brake fluid is spilled onto a painted or plastic surface, wash it immediately with cold water.
Fill and bleed the clutch.
27. Adjust the shift cables.