Installation
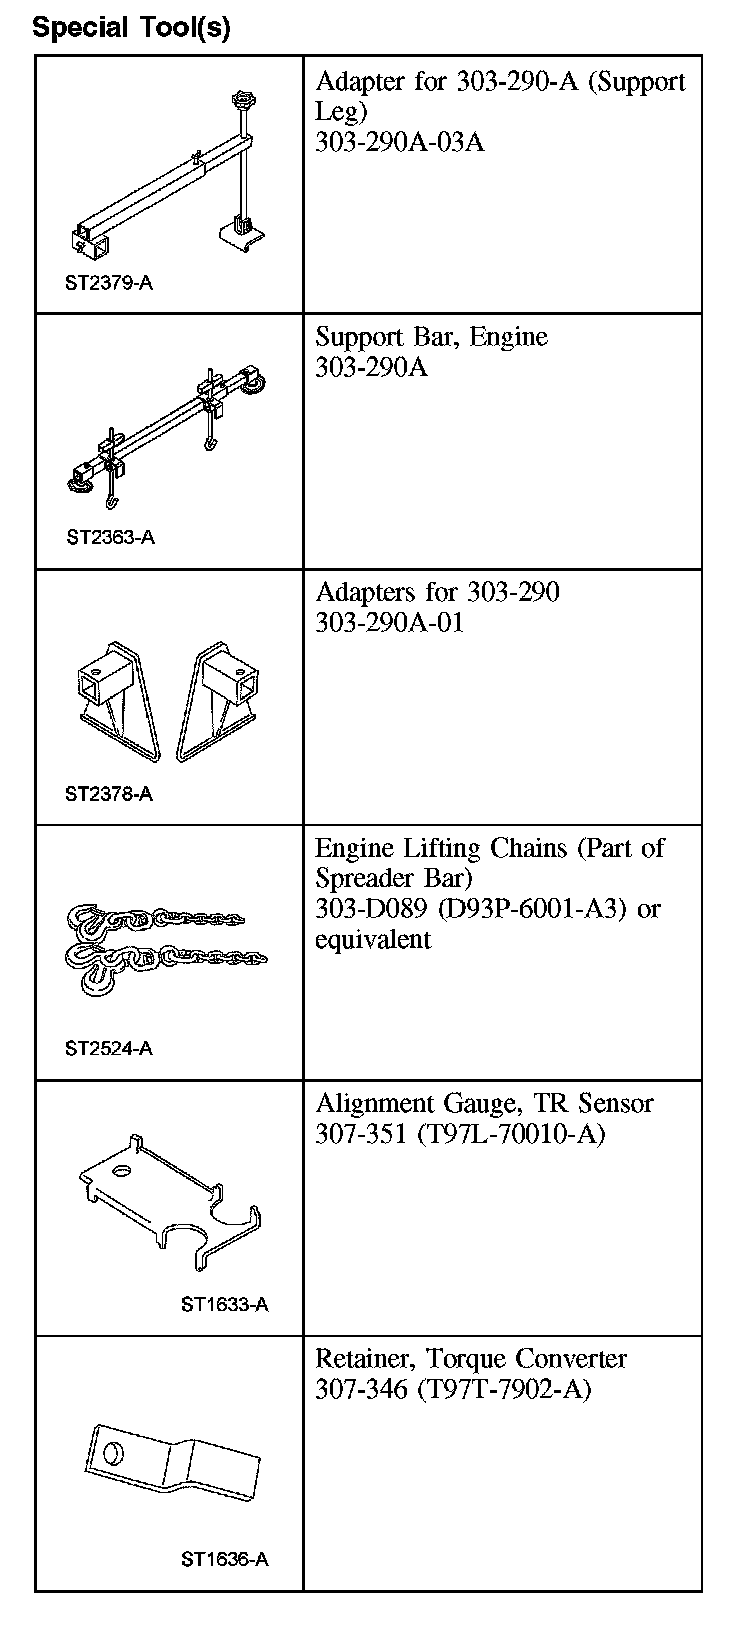
Transaxle - 3.0LSpecial Tool(s):
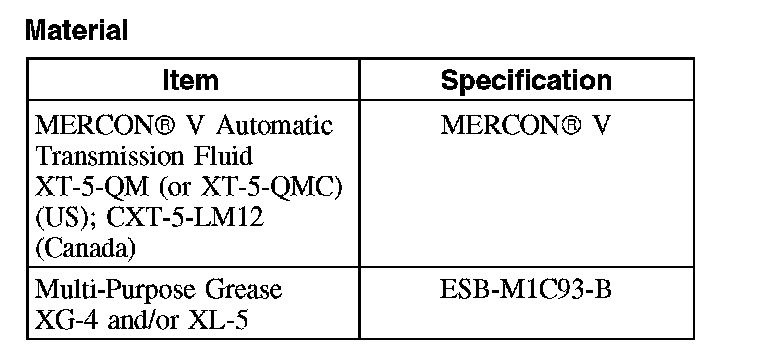
Material:
NOTE: Carry out the transmission fluid cooler backflushing and cleaning if the transaxle is being overhauled or installing a new or remanufactured transaxle.
NOTE: Carry out the transmission fluid cooler flow test if the transaxle is being overhauled or installing a new or remanufactured transaxle.
All vehicles
1. Install the mount bracket.
^ Tighten to 90 Nm (66 ft. lbs.).
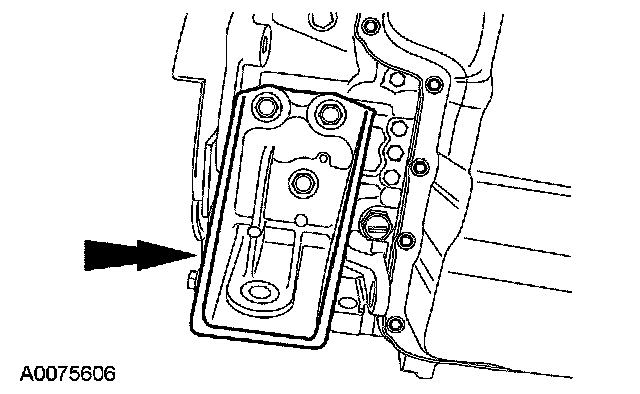
2. Lubricate the torque converter pilot hub with grease.
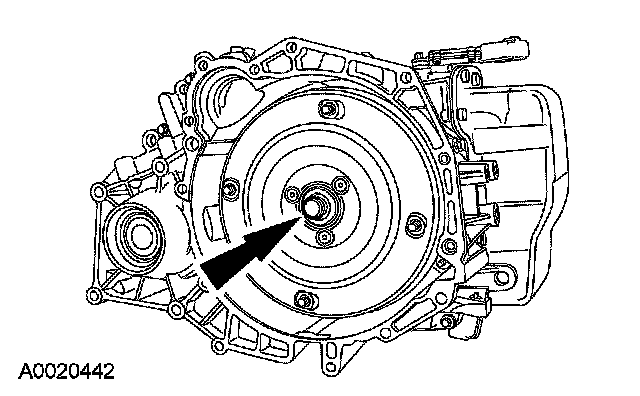
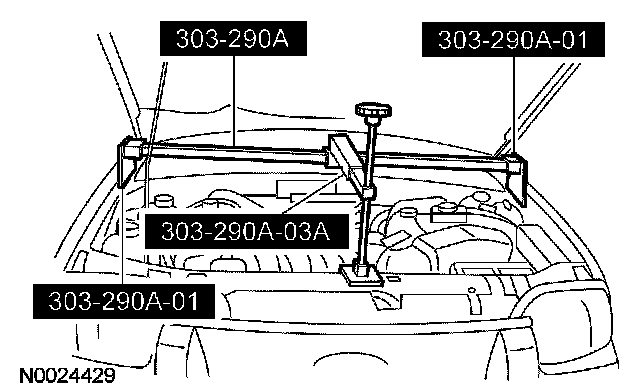
3. Install the special tool.
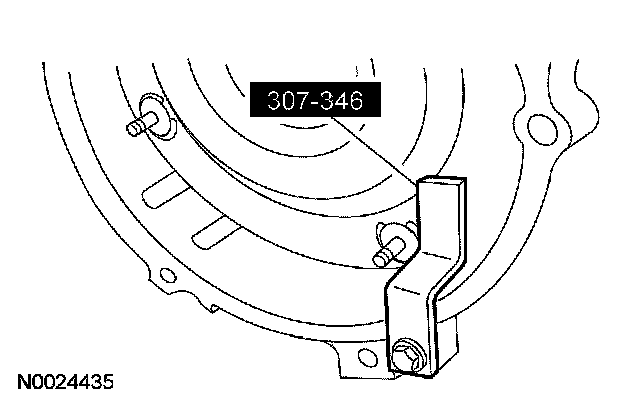
4. With the vehicle in NEUTRAL, position it on a hoist.
5. Position the transaxle in place.
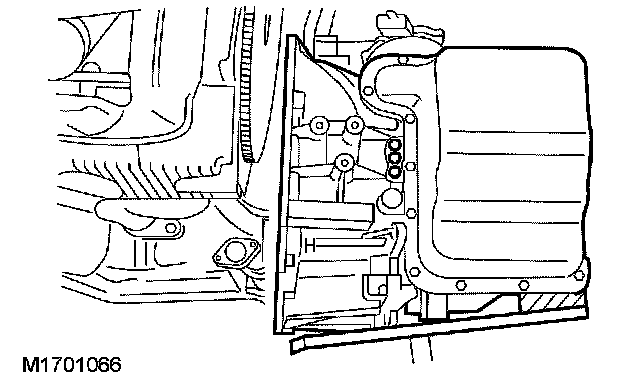
6. Once the transaxle is in place, prior to bolting it to the engine, remove the special tool.
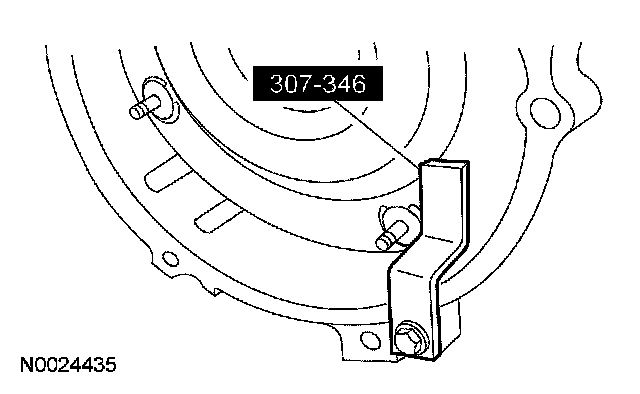
7. Move the transaxle assembly toward the engine assembly and install the bolt.
^ Tighten to 40 Nm (30 ft. lbs.).
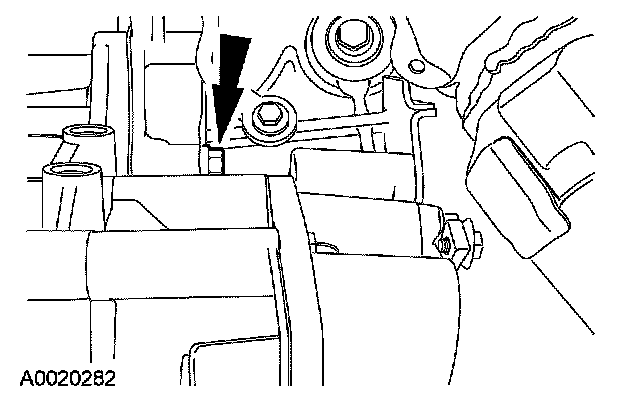
8. Install the transaxle bolt.
^ Tighten to 40 Nm (30 ft. lbs.).
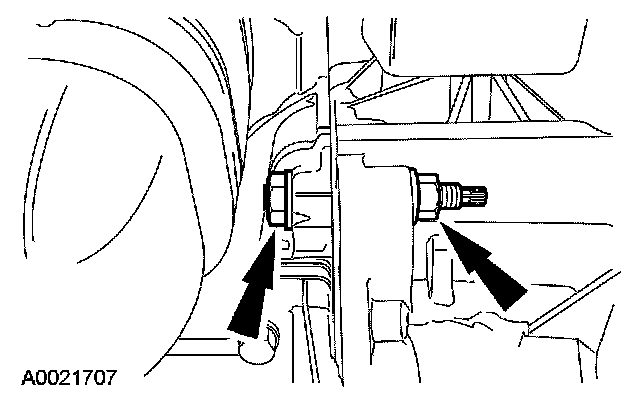
9. Install the lower transaxle bolts.
^ Tighten to 48 Nm (35 ft. lbs.).
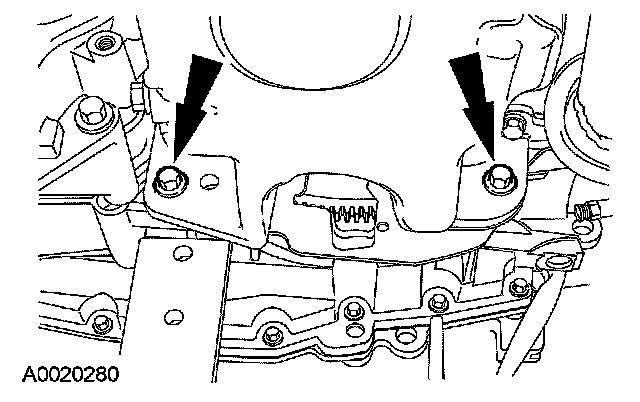
10. Install 4 new torque converter nuts.
^ Tighten to 40 Nm (30 ft. lbs.).
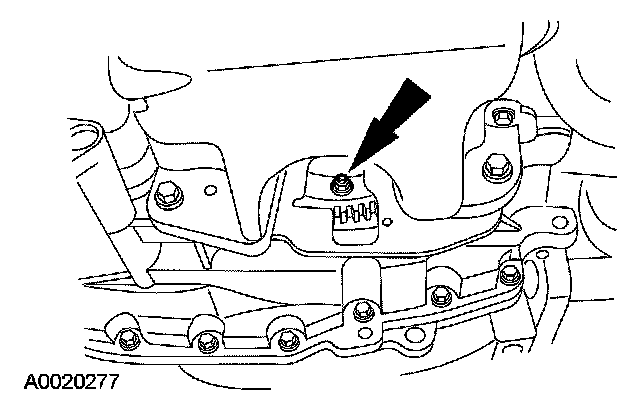
11. Install the access cover.
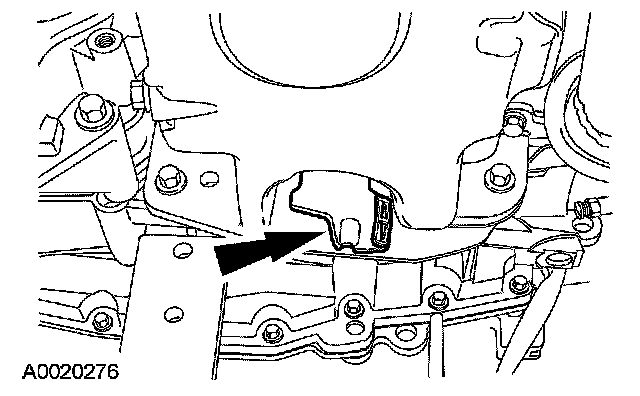
12. Install the transmission fluid cooler tube.
^ Tighten to 23 Nm (17 ft. lbs.).
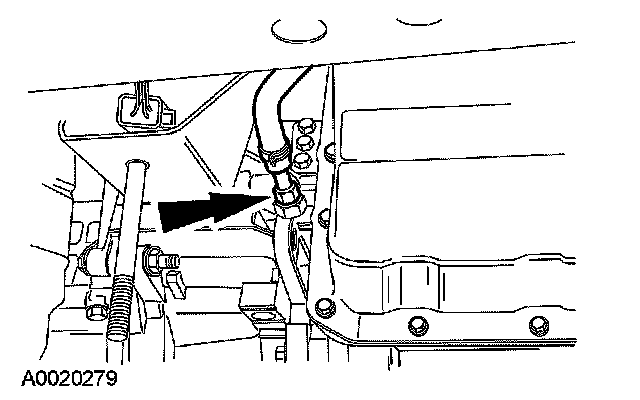
13. Install the output shaft speed (OSS) sensor.
^ Tighten to 12 Nm (9 ft. lbs.).
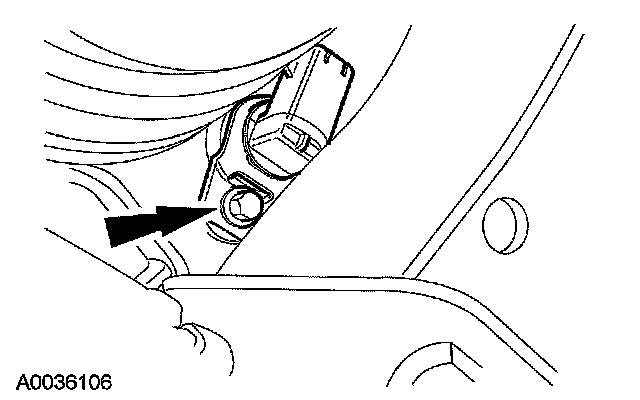
14. Install the fluid cooler tube.
1. Connect the OSS sensor.
2. Connect the turbine shaft speed (TSS) sensor (white connector).
3. Install the fluid cooler tube.
^ Tighten to 23 Nm (17 ft. lbs.).
4. Install the fluid cooler bolt.
^ Tighten to 13 Nm (10 ft. lbs.).
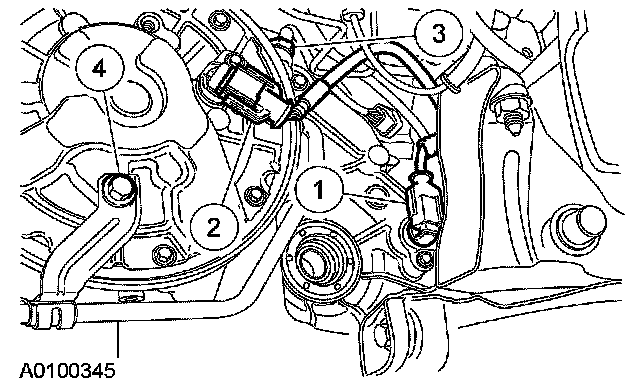
15. Raise the transaxle enough to install the lower cross brace.
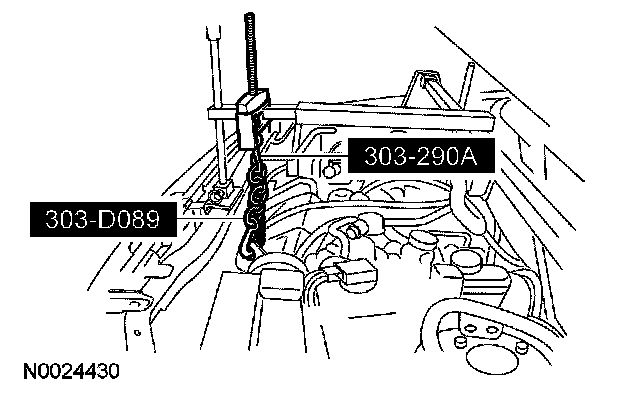
16. Lower the engine onto the RH engine mount.
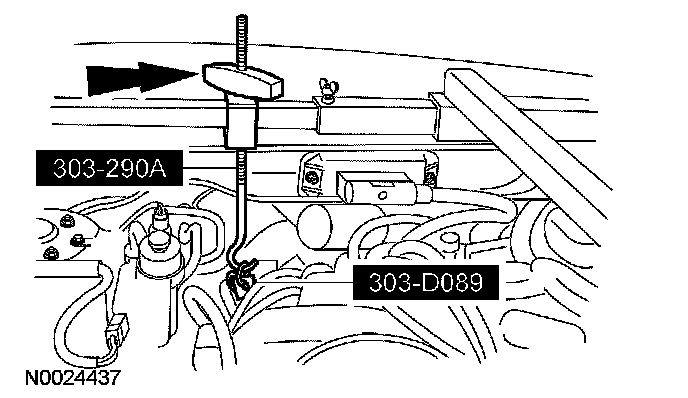
17. Install the rear transaxle mount bolt.
^ Tighten to 120 Nm (89 ft. lbs.).
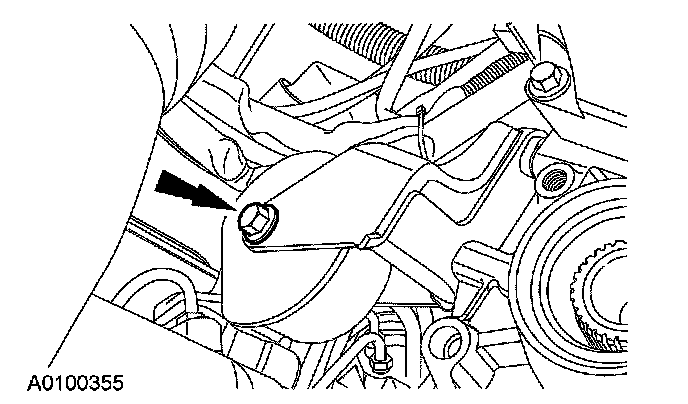
18. Vehicles not equipped with a power transfer unit (PTU), install the dampener.
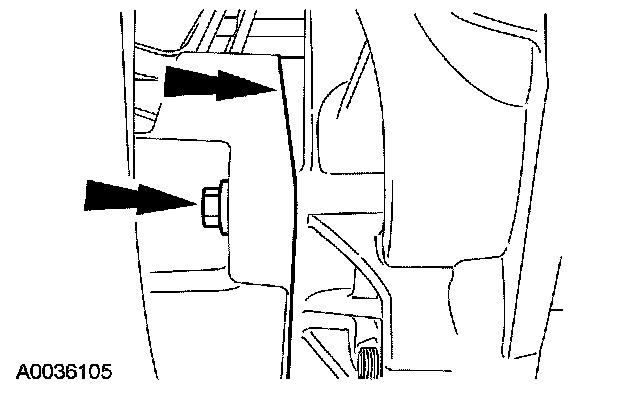
19. Install the rear transaxle mount and install the bolt.
^ Tighten to 40 Nm (30 ft. lbs.).
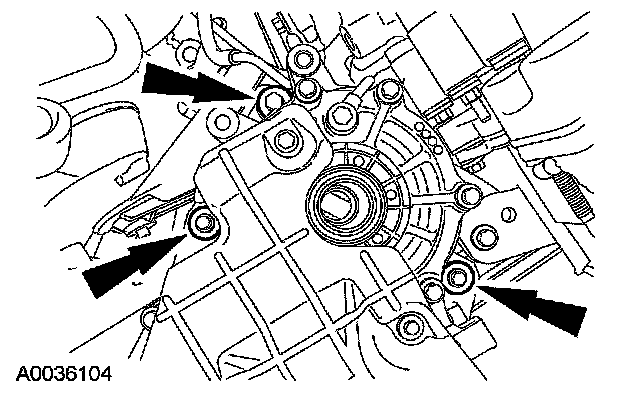
All wheel drive (AWD) vehicles
20. Install the PTU bolts.
^ Tighten to 45 Nm (33 ft. lbs.).
All vehicles
21. Connect the electrical connectors to the lower mount bracket.
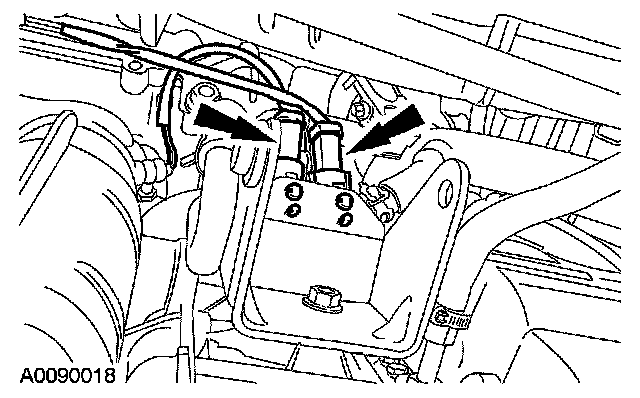
22. Install the cross brace and the rear nut.
^ Tighten to 175 Nm (129 ft. lbs.).
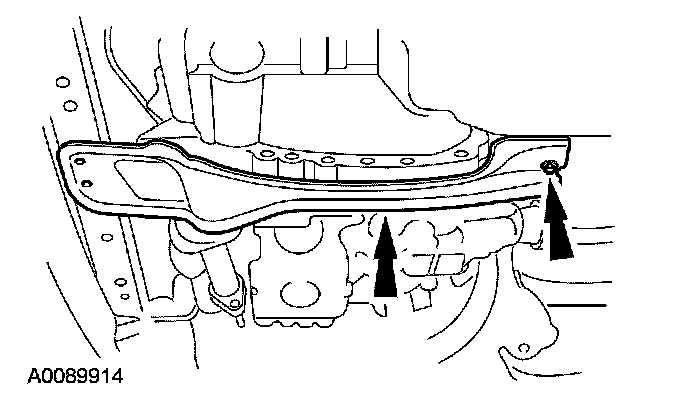
23. Install the 2 bolts for the brace.
^ Tighten to 90 Nm (66 ft. lbs.).
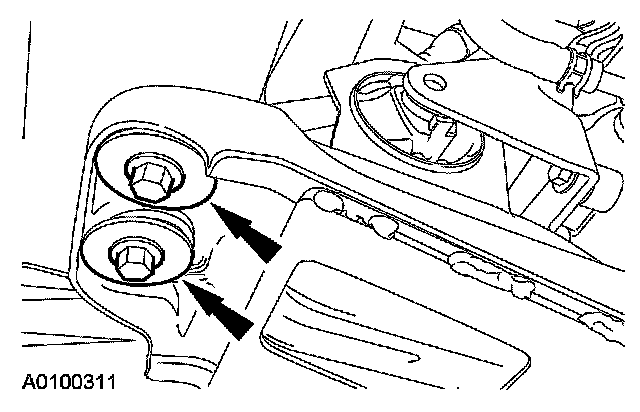
24. Install the bolt for the mount.
^ Tighten to 115 Nm (85 ft. lbs.).
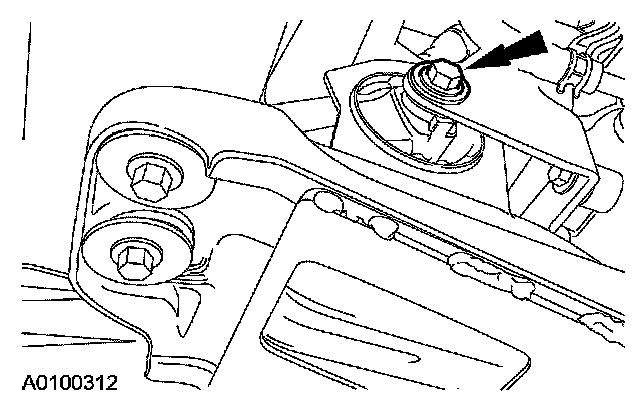
25. Install the bracket.
^ Tighten to 55 Nm (41 ft. lbs.).
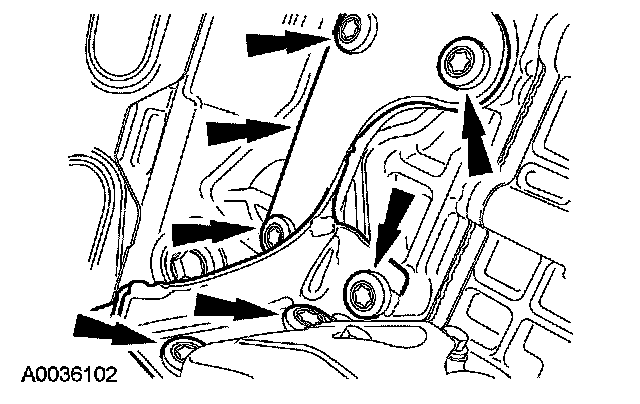
26. Install the RH catalytic converter.
AWD vehicles
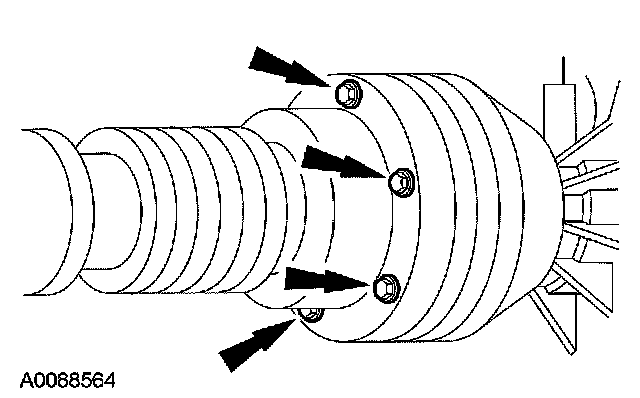
27. For vehicles equipped with a PTU, connect the rear driveshaft to the PTU. Install the PTU bolts.
^ Tighten to 37 Nm (27 ft. lbs.).
All vehicles
28. Install the exhaust pipe and connect the exhaust pipe flange.
^ Tighten to 29 Nm (21 ft. lbs.).
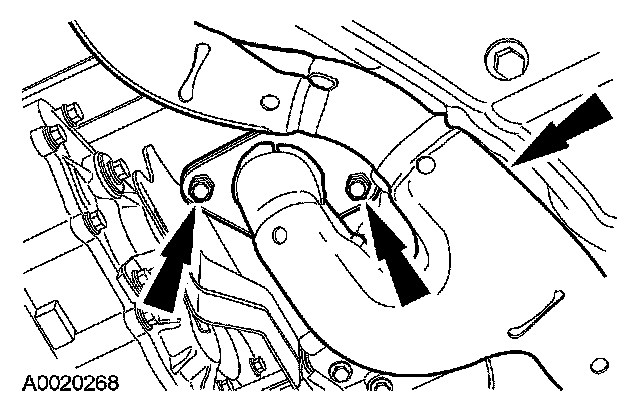
29. Connect the front flange.
^ Tighten to 29 Nm (21 ft. lbs.).
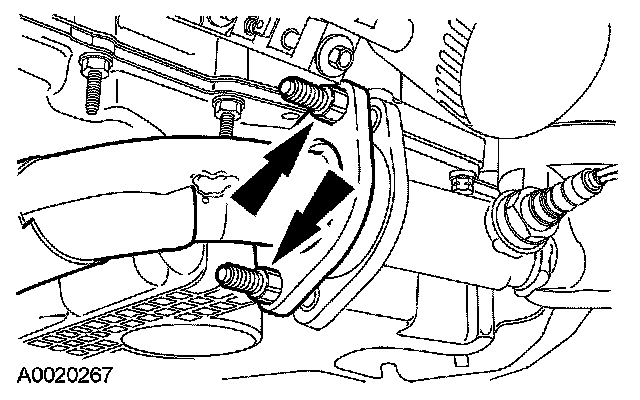
30. Install the exhaust pipe.
1. Install the rubber hanger.
2. Install the exhaust pipe and install the bolts.
^ Tighten to 29 Nm (21 ft. lbs.).
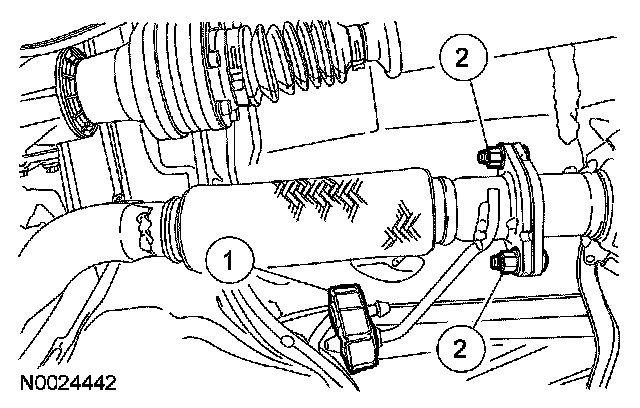
31. Install the cross brace.
^ Tighten to 115 Nm (85 ft. lbs.).
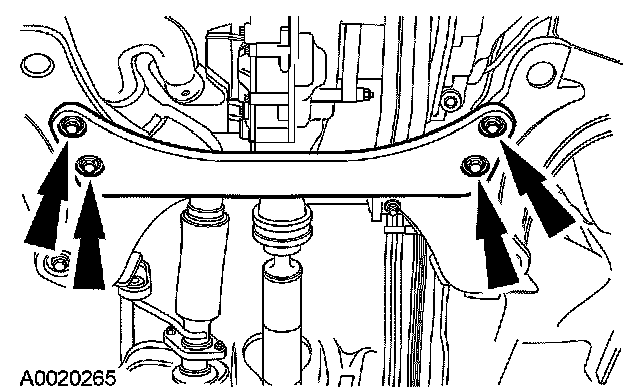
32. Install the intermediate shaft.
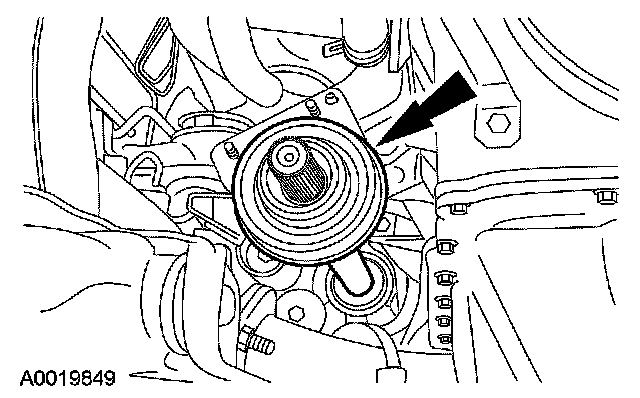
33. Install the intermediate shaft retaining nuts.
^ Tighten to 27 Nm (20 ft. lbs.).
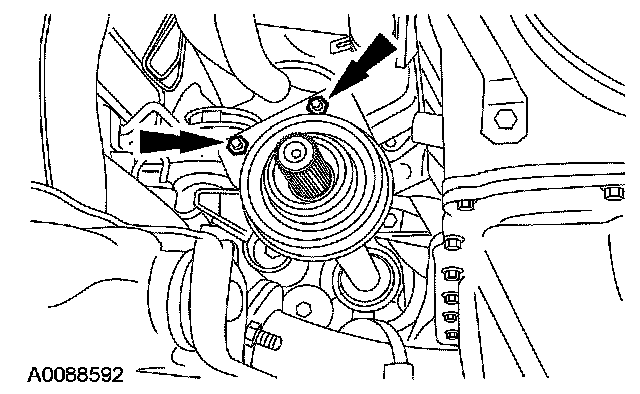
34. Reconnect the heated oxygen sensor (HO2S) sensor wire to the oil pan bolt studs and connect the connector.
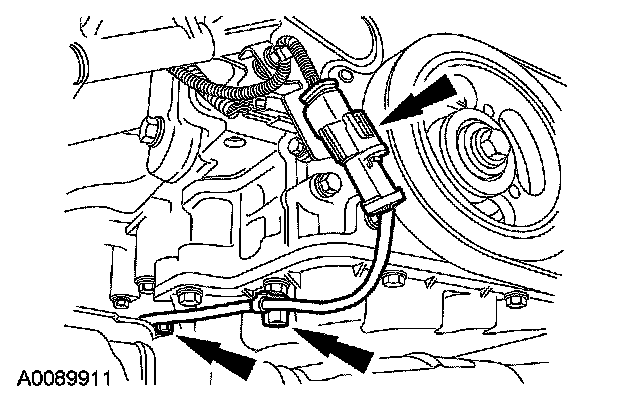
35. Install the generator shield and install the bolt.
^ Tighten to 10 Nm (89 inch lbs.).
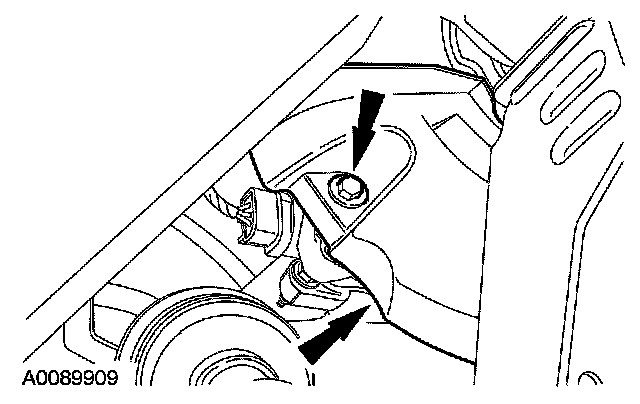
36. Install the retainer for the generator shield.
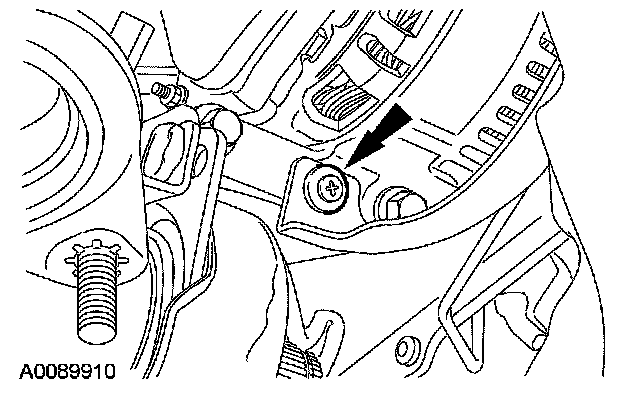
37. Install the LH and RH halfshafts in the transaxle.
38. Connect the LH suspension.
1. Install the lower ball joint into the knuckle and install the bolt.
^ Tighten to 63 Nm (46 ft. lbs.).
2. Install the tie-rod end retaining nut.
^ Tighten to 55 Nm (41 ft. lbs.).
3. Install a new tie-rod end nut cotter pin.
4. Connect the sway bar link.
^ Tighten to 63 Nm (46 ft. lbs.).
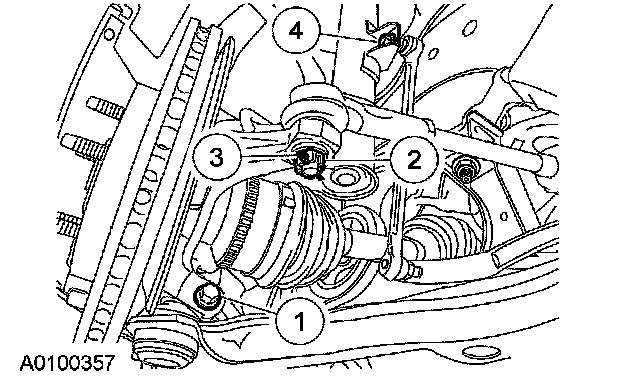
39. Connect the RH suspension.
1. Install the lower ball joint into the knuckle and install the bolt.
^ Tighten to 63 Nm (46 ft. lbs.).
2. Install the tie-rod end retaining nut.
^ Tighten to 55 Nm (41 ft. lbs.).
3. Install a new tie-rod end nut cotter pin.
4. Connect the sway bar link.
^ Tighten to 63 Nm (46 ft. lbs.).
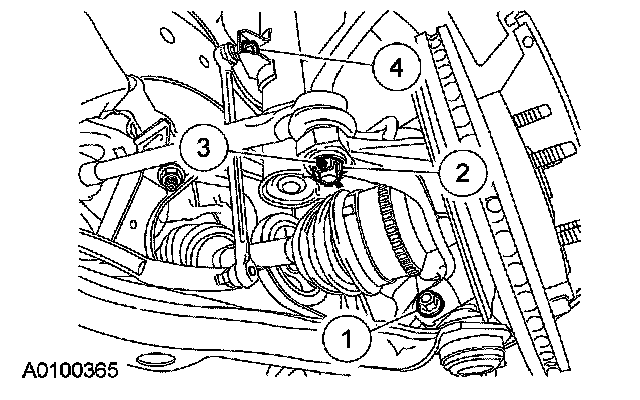
40. Install the LH splash shield and the 7 retainers.
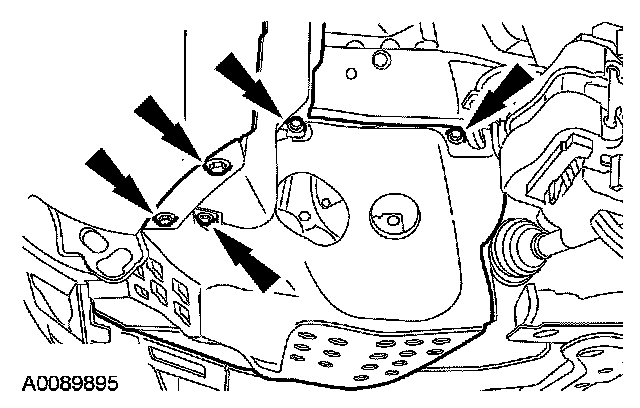
41. Install the RH splash shield and the 7 retainers.
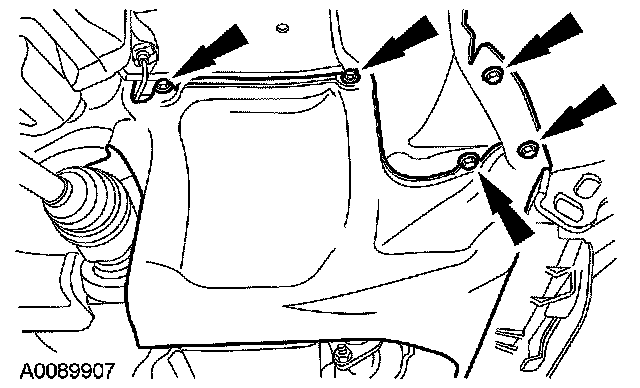
42. Install the bolt for the RH engine mount.
^ Tighten to 120 Nm (89 ft. lbs.).
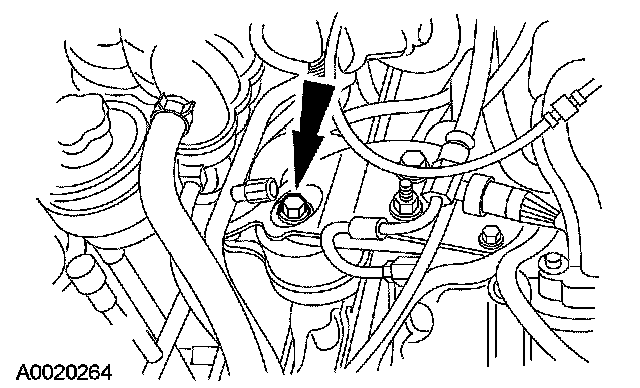
43. Tighten the LH upper transaxle mount assembly.
1. Tighten the 4 nuts for the bracket.
^ Tighten to 40 Nm (30 ft. lbs.).
2. Install the through bolt.
^ Tighten to 103 Nm (76 ft. lbs.).
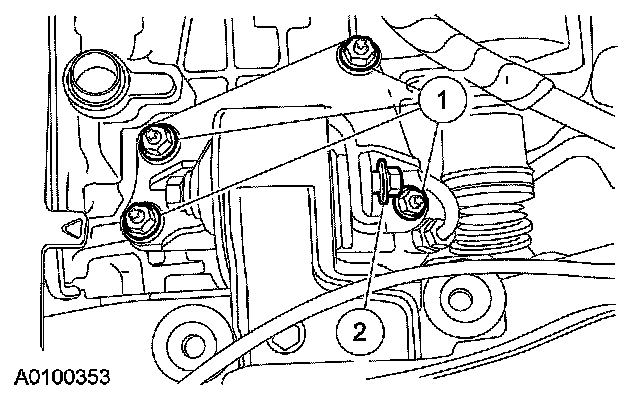
44. Install the upper transaxle retaining bolts.
^ Tighten to 40 Nm (30 ft. lbs.).
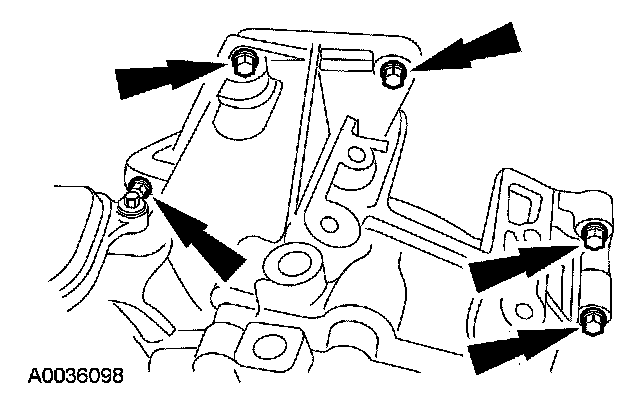
45. Remove the special tools.
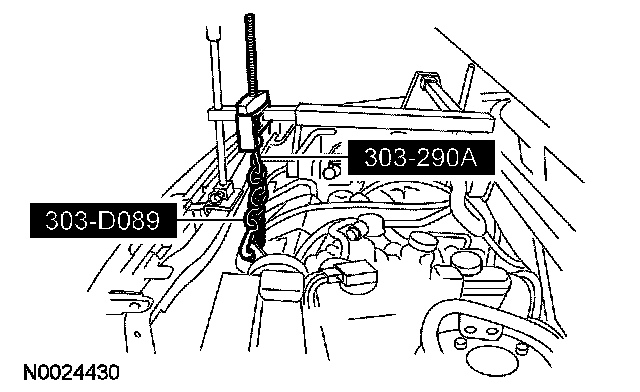
46. Remove the special tools.
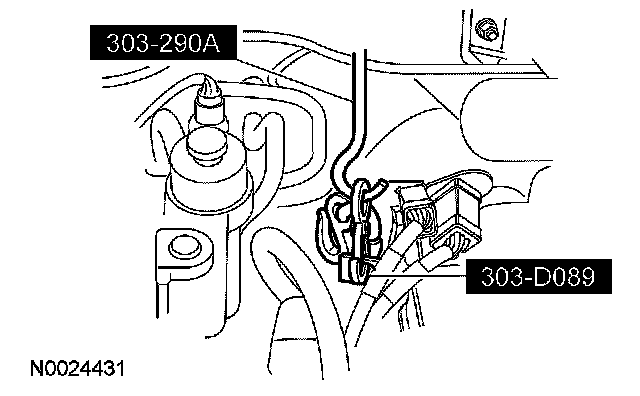
47. Remove the special tools.
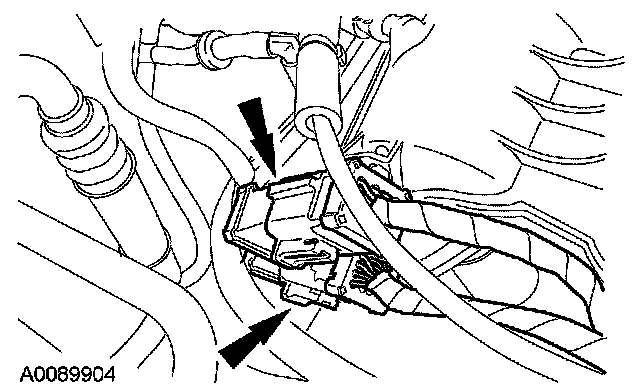
48. Connect the electrical connectors together and then connect them to the upper intake manifold.
49. Install the starter motor and install the bolts.
^ Tighten to 25 Nm (18 ft. lbs.).
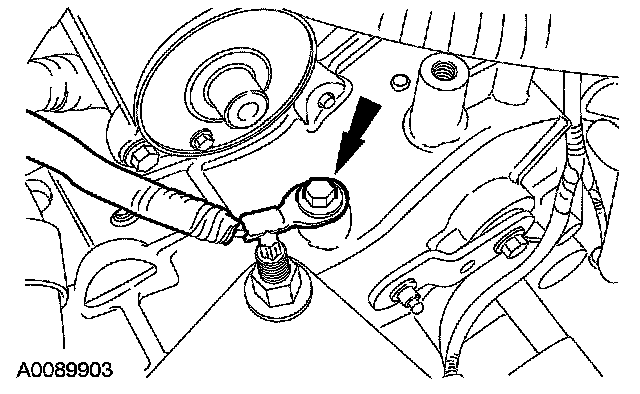
50. Install the ground cable.
^ Tighten to 27 Nm (20 ft. lbs.).
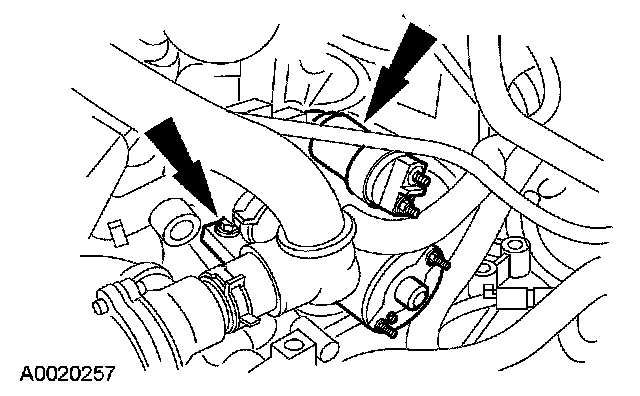
51. Install the starter motor solenoid harness connector.
1. Install the starter motor solenoid battery nut.
^ Tighten to 12 Nm (9 ft. lbs.).
2. Install the starter motor solenoid nut.
^ Tighten to 5 Nm (44 inch lbs.).
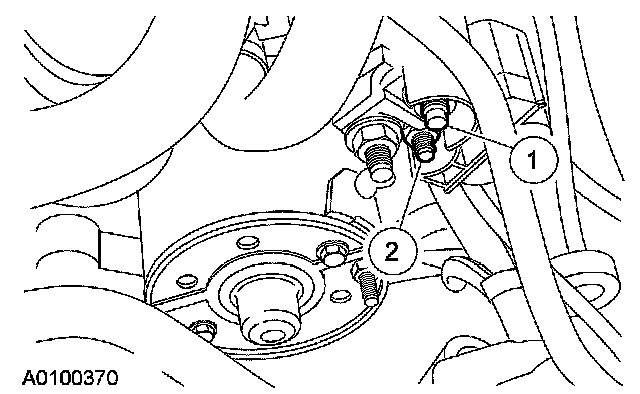
52. Install the shift cable and the bracket.
^ Tighten to 23 Nm (17 ft. lbs.).
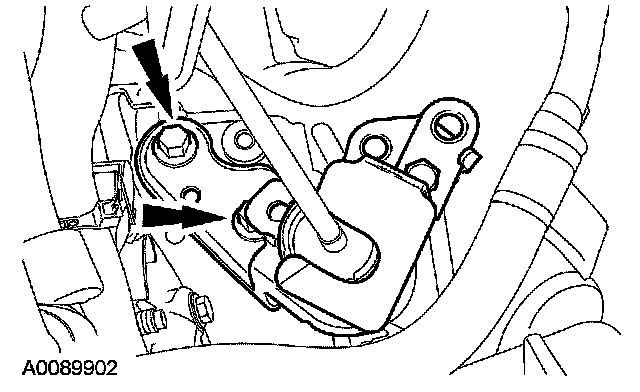
53. Connect the shift cable to the manual lever.
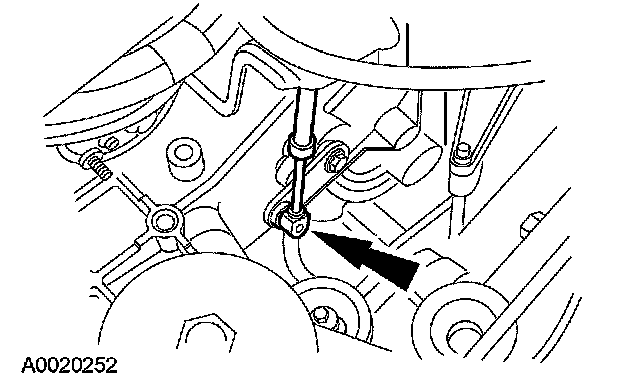
54. Connect the wire harness to the battery hold-down bracket.
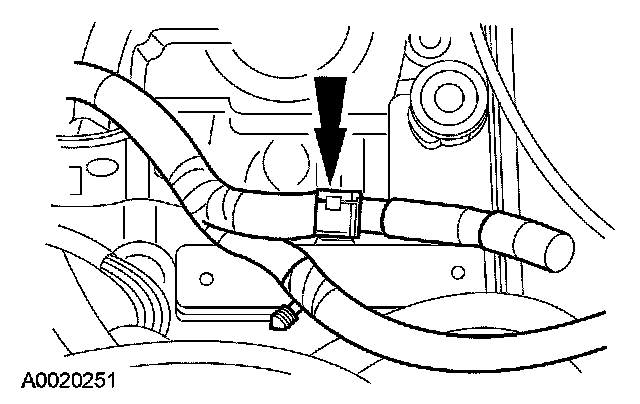
AWD vehicles
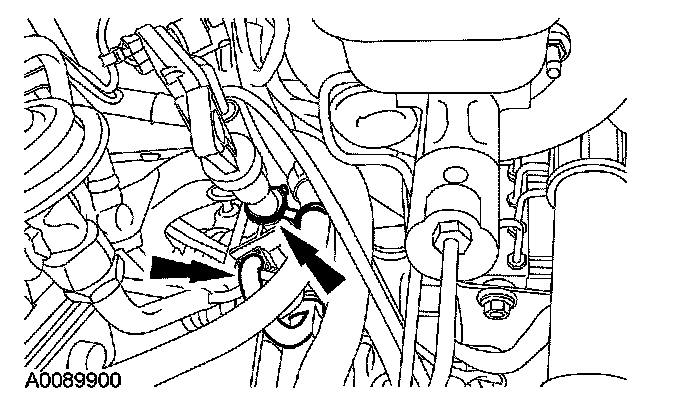
55. Connect the evaporative emissions (EVAP) and PTU vent hose to the transmission filler tube bracket.
All vehicles
56. Install the main control cover vent tube.
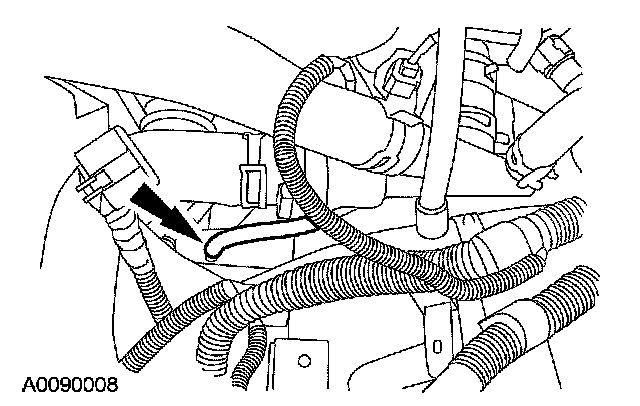
57. Position the bracket in place and install the nut. Connect the transaxle harness connector.
^ Tighten to 10 Nm (89 inch lbs.).
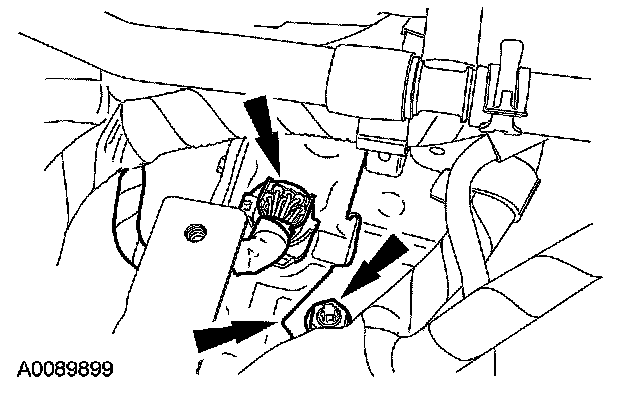
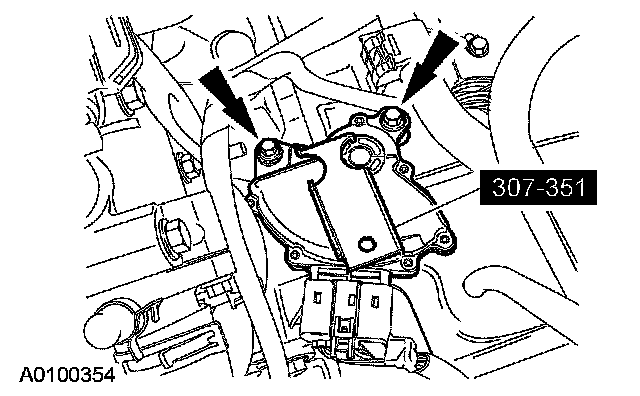
58. Connect the transmission range (TR) sensor.
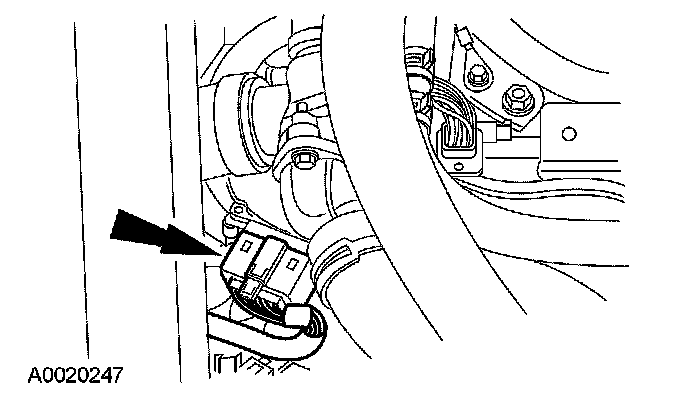
59. NOTE: If installing an exchange transaxle, the digital TR sensor must be aligned.
Using the special tool, align the digital TR sensor.
^ Tighten to 10 Nm (89 inch lbs.).
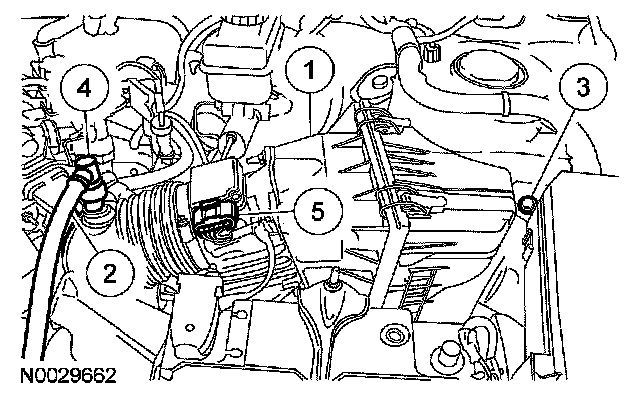
60. Install the air cleaner as an assembly.
1. Install the air cleaner assembly.
2. Connect the air intake tube.
3. Install the retaining bolt.
^ Tighten to 10 Nm (89 inch lbs.).
4. Install the breather tube.
5. Connect the mass air flow (MAF) sensor electrical connector.
61. NOTE: Before installing the battery tray, check the vent tube hose for any obstructions, kinks or incorrect routing position.
Install the battery tray.
62. Fill the transaxle with clean automatic transmission fluid.
63. Verify that the shift cable is correctly adjusted. The vehicle should start in PARK and REVERSE and the reverse lamps should illuminate in REVERSE.
64. Check the fluid level and correct as necessary.