Axle Assembly
Axle AssemblyRemoval and Installation
1. With the vehicle in NEUTRAL, position it on a hoist.
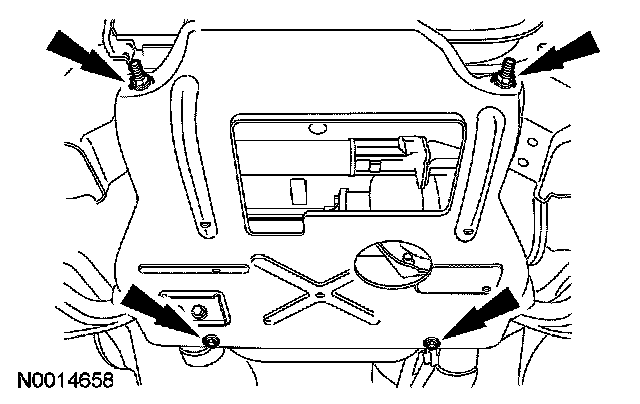
2. If equipped, remove the front skid plate nuts and the front skid plate.
^ To install, tighten to 15 Nm (11 ft. lbs.).
3. Remove the front driveshaft.
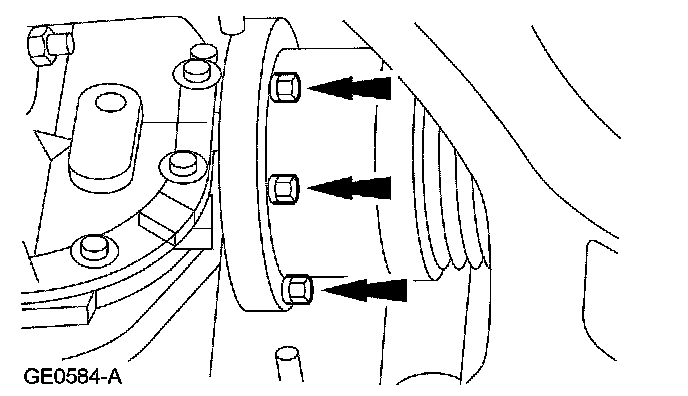
4. CAUTION: Do not allow the halfshaft to hang unsupported.
Remove the 12 halfshaft flange-to-axle shaft flange bolts, and disconnect the front halfshafts from the axle shafts.
^ To install, tighten to 82 Nm (60 ft. lbs.).
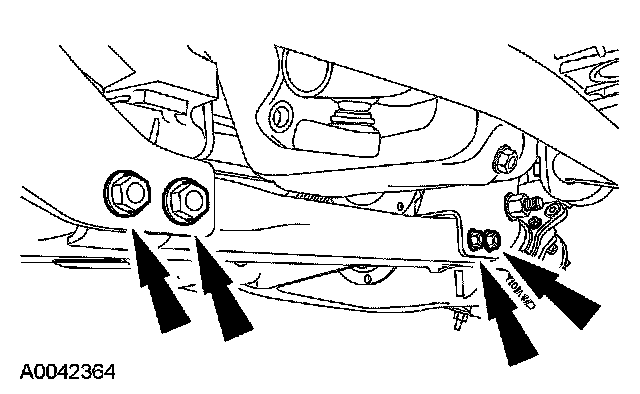
5. Remove the 4 crossmember bolts and the crossmember.
^ To install, tighten to 90 Nm (66 ft. lbs.).
6. Use a high-lift jack to support the axle assembly.
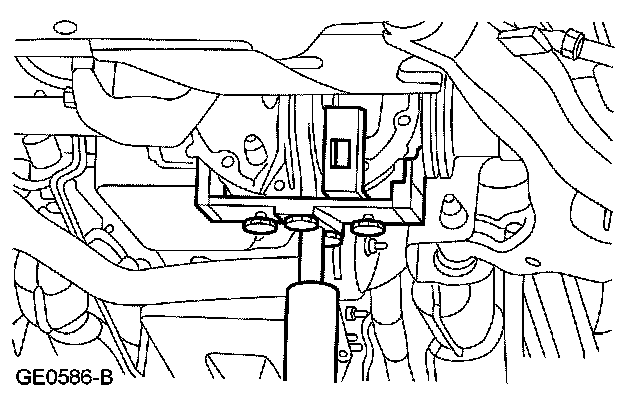
7. Remove the axle tube bushing nut and axle tube bushing bolt.
^ To install, tighten to 115 Nm (85 ft. lbs.).
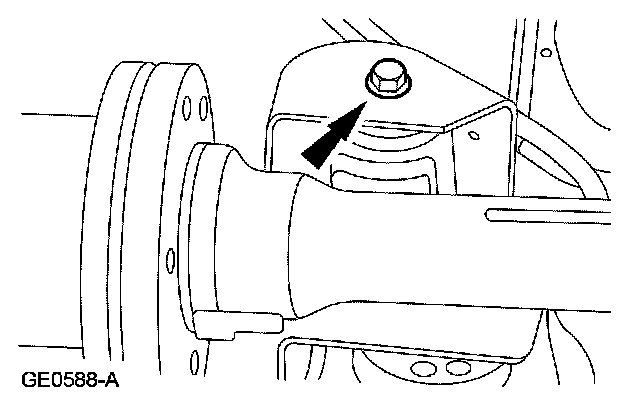
8. Remove the lower mounting bushing bolt.
^ To install, tighten to 115 Nm (85 ft. lbs.).
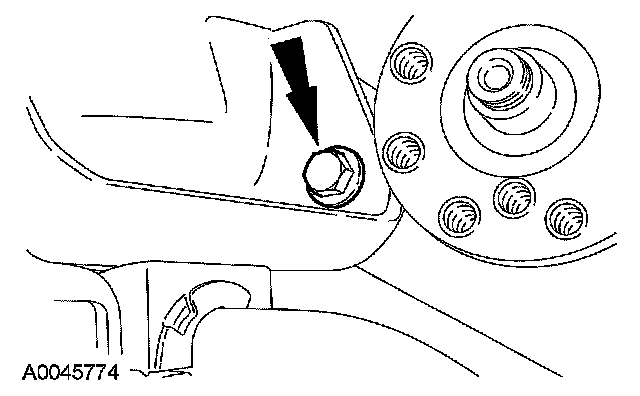
9. Remove the upper mounting bushing bolt.
^ To install, tighten to 115 Nm (85 ft. lbs.).
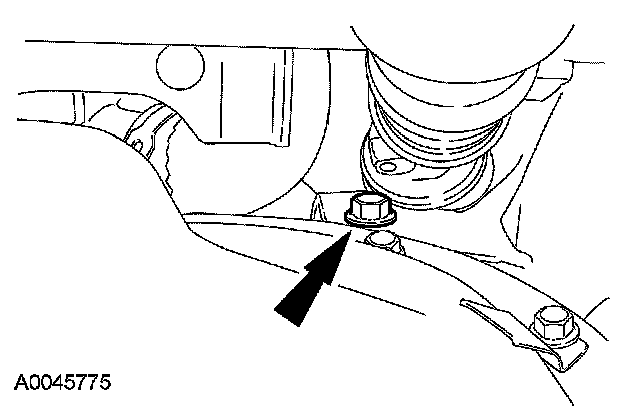
10. Carefully lower the axle assembly.
11. Disconnect the vent hose from the axle vent.
12. To install, reverse the removal procedure.