Transmission Cooler: Service and Repair
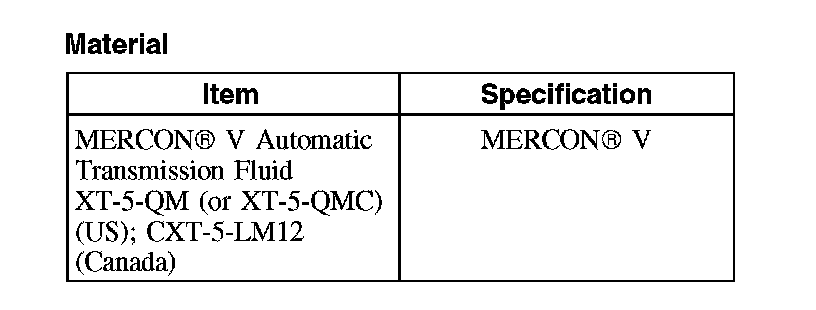
Transmission Fluid Cooler - 2.0LMaterial:
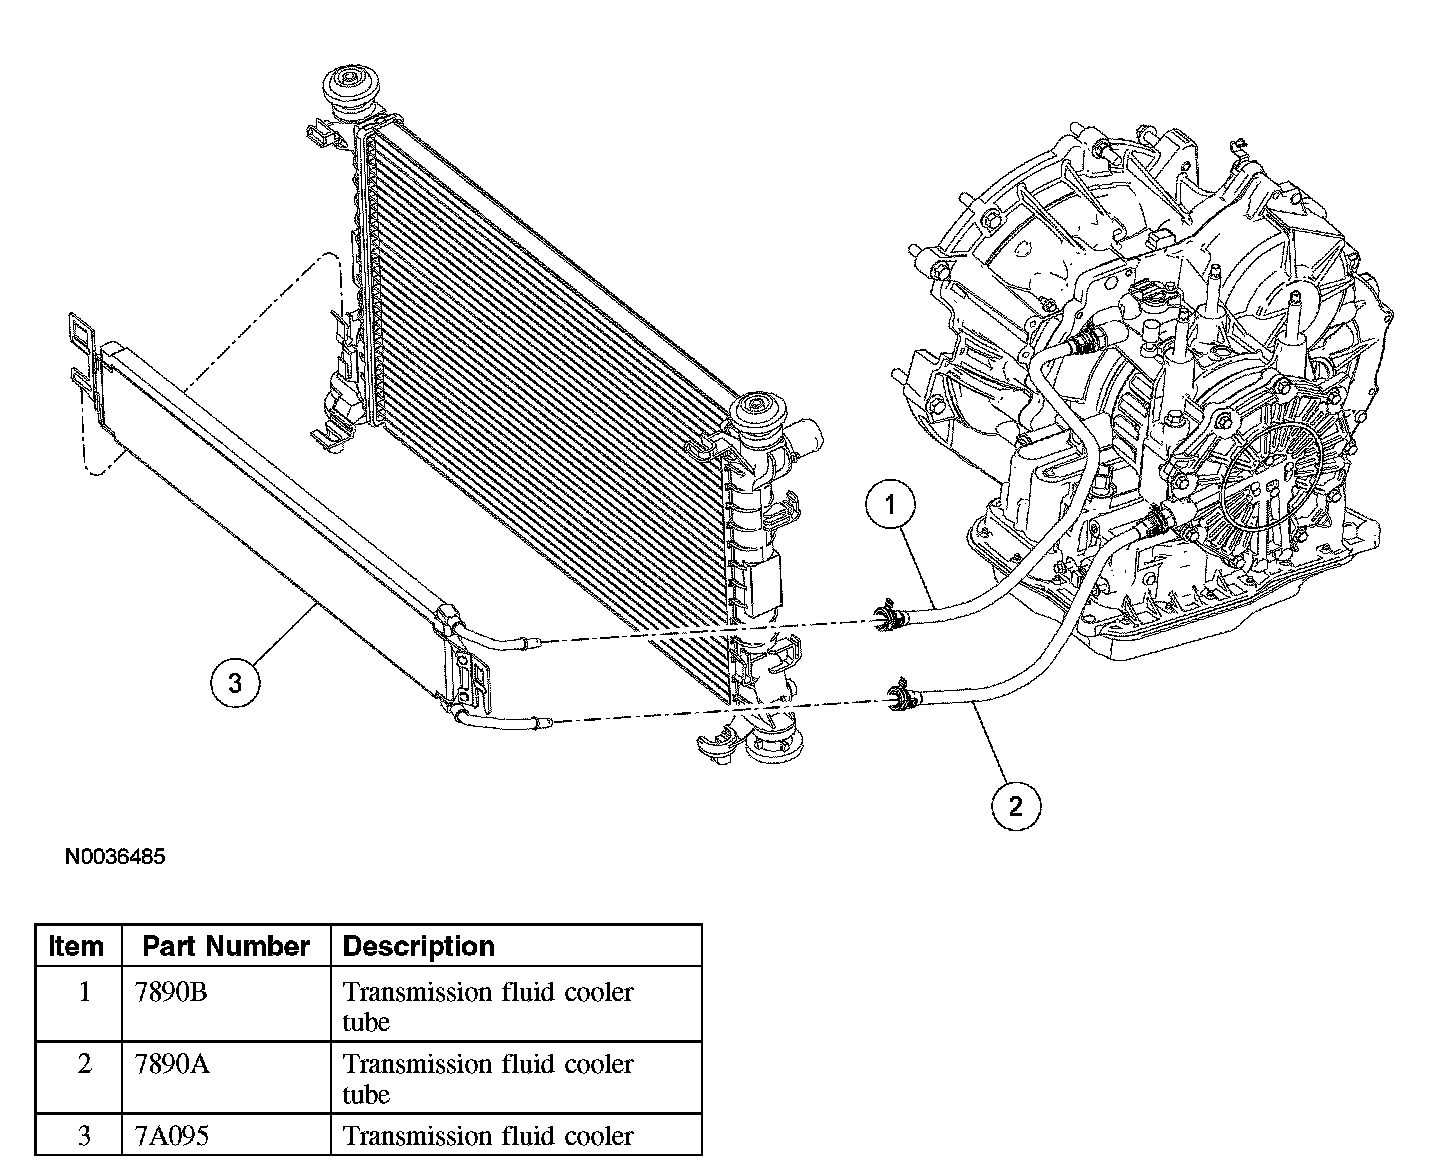
Removal
All vehicles
1. With the vehicle in NEUTRAL, position it on a hoist. For additional information, refer to Maintenance/Service and Repair..
Vehicles with air conditioning
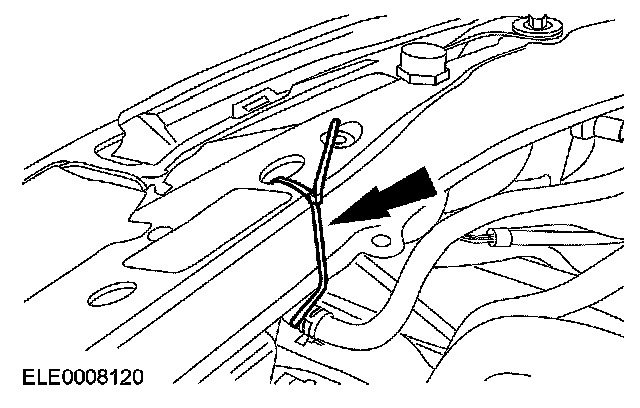
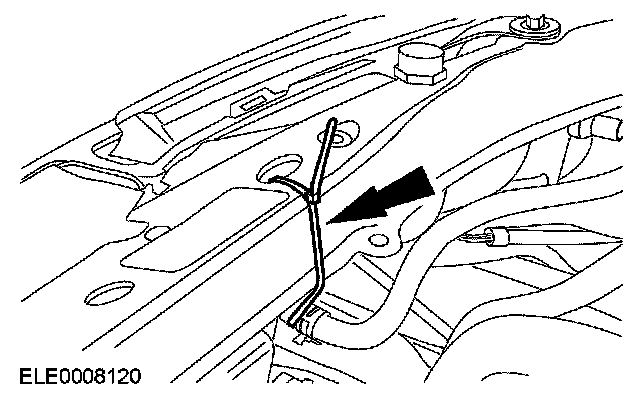
2. Using a cable tie, secure the radiator to the radiator support.
All vehicles
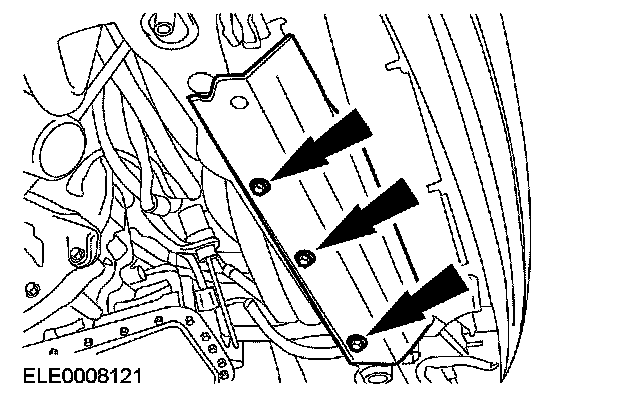
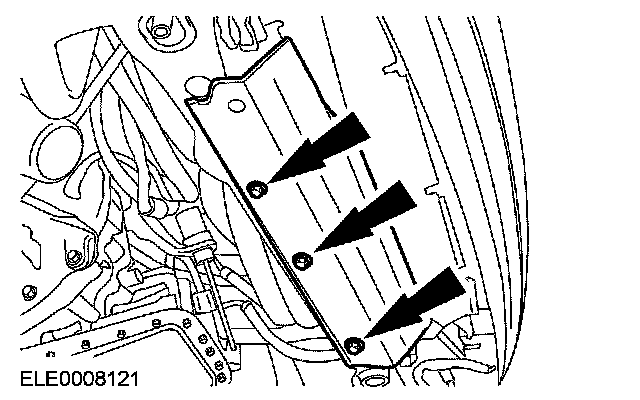
3. Remove the radiator splash shield.
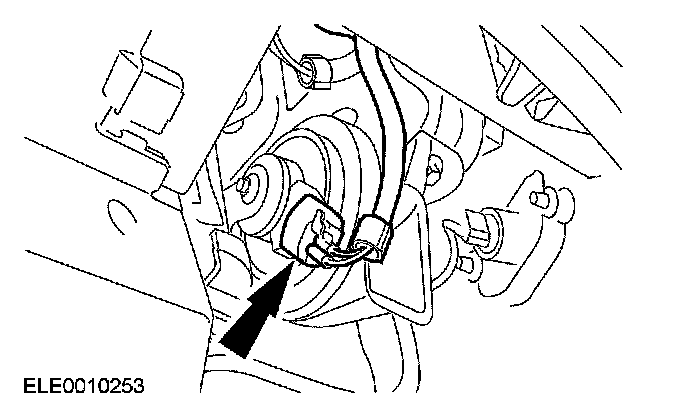
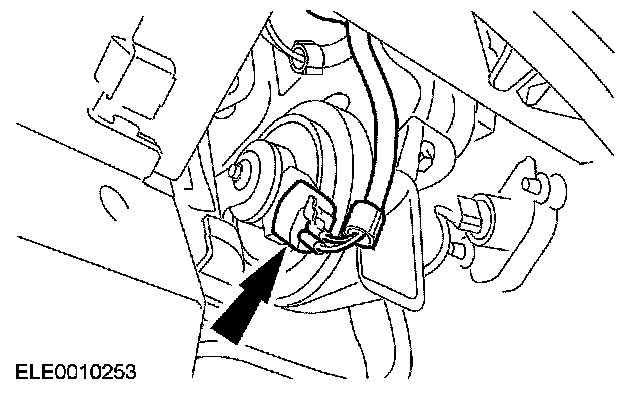
4. Disconnect the horn electrical connector.
Vehicles with air conditioning
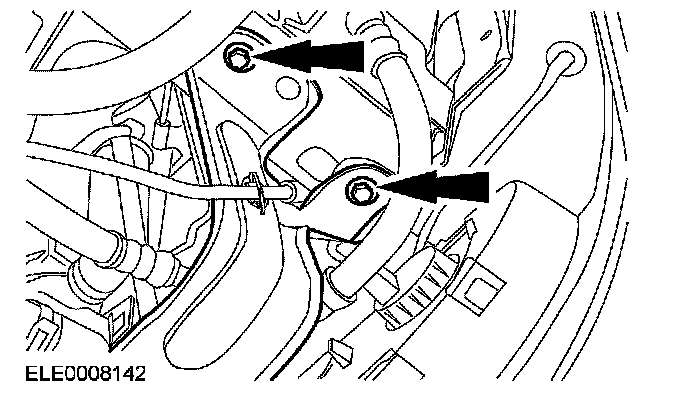
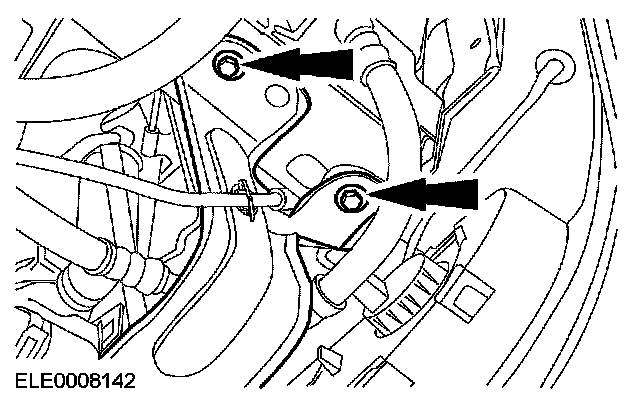
5. Unclip the air conditioning compressor clutch cable, then remove the radiator bracket.
All vehicles
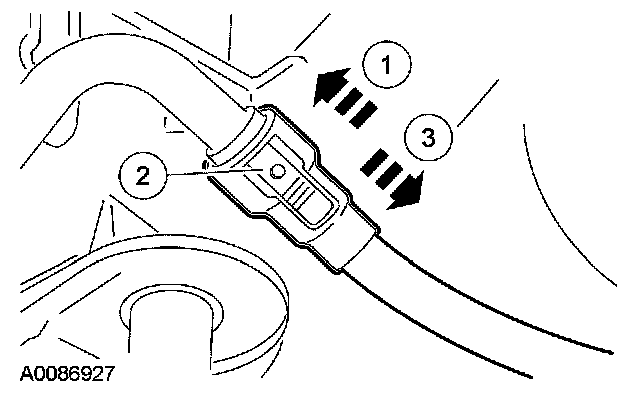
6. NOTE: Take notice of retaining ring color for correct orientation at installation.
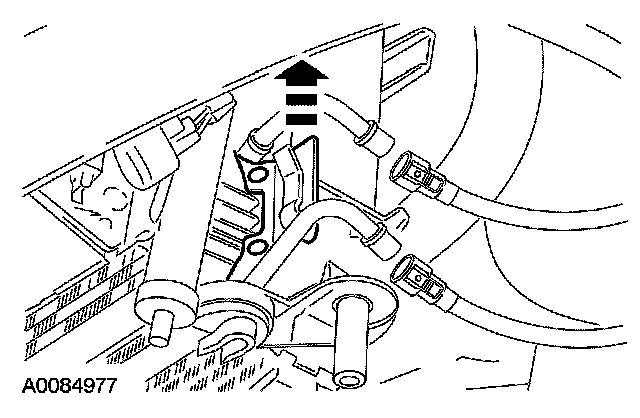
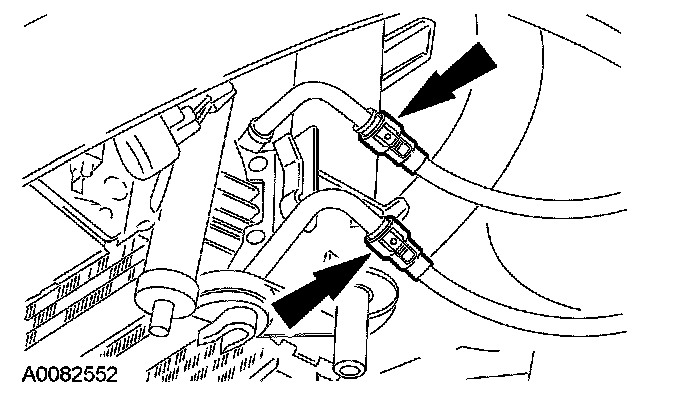
Disconnect the transmission fluid cooler tubes.
1. Push the connector fitting into the cooler line.
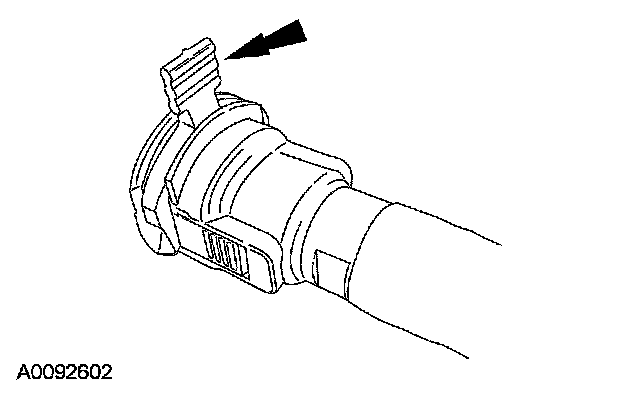
2. Press the tab release button.
3. Pull the connector fitting off the cooler line.
Vehicles with air conditioning
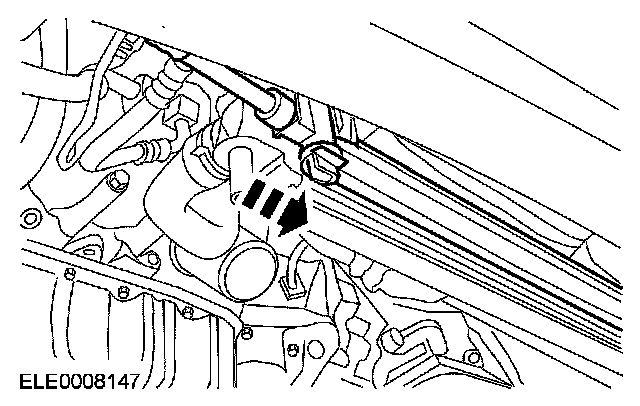
7. Remove the air conditioning condenser from the bracket and position it aside.
All vehicles
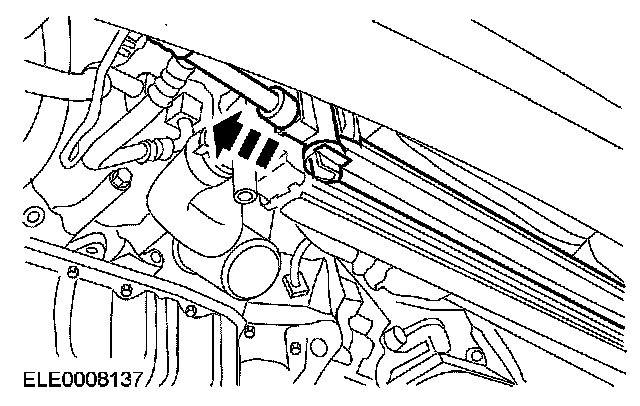
8. Remove the RH and LH transmission fluid cooler from the brackets.
Installation
All vehicles
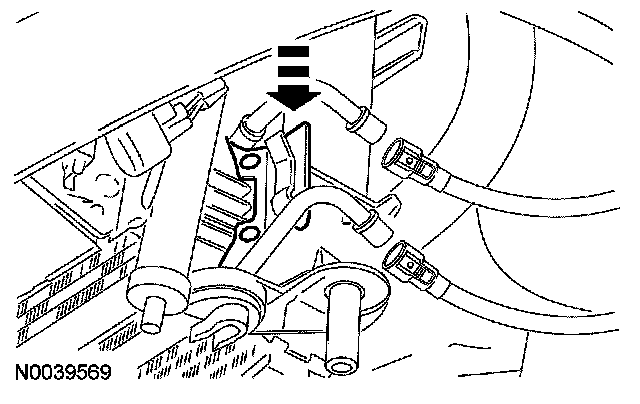
1. Install the RH and LH transmission fluid cooler into the brackets.
Vehicles with air conditioning
2. Install the air conditioning condenser.
3. Install the radiator bracket, then attach the air conditioning compressor clutch cable.
All vehicles
4. NOTE: New cooler tubes come with a disposable clip to aid in installation.
Connect the transaxle fluid cooler tubes.
^ Pull back on the connectors to confirm that they are locked on the cooler lines.
5. Once the quick disconnect fitting is locked into place, remove and discard the disposable service clip.
6. Connect the horn electrical connector.
7. Install the radiator splash shield.
8. Remove the cable ties from the radiator.
9. Check the automatic transmission fluid level and fill if necessary.