Part 2
EngineInstallation (Steps 41-80)
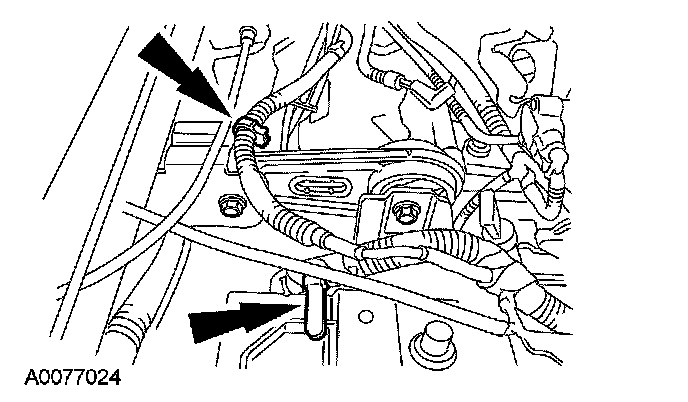
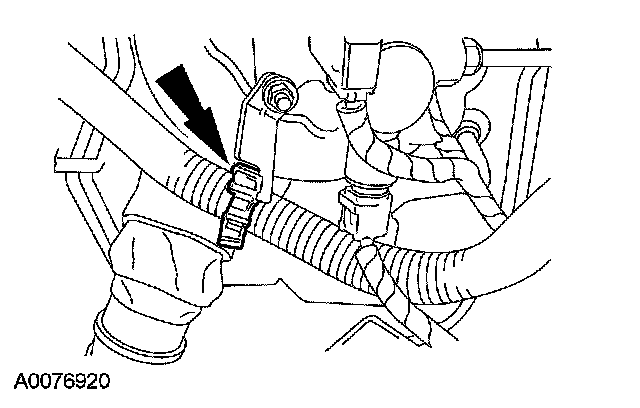
41. Connect the heater hose.
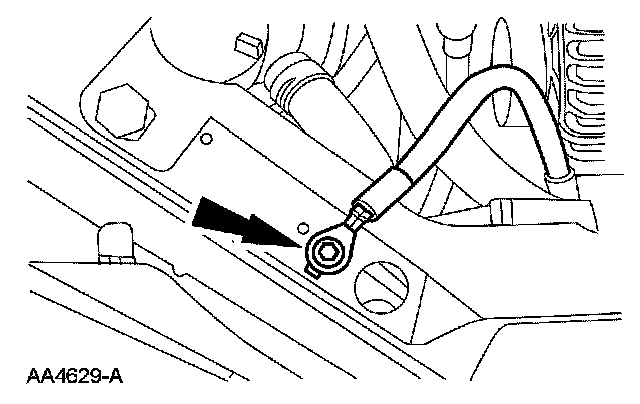
42. Install the ground cable.
^ Tighten to 10 Nm (89 inch lbs).
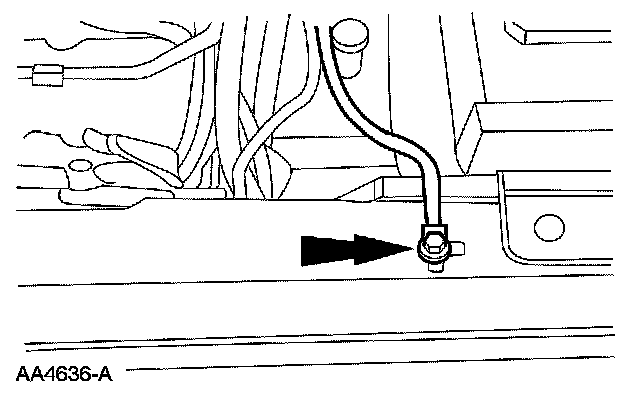
43. Install the ground cable.
^ Tighten to 10 Nm (89 inch lbs).
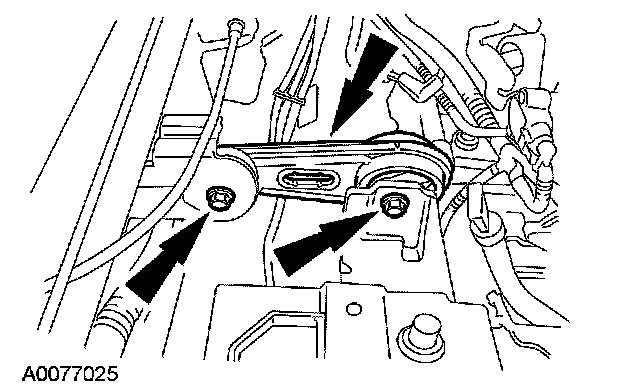
44. Position the engine roll restrictor and install the 2 bolts.
^ Tighten to 63 Nm (46 ft. lbs).
45. Install the 2 engine harness retainers.
46. Install the sight shield.
^ Install the 3 pin-type retainers.

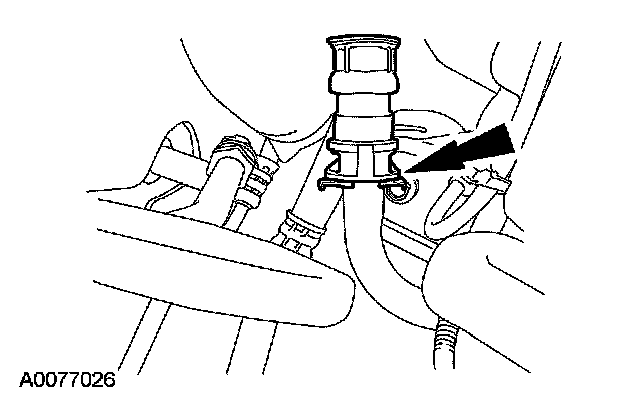
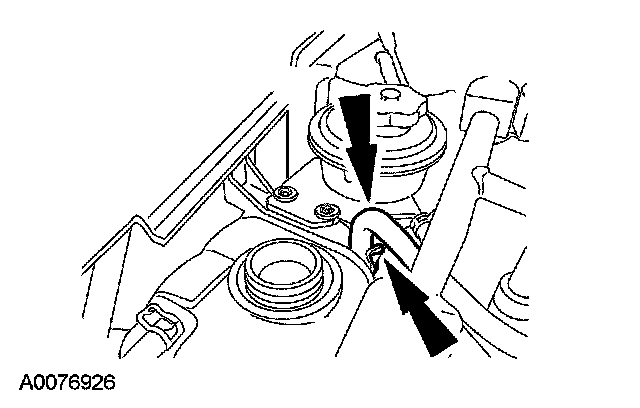
47. Connect the degas bottle hose.
^ Position the clamp.
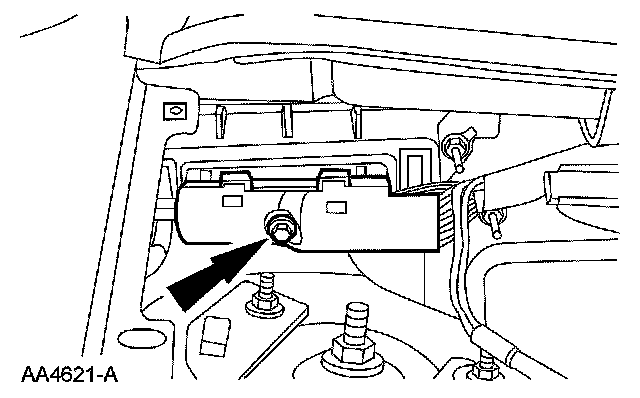
48. Connect the PCM and tighten the bolt.
^ Tighten to 10 Nm (89 inch lbs).
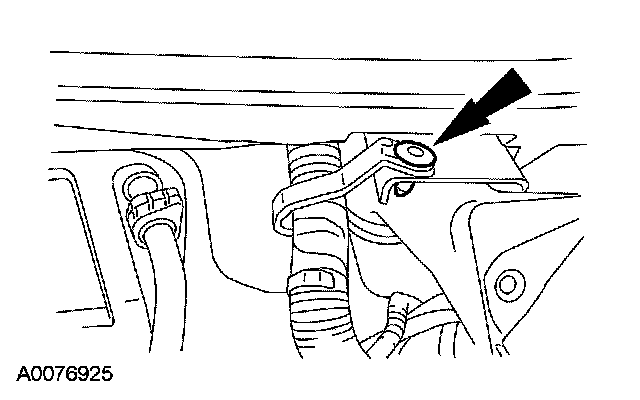
49. Position the engine wire harness ground and install the bolt.
^ Tighten to 10 Nm (89 inch lbs).

50. Install the engine wiring harness pin-type retainer.
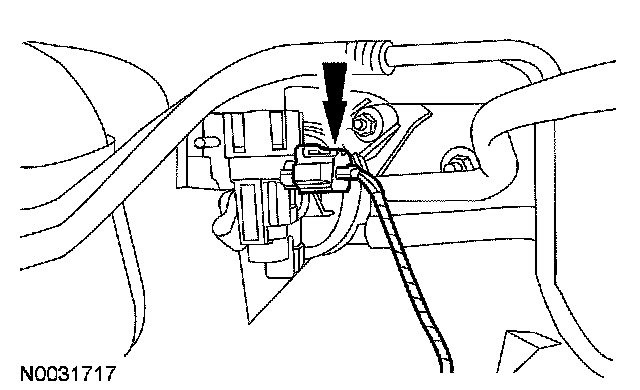
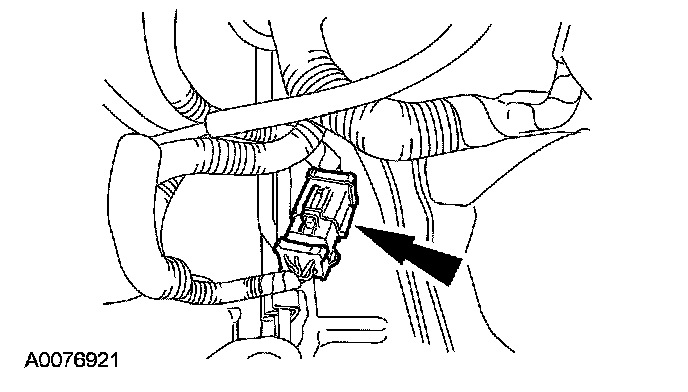
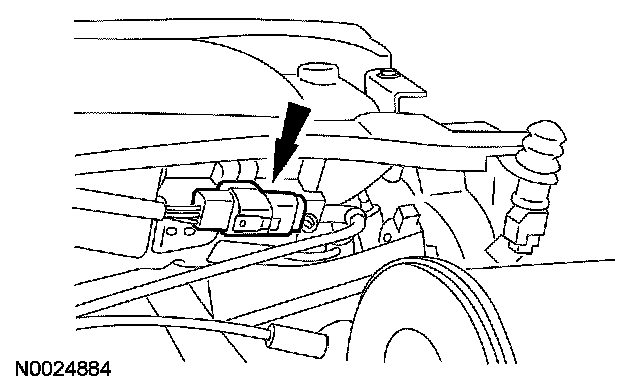
51. Connect the evaporative emissions (EVAP) canister purge valve electrical connector.
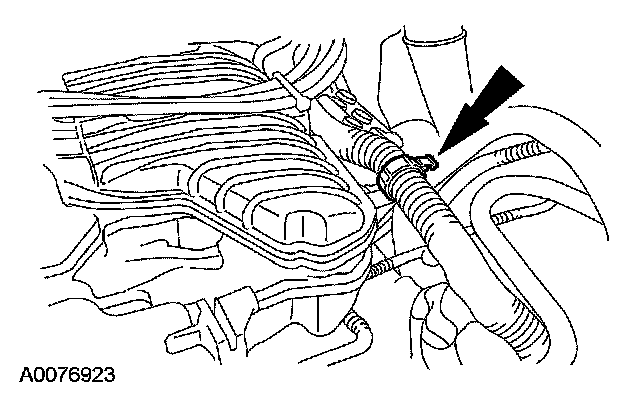
52. Connect the brake booster vacuum hose.
^ Position the clamp.
53. Install the engine wiring harness into the retainer.
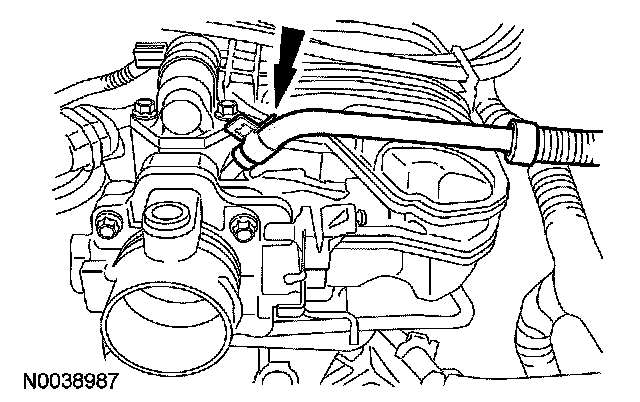
54. Connect the EVAP return tube.
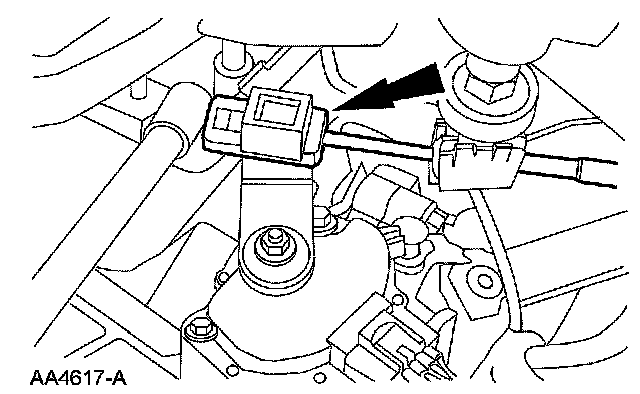
55. Install the shift cable in the shift cable bracket.
56. Connect the shift cable.
57. Connect the 16-pin electrical connector.
58. Install the engine wiring harness into the retainer.
59. Install the engine wiring harness into the retainer.
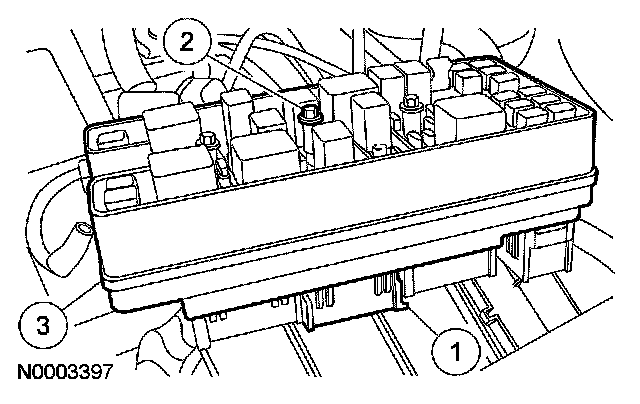
60. Install the 68-pin connector into the power distribution box.
1 Connect the 68-pin connector to the power distribution box.
2 Install the bolt and tighten to 10 Nm (89 inch lbs).
3 Attach the power distribution box to the bracket.
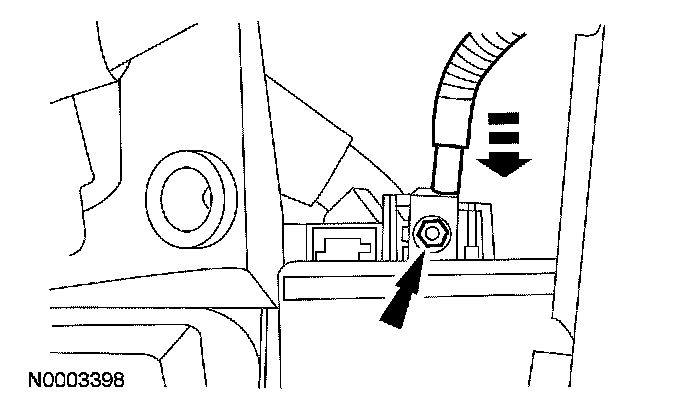
61. Connect the B+ terminal to the power distribution box.
^ Tighten to 10 Nm (89 inch lbs).
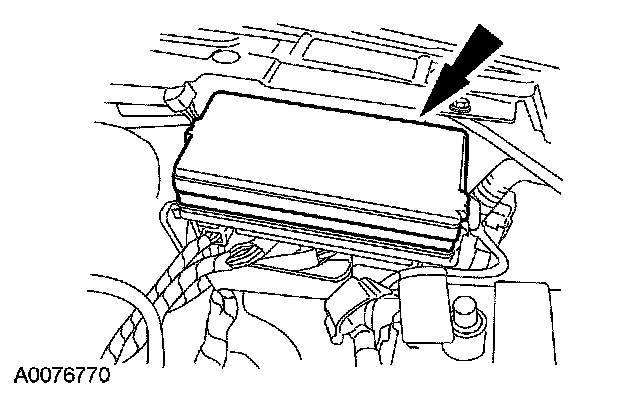
62. Install the power distribution box cover.
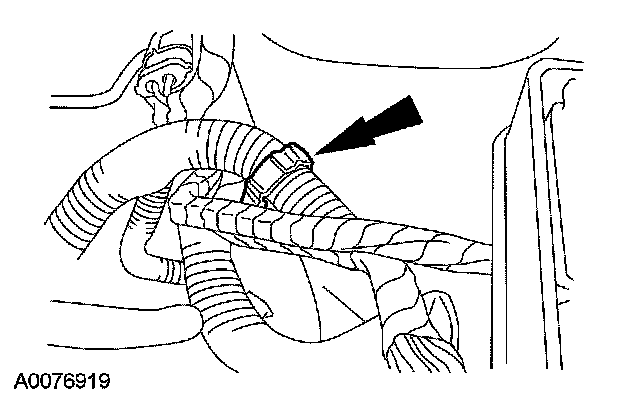
63. Connect the upper radiator hose and heater hoses.
64. Install the accelerator bracket.
^ Position the bracket.
^ Install the stud bolts and tighten to 10 Nm (89 inch lbs).
^ Attach the engine wiring harness retainer.
65. Connect the accelerator cable end and the speed control actuator cable end. Install the throttle return spring.

66. Install the dual converter Y-pipe. For additional information, refer to Catalytic Converter.
67. Install the starter.
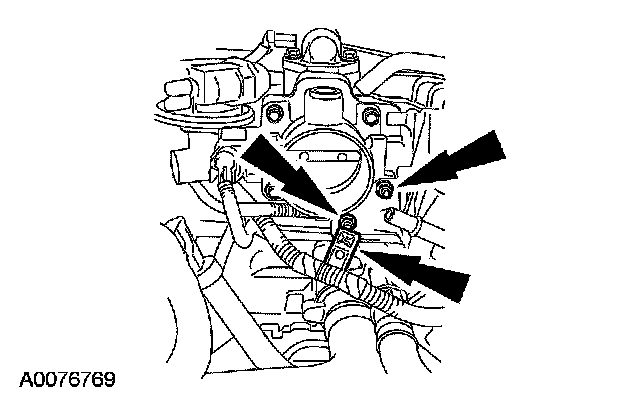
68. Install the power steering pump.
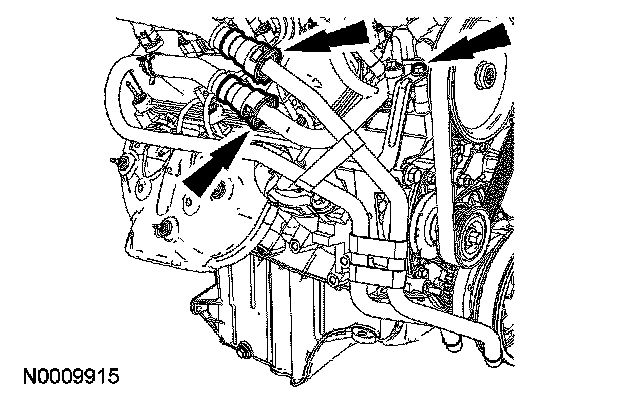
69. If equipped, install the oil cooler coolant tubes and the bolt.
^ Tighten to 25 Nm (18 ft. lbs).
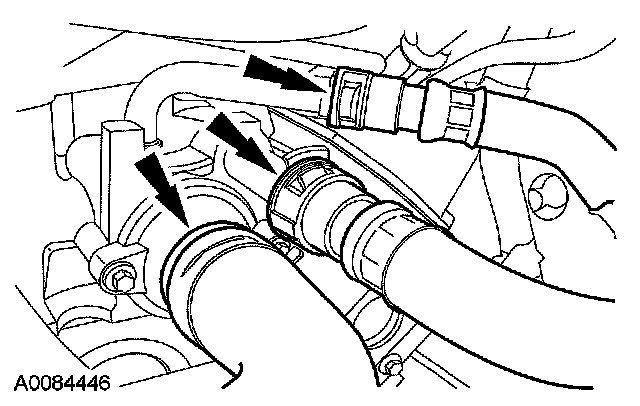
^ Connect the 2 upper quick connect fittings.
70. If equipped, connect the 2 lower oil cooler coolant tube quick connect fittings.

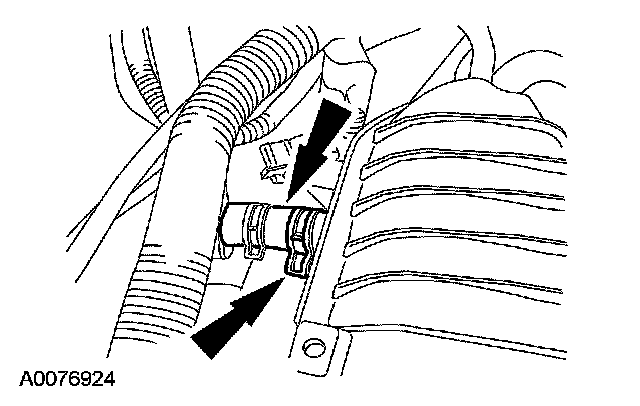
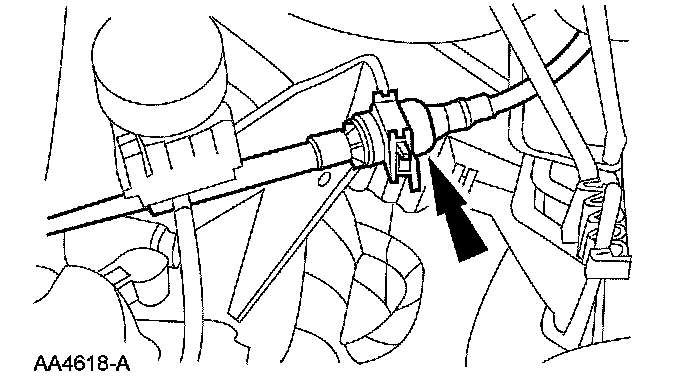
71. Connect the fuel supply manifold spring lock coupling. For additional information, refer to Fuel Delivery and Air Induction.
72. Install the engine air cleaner and engine air cleaner outlet tube.
73. Install the cowl top panel and bolts.
^ Tighten to 6 Nm (53 inch lbs).

74. Connect the windshield wiper motor electrical connector.
75. Install the cowl panel grille.
76. Connect the battery ground and positive cables. For additional information, refer to Battery.
77. Fill the engine with clean engine oil.
78. Fill and bleed the engine cooling system.
79. Fill the power steering system.
80. Recharge the air conditioning system. For additional information, refer to Heating and Air Conditioning.