Control Arm: Service and Repair
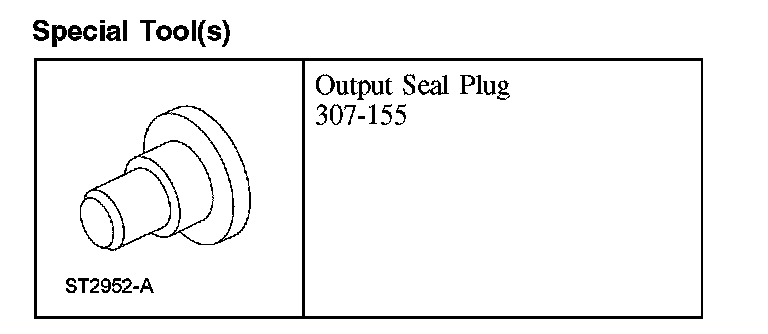
Lower ArmSpecial Tool(s):
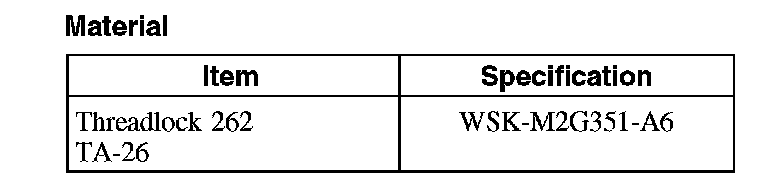
Material:
Removal and Installation
CAUTION: Suspension fasteners are critical parts because they affect the performance of vital components and systems and their failure can result in major service expense. A new part with the same part number must be installed. Do not use a new part of lesser quality or of a substitute design. Torque values must be used as specified during reassembly to make sure of correct retention of these parts.
1. With the vehicle in NEUTRAL, position it on a hoist. For additional information, refer to Maintenance/Service and Repair.
2. Remove and discard the lower ball joint pinch bolt and nut.
^ To install, tighten to 90 Nm (66 ft. lbs).
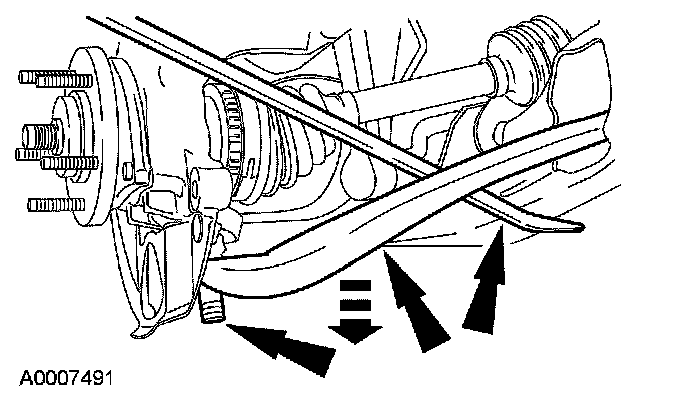
3. NOTE: To access the lower control arm, turn the wheel end to the right lock when removing the left lower control arm and turn wheel to the left lock when removing the right lower control arm.
Insert a large pry bar (for leverage) into the opening in the lower control arm and disconnect the lower arm from the wheel knuckle.
^ Approach the lower control arm from the rear of the vehicle to avoid any contact with brake lines.
^ The larger the pry bar, the easier it will be to separate the lower control arm from the knuckle.
^ Do not pry in the ball joint-to-knuckle joint. Doing so may cause damage to the ball joint dust boot.
4. CAUTION: The lower control arm attachment-to-subframe bolts contain thread adhesive. Do not partially remove bolts. When removing or installing bolts, do so with one continuous sequence to prevent the adhesive from setting.
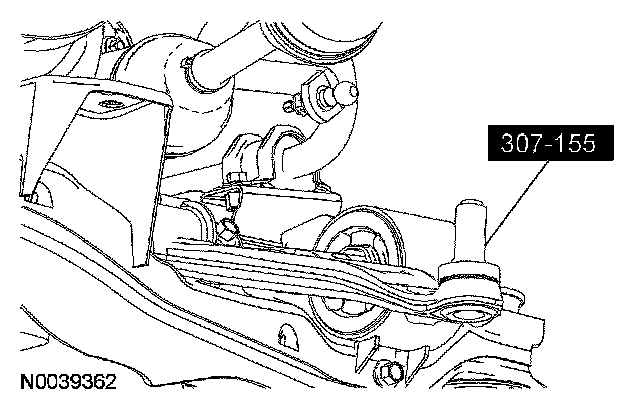
After separating the lower control arm from the wheel knuckle, immediately install the special tool over the ball stud before releasing the lower control arm and knuckle into rest position.
^ Leave the special tool in place during service and only remove prior to reassembly.
5. Remove the lower arm bushing bolts.
^ To install, tighten to 90 Nm (66 ft. lbs).
6. To install, reverse the removal procedure.