Pinion Flange: Service and Repair
Drive Pinion Seal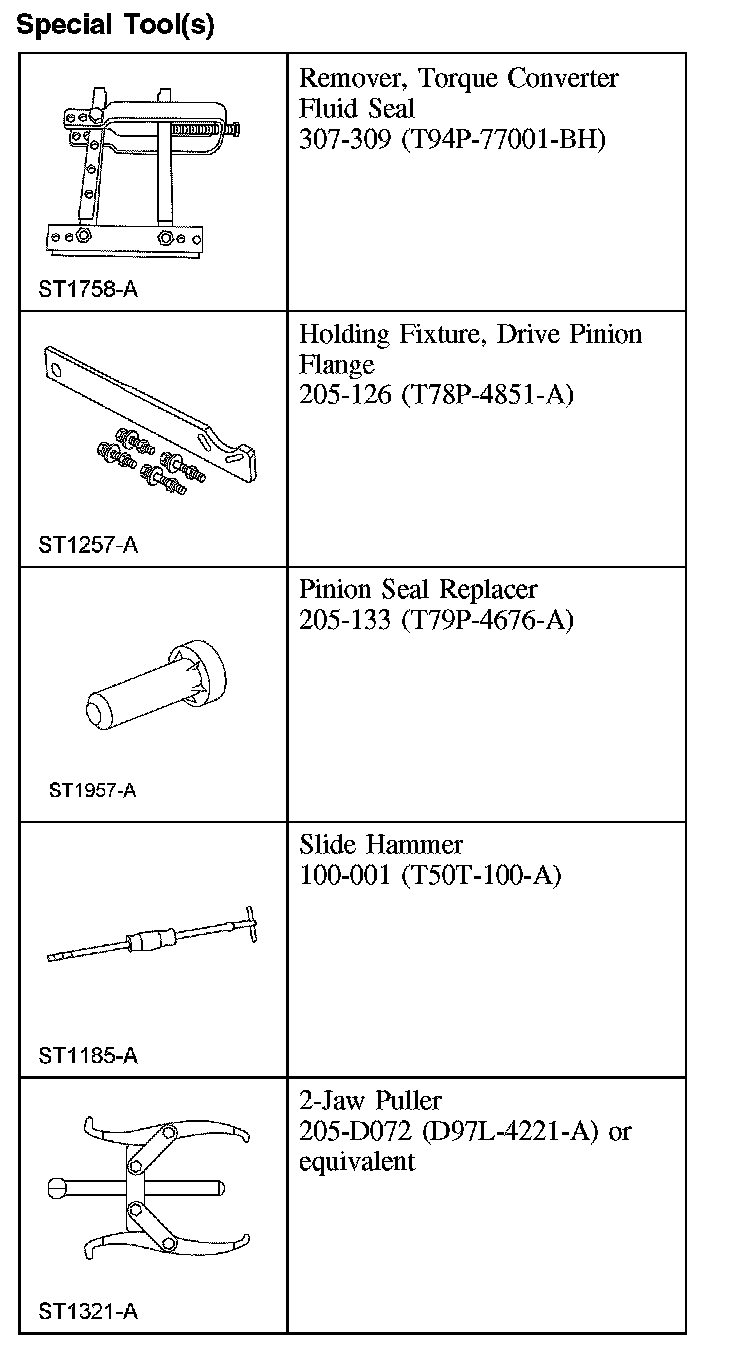
Removal
1. With the vehicle in NEUTRAL, position it on a hoist.
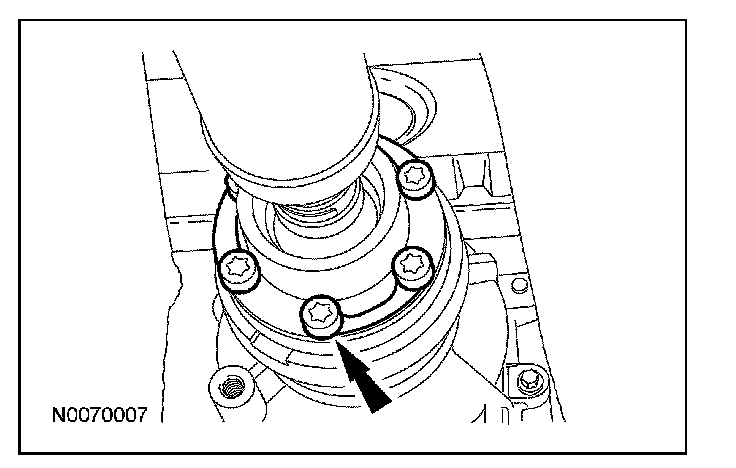
2. NOTE: Index-mark the pinion and pinion flange to the rear of the driveshaft.
NOTE: Support the driveshaft.
Remove the 3 bolt and washer assemblies and discard.
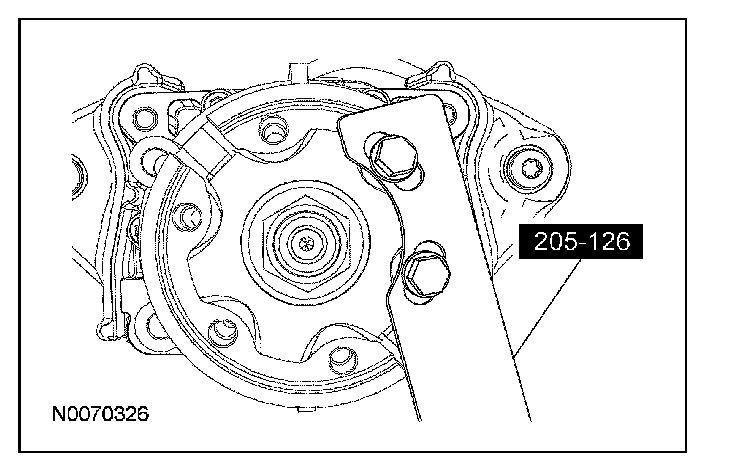
3. Using the special tool, hold the pinion flange and remove the nut.
^ Discard the nut.
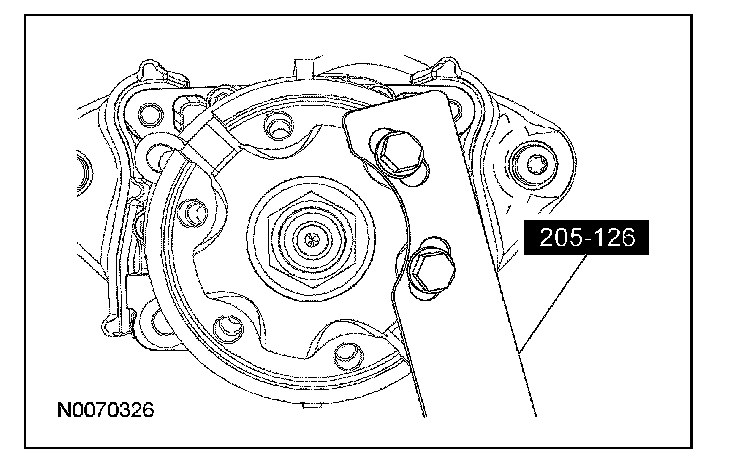
4. Index-mark the location of the pinion to the yoke.
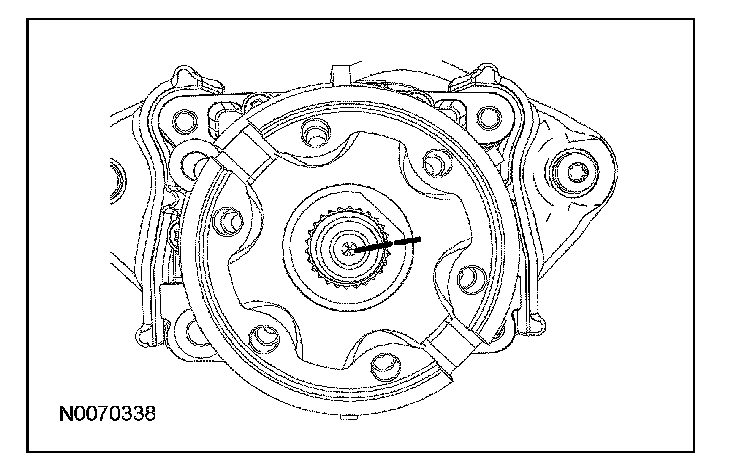
5. Using the special tool, remove the pinion flange.
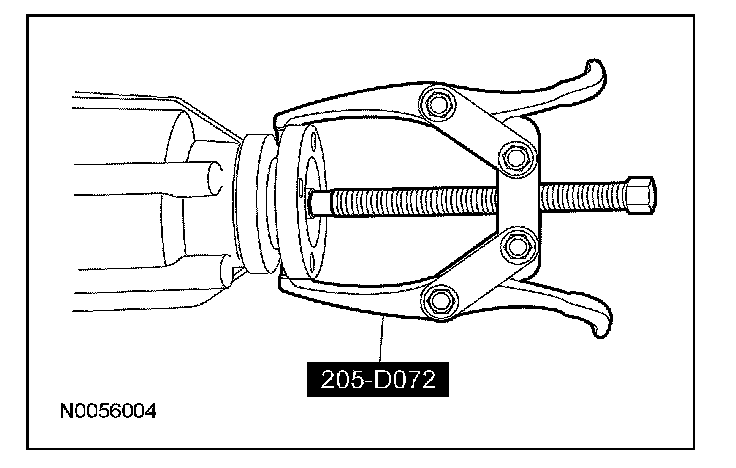
6. Using the special tool, remove the seal.
Installation
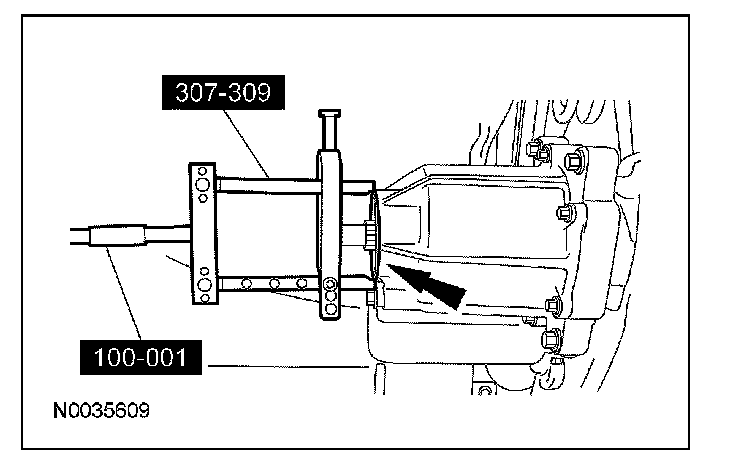
1. NOTE: Make sure that the mating surface is clean before installing the new seal.
Using the special tool, install the seal.
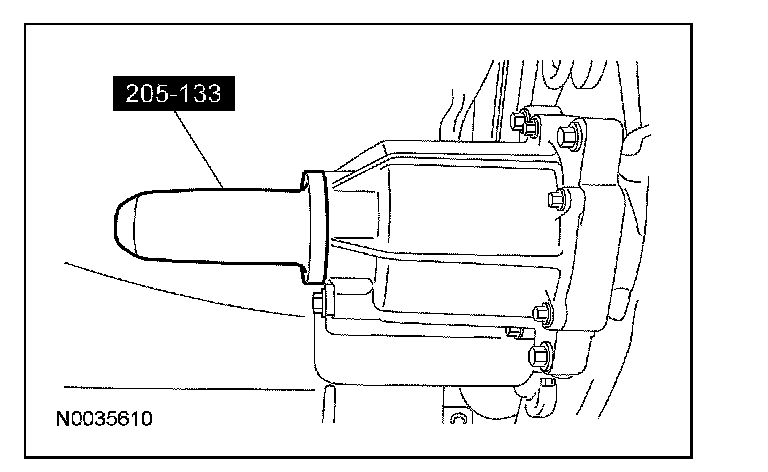
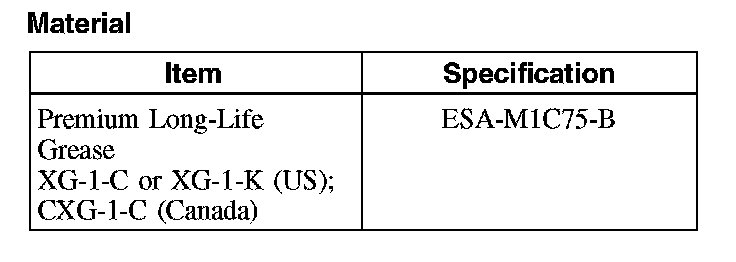
2. NOTE: Lubricate the pinion flange with premium long-life grease.
Line up the index marks and position the pinion flange.
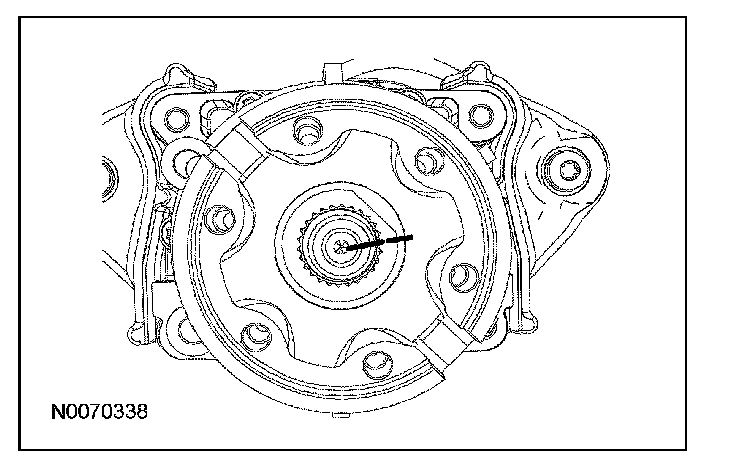
3. Using the special tool, install the new pinion nut.
^ Tighten to 244 Nm (180 lb-ft).
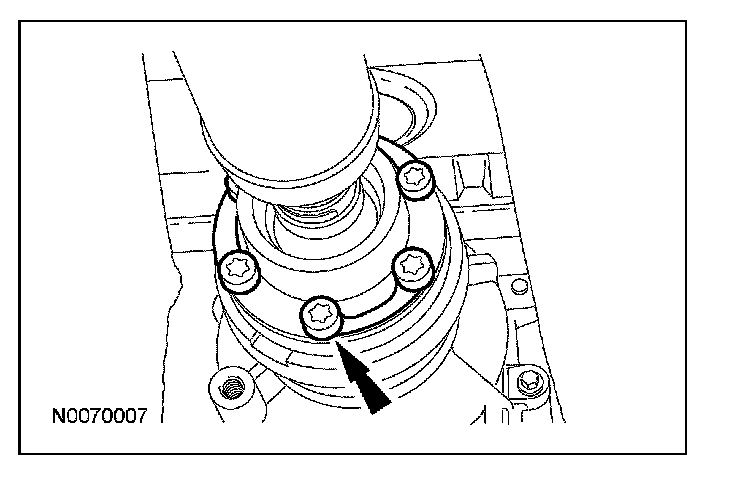
4. NOTE: Align the driveshaft alignment marks.
Position the rear driveshaft constant velocity (CV) joint.
^ Install the 3 new bolt and washer assemblies.
^ Tighten to 25 Nm (18 lb-ft).