Evaporator Outlet Line
Evaporator Outlet Line


Removal and Installation
NOTE: The O-ring seals used on this vehicle are not interchangeable with all similarly sized O-ring seals used on other Ford products. Use only the O-ring seals specified for this vehicle in the Ford master parts catalog.
1. Recover the refrigerant.
2. Remove the ground strap nut at the RH shock tower.
3. Remove the evaporator outlet line bracket stud bolt.
- To install, tighten to 11 Nm (97 lb-in).
4. Disconnect the evaporator outlet line spring lock coupling.
- Discard the O-ring seals.
5. Remove the Thermostatic Expansion Valve (TXV) fitting nut and disconnect the fitting.
- Discard the O-ring seals.
- To install, tighten to 8 Nm (71 lb-in).
6. Remove the evaporator outlet line.
7. To install, reverse the removal procedure.
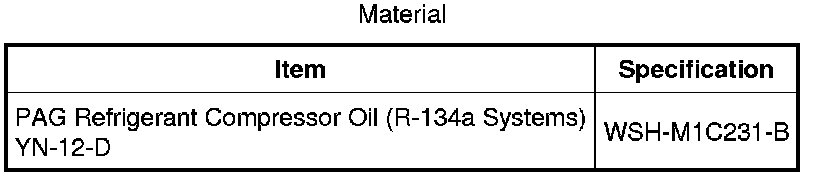
- Install new O-ring seals lubricated in clean PAG oil.
- Lubricate the refrigerant system with the correct amount of clean PAG oil.
8. Evacuate, leak test and charge the refrigerant system.