Radiator
Radiator
Removal and Installation
1. With the vehicle in NEUTRAL, position it on a hoist.
2. Remove the RH and LH headlamp assemblies.
3. Remove the cooling fan shroud. For additional information, refer to Cooling Fan Shroud Service and Repair.
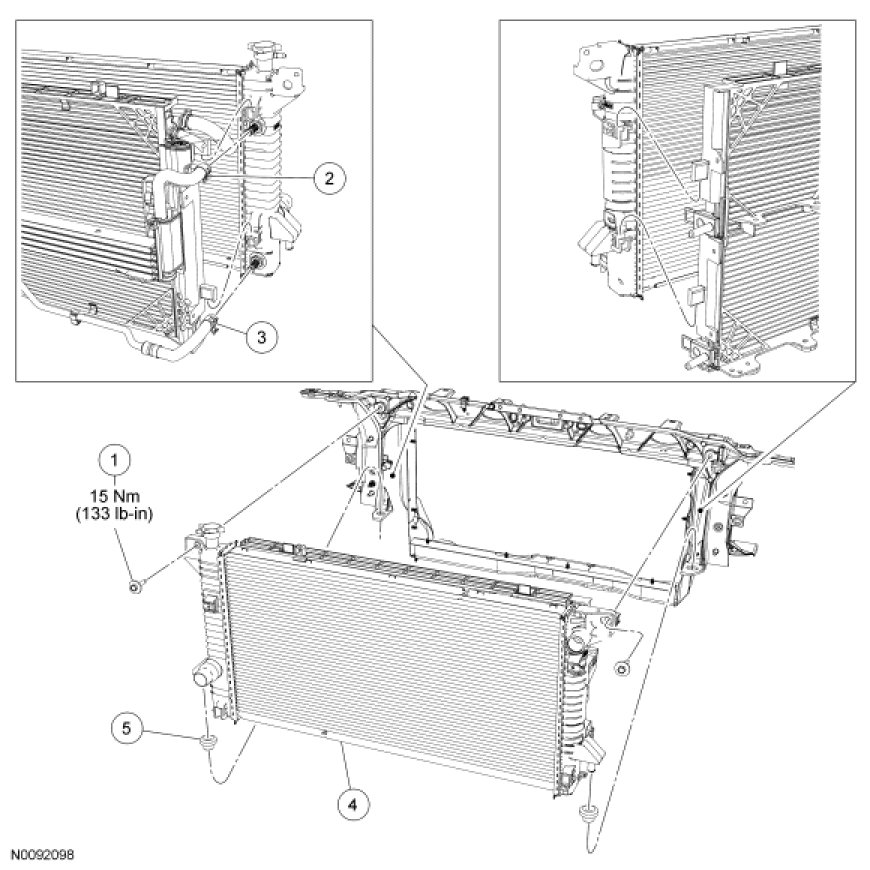
4. Remove the 2 radiator bolts.
- To install, tighten to 15 Nm (133 lb-in).
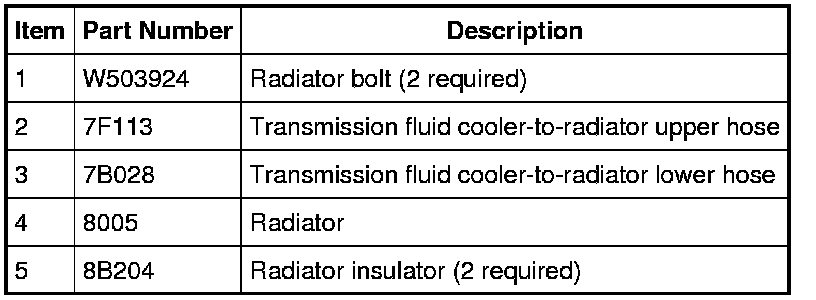
5. Remove the 2 bolts and position the coolant expansion tank aside.
- To install, tighten to 15 Nm (133 lb-in).
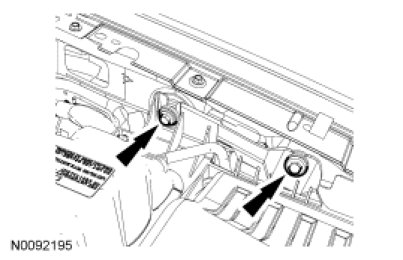
6. Disconnect the electrical connector and remove the bolt and the horn assembly.
- To install, tighten to 10 Nm (89 lb-in).
7. NOTE: LH shown, RH similar.
Remove the 6 LH and RH air deflector-to-condenser core pin-type retainers.
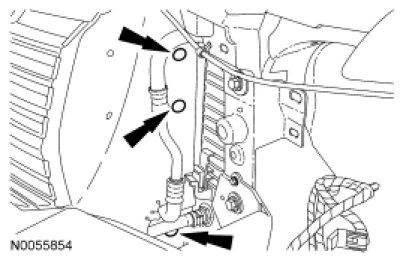
8. Disconnect the 2 transmission fluid cooler-to-radiator hoses.
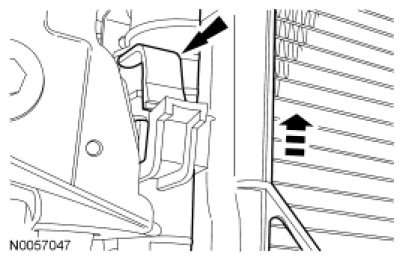
9. NOTE: The cooling module must be positioned rearward to raise and detach the 4 condenser mounts from the radiator.
Depress the retaining tabs on the 2 lower condenser mounting brackets and raise the condenser assembly until the 4 condenser mounting brackets detach from the radiator.
10. Remove the radiator.
11. To install, reverse the removal procedure.
- Fill the transmission fluid level.