Front Drive Axle/Differential
Universal Joint Flange
Removal
NOTICE: The color on the rear face of the drive pinion nut is critical to this repair. Use the same color new drive pinion nut for installation. If a new collapsible spacer must be installed for pinion bearing preload reduction, install the nut supplied with the new spacer kit or damage to the component may occur.
NOTE: This operation disturbs the pinion bearing preload. Carefully reset the preload during assembly.
1. With the vehicle in NEUTRAL, position it on a hoist.
2. Remove the wheels and tires.
3. NOTICE: Remove the front brake caliper to prevent drag during the drive pinion bearing preload adjustment or damage to the component may occur.
NOTICE: Do not allow the calipers to hang from the brake hoses or damage to the component may occur.
Remove the front brake pads.
4. Remove the front driveshaft.
5. Using a Nm (lb-in) torque wrench, measure the torque necessary to maintain pinion rotation. Record the measurement for reference during installation.
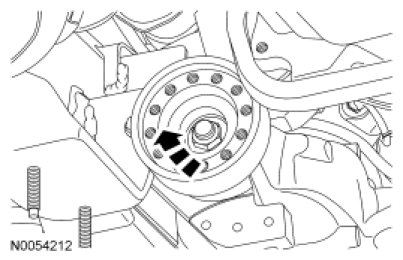
6. NOTICE: The color on the rear face of the drive pinion nut is critical to this repair. Use the same color new drive pinion nut for installation. If a new collapsible spacer must be installed for pinion bearing preload reduction, install the nut supplied with the new spacer or damage to the component may occur.
NOTE: After removing the pinion nut, discard it. Use a new pinion nut for installation.
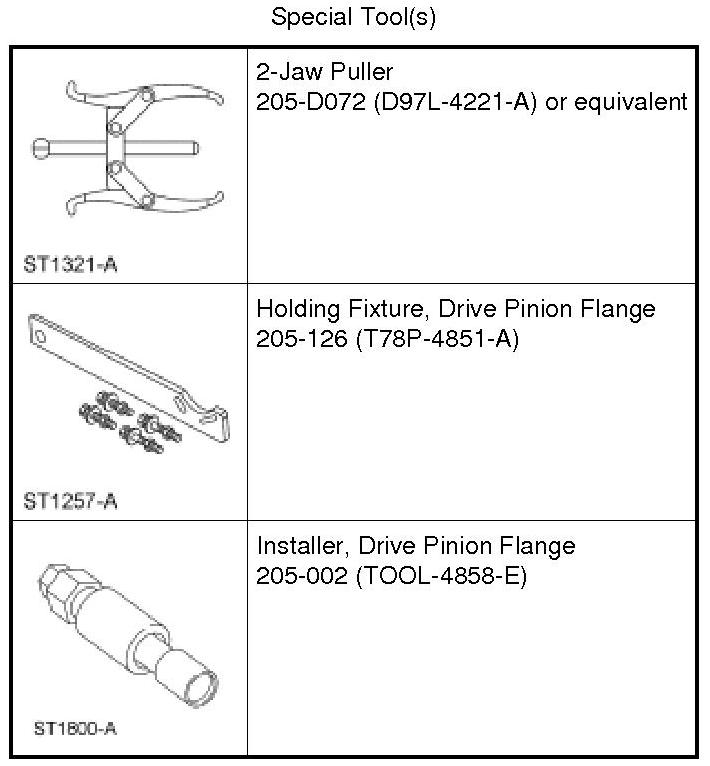
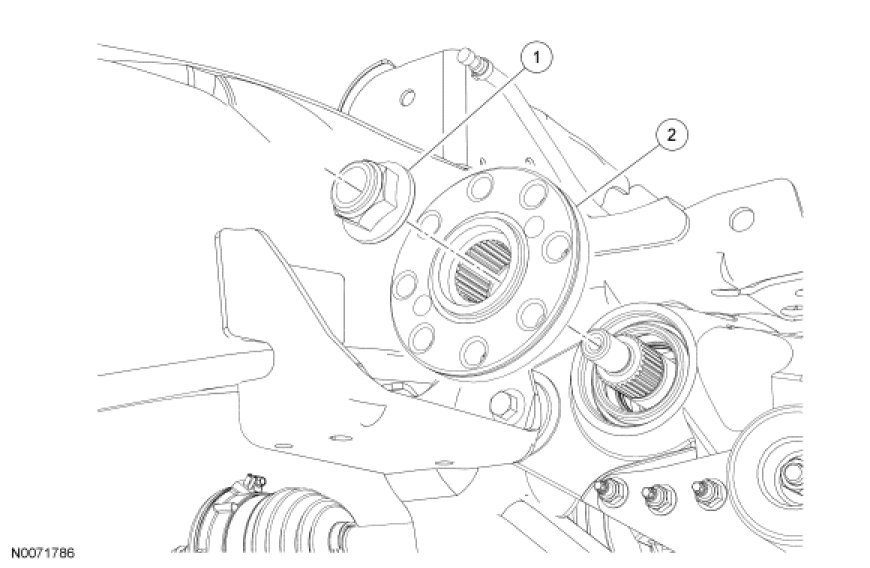
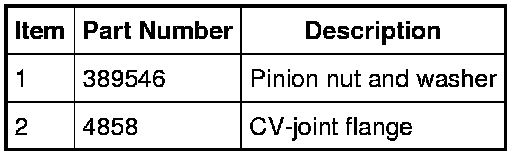
Install the Drive Pinion Flange Holding Fixture and remove the pinion nut.
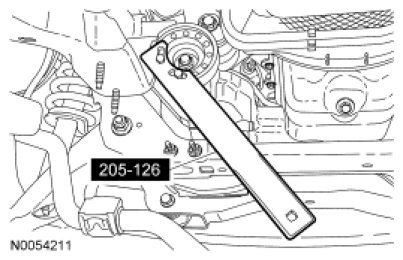
7. Index-mark the axle CV-joint flange to the pinion stem.
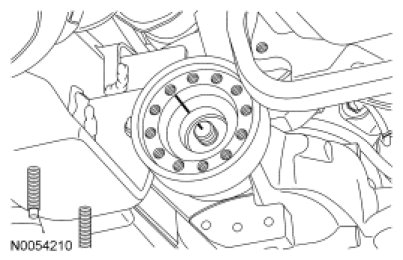
8. Using the 2-Jaw Puller, separate the axle CV-joint flange from the pinion gear.
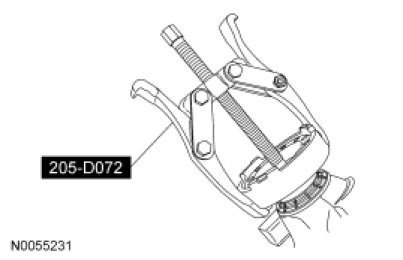
9. Remove the flange.
10. Inspect the axle CV-joint flange for burrs, the nut counterbore and the seal contact surface for nicks, and the bearing cone contact area for damage. Install a new flange if necessary.
11. Check the pinion stem splines for burrs. If burrs are evident, remove them with a fine crocus cloth.
Installation
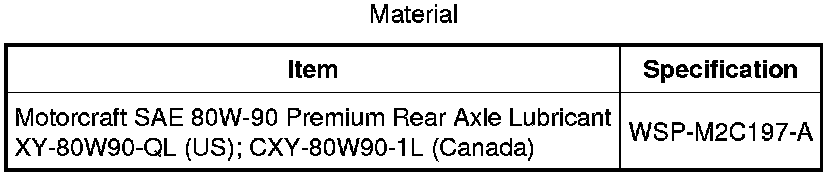
1. Lubricate the axle CV-joint flange splines and the pinion seal.
- Use front axle lubricant.
2. NOTICE: Never install the axle CV-joint flange with a hammer or power tools or damage to the component may occur.
NOTE: Disregard the scribe marks if installing a new flange.
Align the index marks and position the axle CV-joint flange on the pinion shaft.
3. NOTE: Rotate the pinion gear occasionally to make sure the pinion bearings seat correctly.
Using the Drive Pinion Flange Installer, install the axle CV-joint flange.
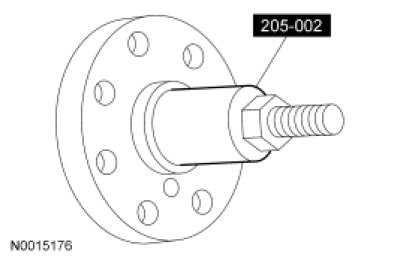
4. NOTICE: Do not loosen the pinion nut to reduce preload under any circumstance. If it is necessary to reduce preload, install a new drive pinion collapsible spacer and pinion nut or damage to the component may occur.
Install the Drive Pinion Flange Holding Fixture and tighten the pinion nut. Refer to the torque specifications for used bearings in the Specifications portion.
- Rotate the pinion gear occasionally to make sure the pinion bearings are seating correctly. Take frequent pinion bearing torque preload readings by rotating the pinion gear with a Nm (lb-in) torque wrench.
- If the preload recorded prior to disassembly is lower than the specification for used bearings, then tighten the pinion nut to the specification. If the preload recorded prior to disassembly is higher than the specification for used bearings, then tighten the pinion nut to the original reading as recorded.
5. Install the front driveshaft.
6. Install the front brake pads.
7. Inspect and, if necessary, fill the differential to specification.