Arm Rest: Service and Repair
Seat Armrest - 60 Percent
Removal
WARNING: Never probe the electrical connectors on safety belt buckle/retractor pretensioners or adaptive load limiting retractors. Failure to follow this instruction may result in the accidental deployment of the safety belt pretensioners or adaptive load limiting retractors, which increases the risk of serious personal injury or death.
NOTE: The air bag warning indicator illuminates when the correct Restraints Control Module (RCM) fuse is removed and the ignition is ON.
NOTE: The Supplemental Restraint System (SRS) must be fully operational and free of faults before releasing the vehicle to the customer.
1. Remove the 60 percent bench seat. For additional information, refer to Seat - Front Seat - Front.
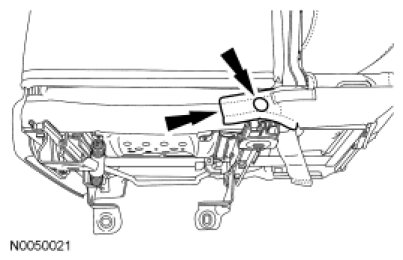
2. If equipped, remove the 2 mounting screws and cup holder.
- Pull upward and forward to release the cup holder.
3. NOTE: For correct installation, note the routing of the seat wiring harness.
Detach the wiring harness from the cushion.
- Disconnect the seat position sensor electrical connector.
- Detach the wiring harness and electrical connector pin-type retainers.
- Route out the wiring harness.

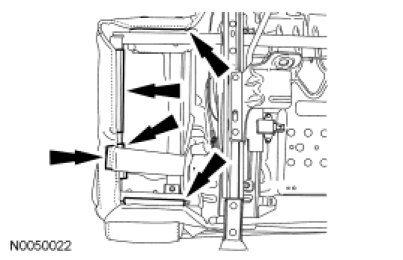
4. Remove the nut and safety belt buckle pretensioner.
- To install, tighten to 40 Nm (30 lb-ft).
5. Release the rear hook-and-loop strip and detach the pin-type retainer.
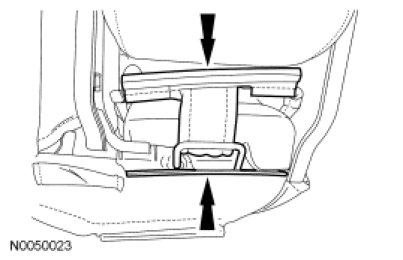
6. Release the underside hook-and-loop strip and J-clips.
7. Release the rear J-clip below the armrest and position aside the material from around the child safety seat tether anchor.
- Route out the trim flap through the child safety seat tether anchor.
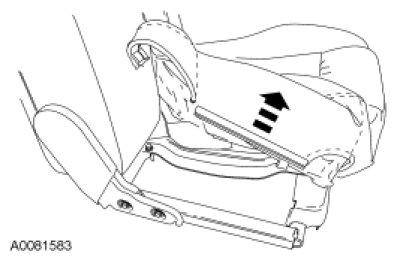
8. Lift the cushion cover and foam pad for access to the RH and LH armrest bracket-to-seat frame bolts.
9. Remove the 2 RH and 2 LH armrest bracket-to-seat frame bolts and remove the armrest assembly.
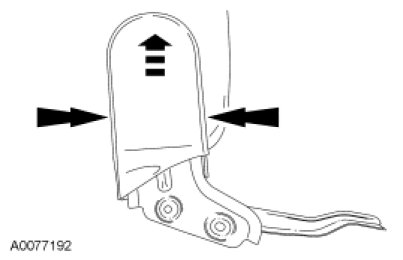
10. Release the trim cover clips and slide off the LH inner/ outer and RH inner/ outer trim covers (RH side shown).
11. Remove the 2 armrest pivot bolts and remove the LH and RH armrest brackets.
Installation
1. Install the LH and RH armrest brackets to the armrest and install the 2 armrest pivot bolts.
- Tighten to 11 Nm (97 lb-in).
2. Slide on the LH inner/ outer and RH inner/ outer trim covers and clip in place (RH side shown).

3. Install the armrest assembly and install the 2 LH and 2 RH armrest bracket-to-seat frame bolts.
- Tighten to 25 Nm (18 lb-ft).
4. Position the seat cushion foam pad and seat cover down.
5. Position the material around the child safety seat tether anchor and fasten the rear J-clip below the armrest.
- Route the trim flap through the child safety seat tether anchor.
6. Fasten the J-clips and fasten the underside hook-and-loop strip.
7. Install the pin-type retainer and fasten the rear hook-and-loop strip.
8. Install the safety belt buckle pretensioner and install the nut.
- Tighten to 40 Nm (30 lb-ft).
9. Route the wiring harness to the cushion.
- Route the wiring harness.
- Fasten the wiring harness and electrical connector pin-type retainers.
- Connect the seat position sensor electrical connector.
10. Install the 2 cup holder mounting screws and attach the cup holder.
- Tighten to 7 Nm (62 lb-in).
11. Install the 60 percent bench seat. For additional information, refer to Seat - Front Seat - Front.