Compressor Manifold and Tube Assembly
Compressor Manifold and Tube Assembly - 2.3L
Removal and Installation
1. Recover the refrigerant.
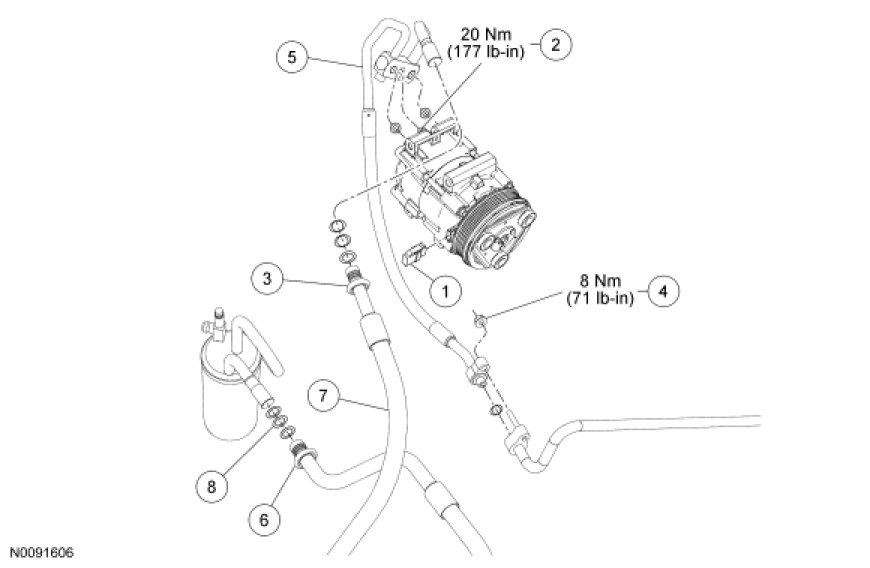
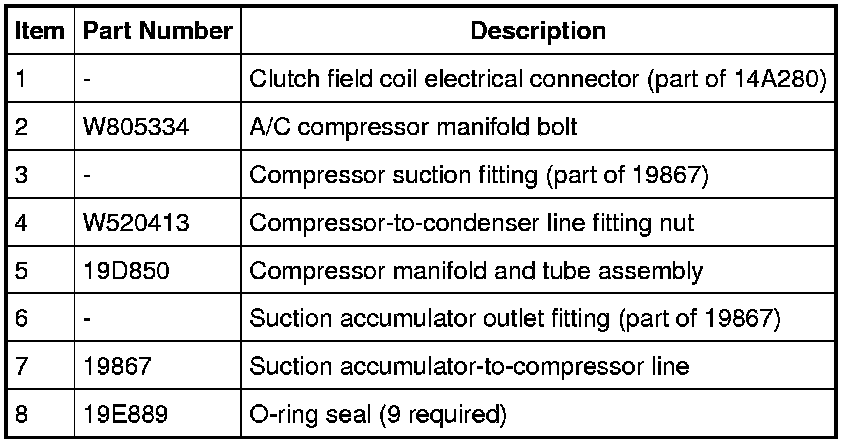
2. Disconnect the clutch field coil electrical connector.
3. Loosen the A/C compressor manifold bolt and detach the compressor manifold and tube assembly.
- Discard the O-ring seals.
- To install, tighten to 20 Nm (177 lb-in).
4. Disconnect the compressor suction fitting.
- Discard the O-ring seals.
5. Remove the compressor-to-condenser line fitting nut and disconnect the fitting.
- Discard the O-ring seal.
- To install, tighten to 8 Nm (71 lb-in).
6. Remove the compressor manifold and tube assembly.
7. If needed, disconnect suction accumulator outlet fitting.
- Discard the O-ring seals.
8. If needed, remove the suction accumulator-to-compressor line.
9. To install, reverse the removal procedure.
- Install new O-ring seals.
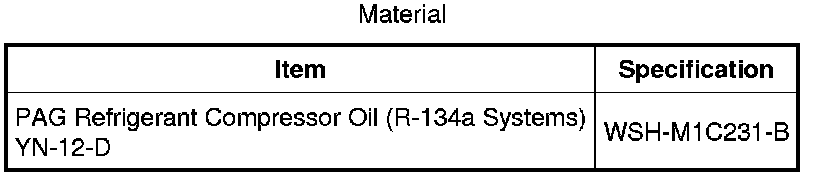
- Lubricate the refrigerant system with the correct amount of clean PAG oil.
10. Evacuate, leak test and charge the refrigerant system.