Ignition Coil-On-Plug
Ignition Coil-On-Plug
Removal and Installation
1. Remove the Air Cleaner (ACL) outlet pipe. For additional information, refer to Intake Air Distribution and Filtering Diagrams.
2. Remove the intake air resonator. For additional information, refer to Intake Air Distribution and Filtering Diagrams.
3. Disconnect the 8 ignition wires.
4. Disconnect the 8 ignition coil-on-plug electrical connectors.
5. Remove the 8 ignition coil-on-plug bolts.
- To install, tighten to 10 Nm (89 lb-in).
6. NOTE: When removing the ignition coil-on-plugs, a slight twisting motion will break the seal and ease removal.
Remove the 8 ignition coil-on-plugs.
7. NOTE: Verify that the ignition coil spring is correctly located inside the ignition coil-on-plug boot and that there is no damage to the tip of the boot.
To install, reverse the removal procedure.
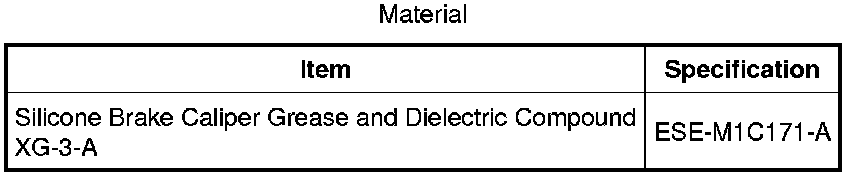
- Apply a light coat of dielectric compound to the inside of the ignition coil boots.