Evaporator Outlet Line
Evaporator Outlet Line


Removal and Installation
1. Recover the refrigerant. For additional information, refer to Climate Control System - General Information and Diagnostics Air Conditioning (A/C) System Recovery, Evacuation and Charging.
2. Remove the A/C compressor suction line fitting nut and disconnect the fitting.
- Discard the O-ring seal and gasket seal.
- To install, tighten to 15 Nm (133 lb-in).
3. Remove the evaporator outlet line bracket bolt at the RH shock tower.
- To install, tighten to 11 Nm (97 lb-in).
4. NOTE: The condenser-to-evaporator line must also be disconnected at the Thermostatic Expansion Valve (TXV) to remove and discard the gasket seal.
Remove the TXV fitting nut and disconnect the evaporator outlet line and condenser-to-evaporator line from the TXV.
- Discard the gasket seals.
- To install, tighten to 15 Nm (133 lb-in).
5. Remove the evaporator outlet line.
6. To install, reverse the removal procedure.
- Install new gasket seals and O-ring seals.
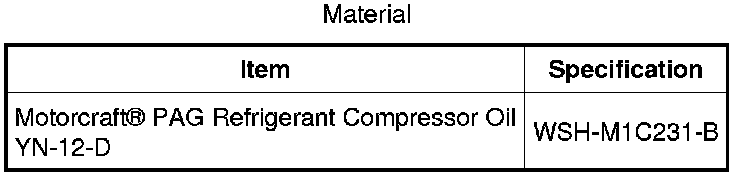
- Lubricate the refrigerant system with the correct amount of clean PAG oil. For additional information, refer to Climate Control System - General Information and Diagnostics Specifications.
7. Evacuate, leak test and charge the refrigerant system. For additional information, refer to Climate Control System - General Information and Diagnostics Air Conditioning (A/C) System Recovery, Evacuation and Charging.