Transfer Case Removal
Transfer Case
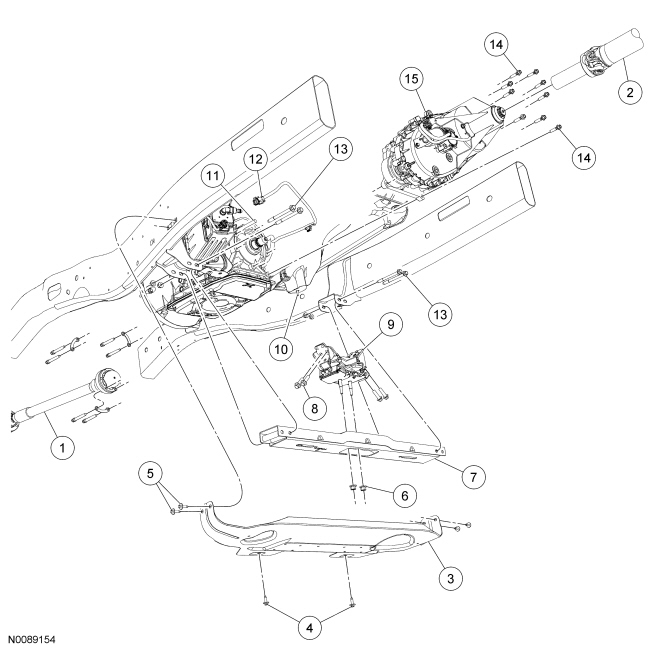
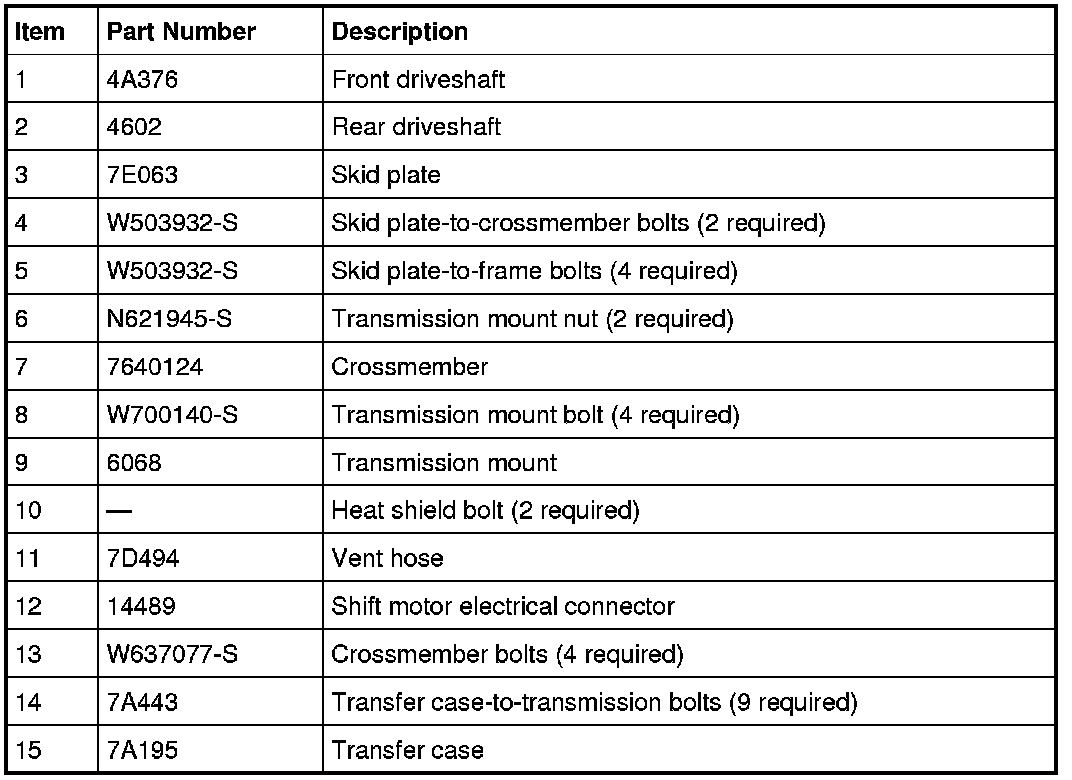
1. With the vehicle in NEUTRAL, position it on a hoist.
2. Remove the 2 skid plate-to-crossmember bolts and the 4 skid plate-to-frame bolts and remove the skid plate.
3. Position a hoist jack on the transmission pan rail.

4. Drain the fluid if the transfer case is to be disassembled.
- Install the drain plug when finished draining.
5. Remove the front driveshaft.
6. Remove the rear driveshaft.
7. Disconnect the shift motor electrical connector and detach the harness connector from the transfer case.

8. Disconnect the vent hose.
9. Remove the RH exhaust heat shield.

10. Remove the LH exhaust heat shield bolt and the Evaporative Emission (EVAP) canister bolt.

11. Remove the 4 crossmember bolts and nuts.
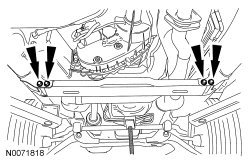
12. Remove the 2 transmission mount nuts and the crossmember.

13. Remove the 4 transmission mount bolts.

14. Using a suitable transmission jack, position it to the transfer case. Secure the transfer case to the jack with a safety strap.
15. Remove and discard the 9 transfer case-to-transmission bolts.
16. NOTE: Using soapy water in a spray bottle, lubricate the transmission mount rubbers on the exhaust.
Separate the transfer case from the transmission and move the transfer case rearward 25.4 mm (1 in). Remove the transmission mount, then move the transfer case rearward off the output shaft and lower it from the vehicle.

17. Remove the transfer case-to-transmission gasket and clean the mating surfaces.