Axle Beam: Service and Repair
Axle
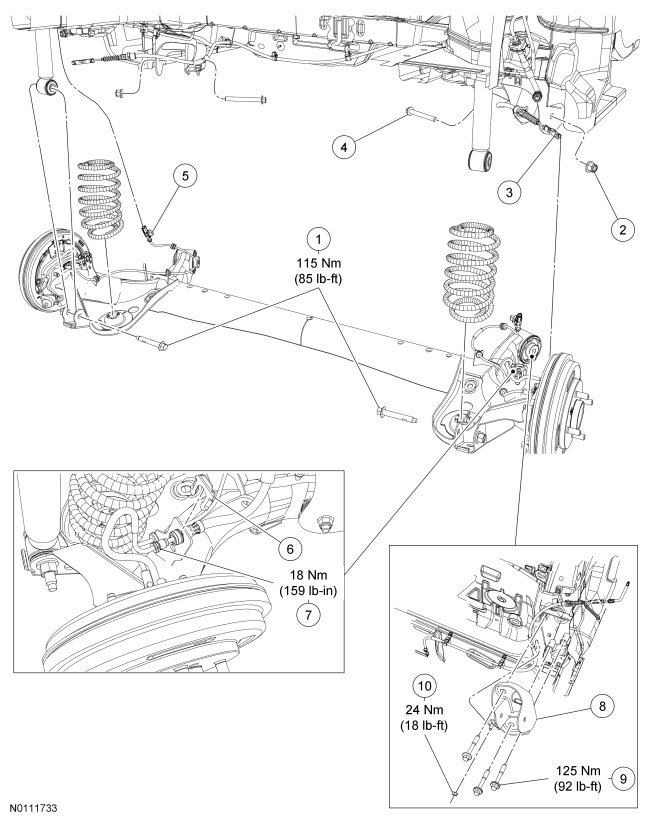
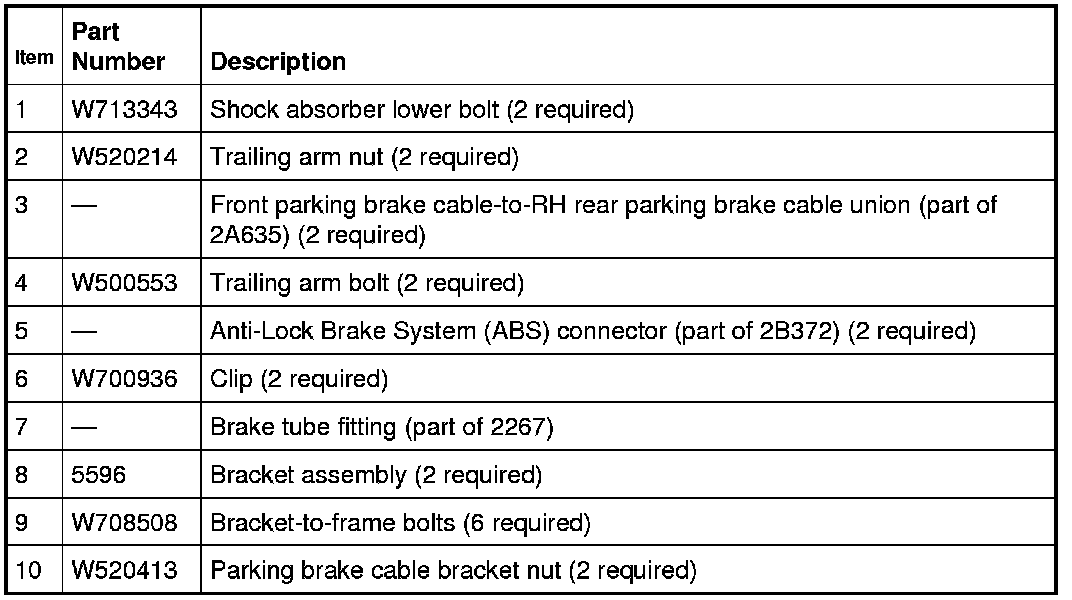
Removal
NOTICE: Suspension fasteners are critical parts that affect performance of vital components and systems. Failure of these fasteners may result in major service expense. Use the same or equivalent parts if replacement is necessary. Do not use a replacement part of lesser quality or substitute design. Tighten fasteners as specified.
1. Remove the floor console.
2. Remove the parking brake adjustment nut retaining clip.
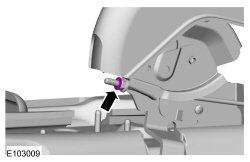
3. Loosen the parking brake adjustment nut 5 turns.
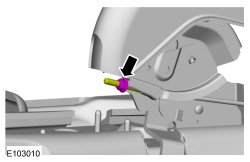
4. Remove the wheel and tire.
5. Disconnect both parking brake actuation lever cables.
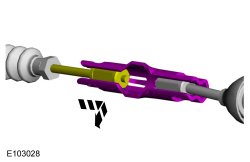
6. NOTE: RH side shown, LH side similar.
Compress the clips and pull both parking brake cables through the mounting brackets.
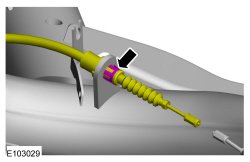
7. NOTE: Cap the brake tube connections to prevent fluid loss.
Disconnect the rear brake tube fittings from the rear brake hoses and remove the clips.
- To install, tighten to 18 Nm (159 lb-in).
8. Remove the wheel bearing and wheel hub assemblies. For additional information, refer to Wheel Bearing and Wheel Hub Rear Suspension.
9. Using a suitable jackstand, support the rear axle assembly.

10. Remove and discard the 2 shock absorber lower bolts.
- To install, tighten to 115 Nm (85 lb-ft).
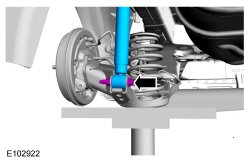
11. Remove the 2 parking brake cable bracket nuts.
- To install, tighten to 24 Nm (18 lb-ft).

12. Remove the 6 bracket-to-frame bolts and remove the axle assembly
- To install, tighten to 125 Nm (92 lb-ft).
13. To install, reverse the removal procedure.
- Bleed the brake wheel cylinders. For additional information, refer to Component Bleeding in Brakes and Traction Control.