Air Distribution Duct Replacement
AIR DISTRIBUTOR DUCT REPLACEMENTREMOVAL PROCEDURE
CAUTION: Refer to Battery Disconnect Caution in Service Precautions.
1. Disconnect the negative battery cable.
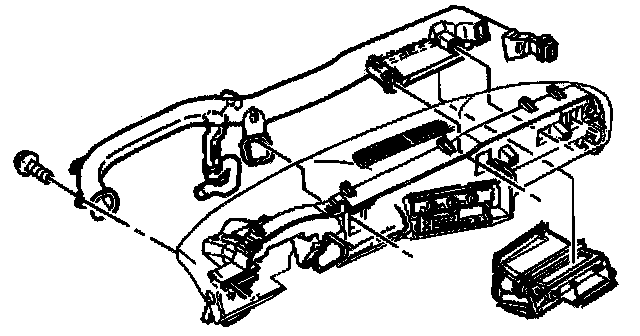
2. Remove the instrument panel carrier.
3. Remove the left floor air outlet.
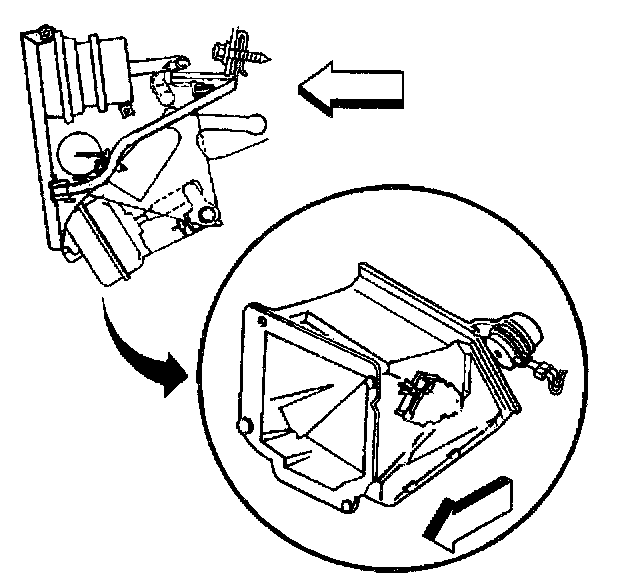
4. Remove the retaining screw at the instrument panel carrier on the left side of the duct.
5. Remove the retaining clips at the air distributor assembly.
6. Remove the duct from the instrument panel vent extensions.
7. Remove the air distributor duct from the instrument panel.
INSTALLATION PROCEDURE
1. Install the air distributor duct to the instrument panel.
2. Install the air distributor duct to the instrument panel vent extensions.
3. Install the retaining clips to the air distributor assembly.
NOTE: Refer to Fastener Notice in Service Precautions.
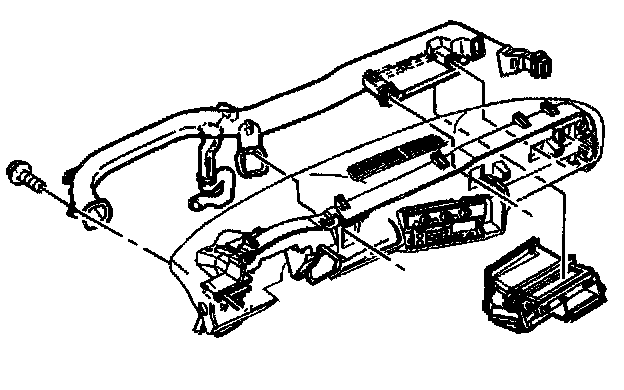
4. Install the retaining screws to the instrument panel carrier on the left side of the duct.
Tighten
Tighten the screws to the instrument panel carrier on the left side of the duct to 2 N.m (18 lb in).
5. Install the left floor air outlet.
6. Install the instrument panel carrier.
CAUTION: Refer to Battery Disconnect Caution in Service Precautions.
7. Connect the negative battery cable.