Windshield Molding
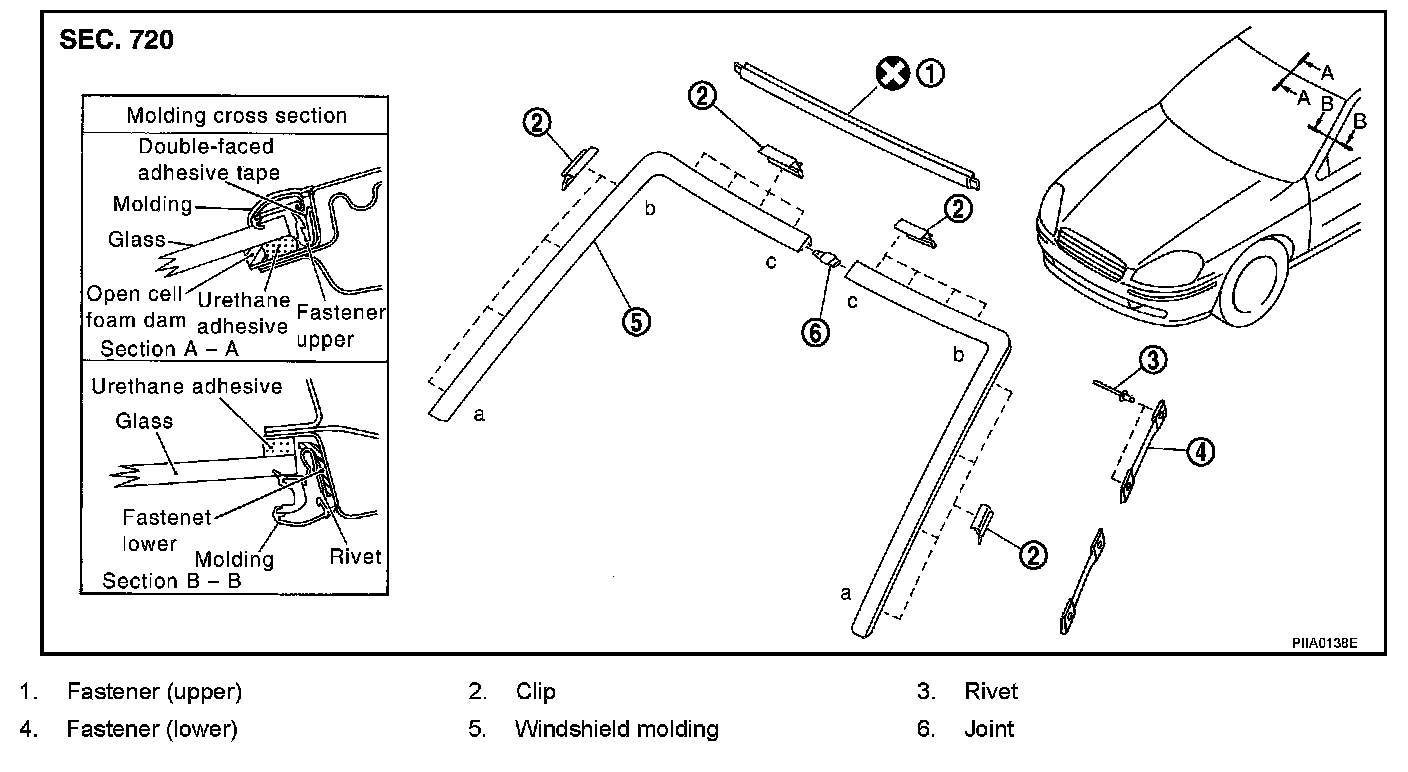
WINDSHIELD MOLDING
REMOVAL
1. Apply protective tape around outer circumference of windshield molding.
2. Disconnect clips in order of a and b. Pull upper part to outer side of vehicle.
INSTALLATION
1. Cut double-faced adhesive tape of fastener with cutter knife. Remove fastener (upper).
2. Remove any excess glue on windshield or flange with cutter knife.
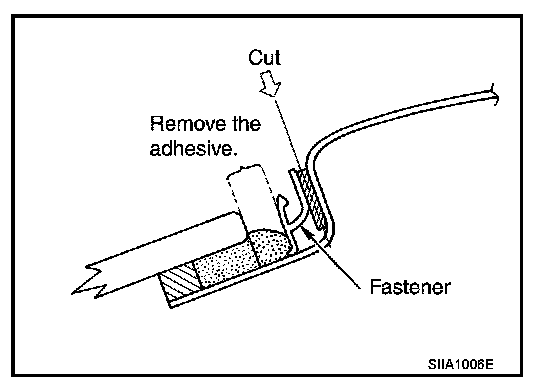
3. Remove remains of double-faced adhesive tape on flange with remover.
CAUTION: Do not handle remover around fire or flame, or in closed areas.
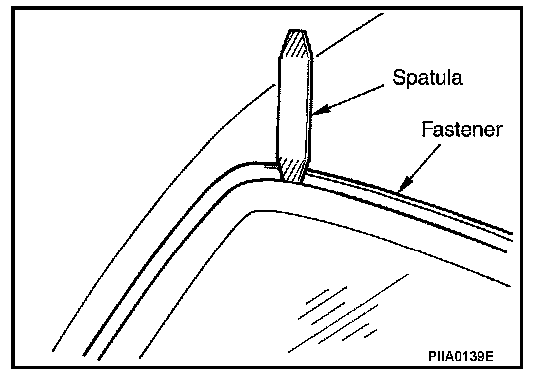
4. Fix double-faced adhesive tape on new fastener on flange from center of vehicle to outer side with spatula.
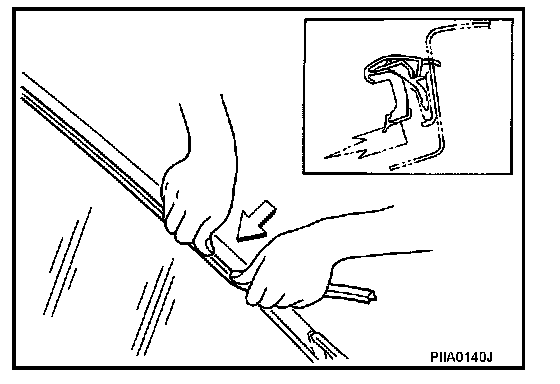
5. Connect clips in order of a and b.
6. Connect joint 6, then clips in order of b and c.