Compressor HVAC: Service and Repair
REMOVALNOTE:
- Vehicles that have an inoperative A/C compressor due to internal causes must have the refrigerant system cleaned by flushing or filtering. This removes any foreign materials or contaminants that may be present to prevent damage to the new A/C compressor.
- Whenever a new A/C compressor is installed, a new A/C evaporator core orifice must also be installed.
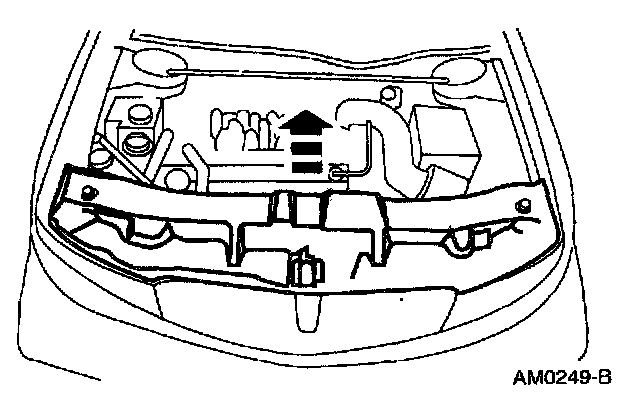
1. Remove the radiator upper sight shield.
2. Recover the refrigerant.
3. Remove the drive belt from the A/C clutch pulley.
4. Raise the vehicle.
5. Remove the radiator air deflector.
- Remove the pin-type retainers.
- Remove the screws and remove the radiator air deflector.
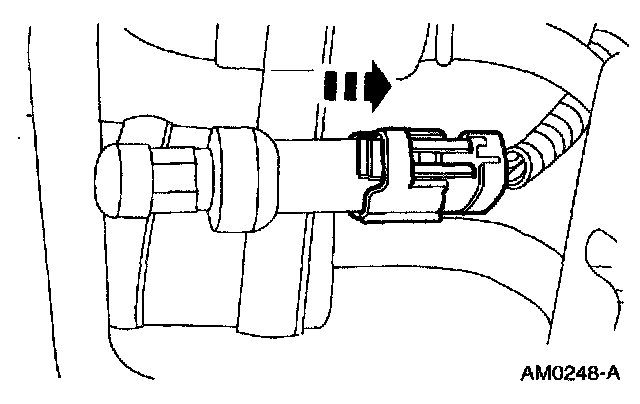
6. Disconnect the electrical connector from the A/C pressure transducer.
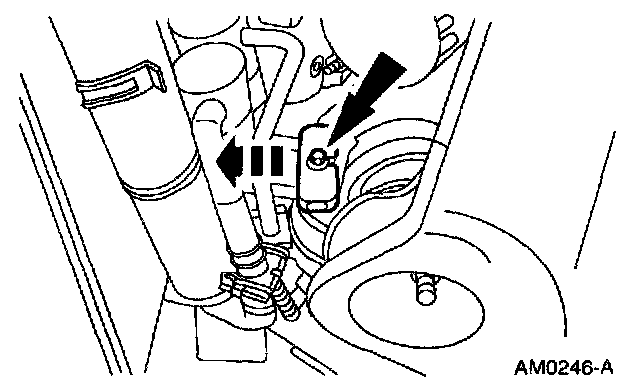
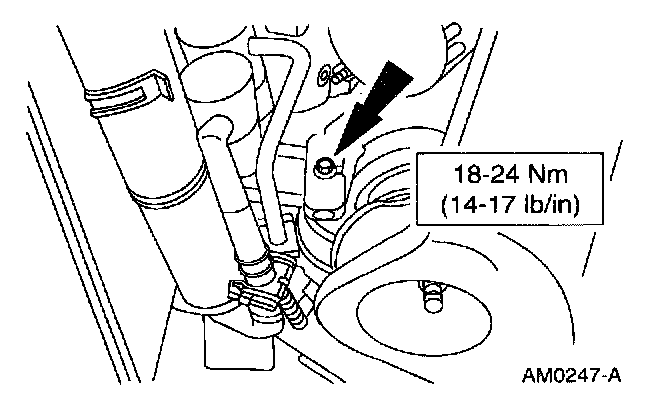
7. Loosen the bolt and remove the A/C manifold and tube.
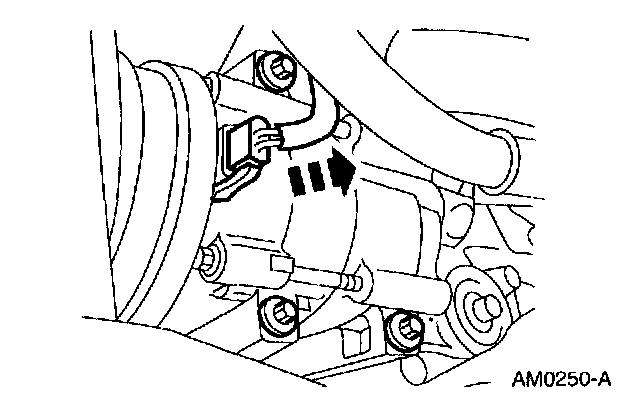
8. Disconnect the electrical connector.
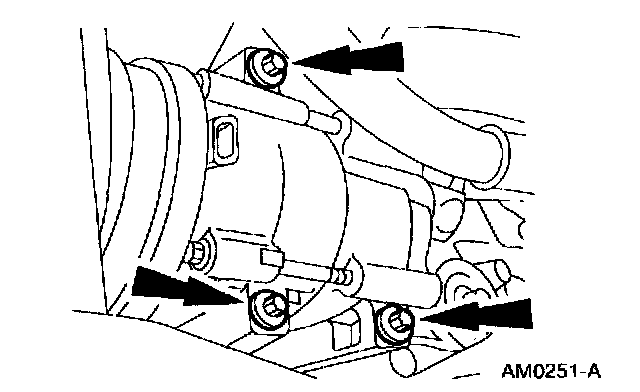
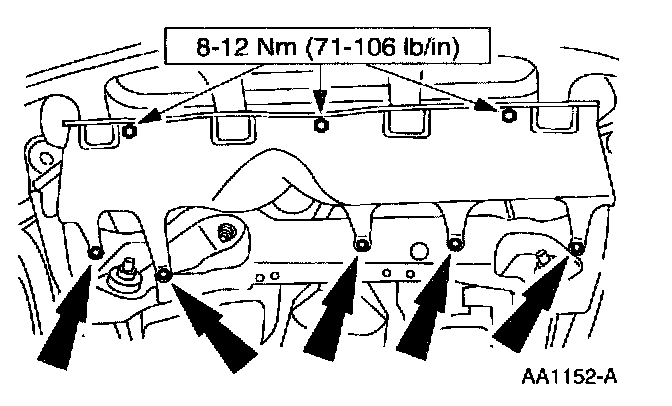
9. Remove the bolts and the A/C compressor.
INSTALLATION

1. To install, reverse the removal procedure.
- Lubricate the new A/C compressor with the correct amount of PAG Refrigerant Compressor Oil (R134a Systems) or equivalent.
- Lubricate the new A/C manifold O-ring seals with PAG Refrigerant Compressor Oil (R134a Systems) or equivalent.