Selector Lever Removal/Installation
SELECTOR LEVER REMOVAL/INSTALLATION - HYBRID
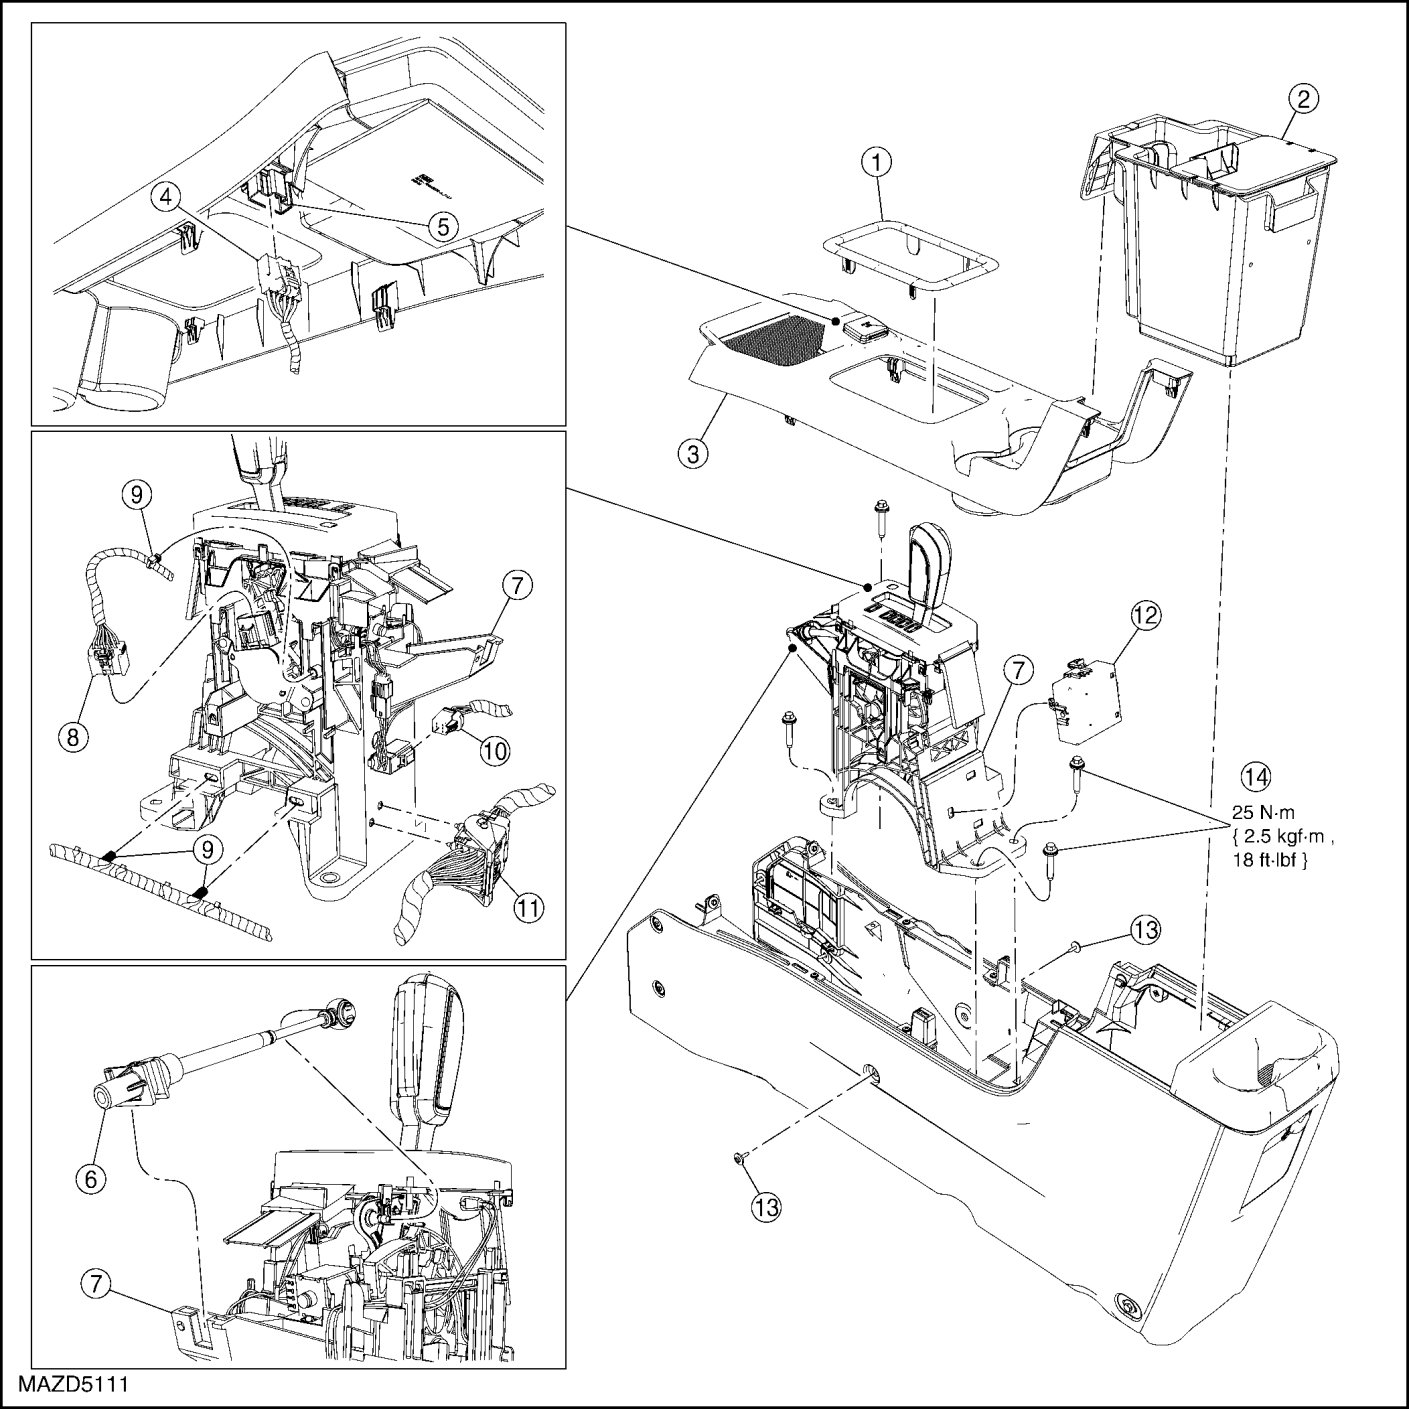
Removal/Installation
NOTE:The transaxle range (TR) sensor is part of the selector assembly.
All vehicles
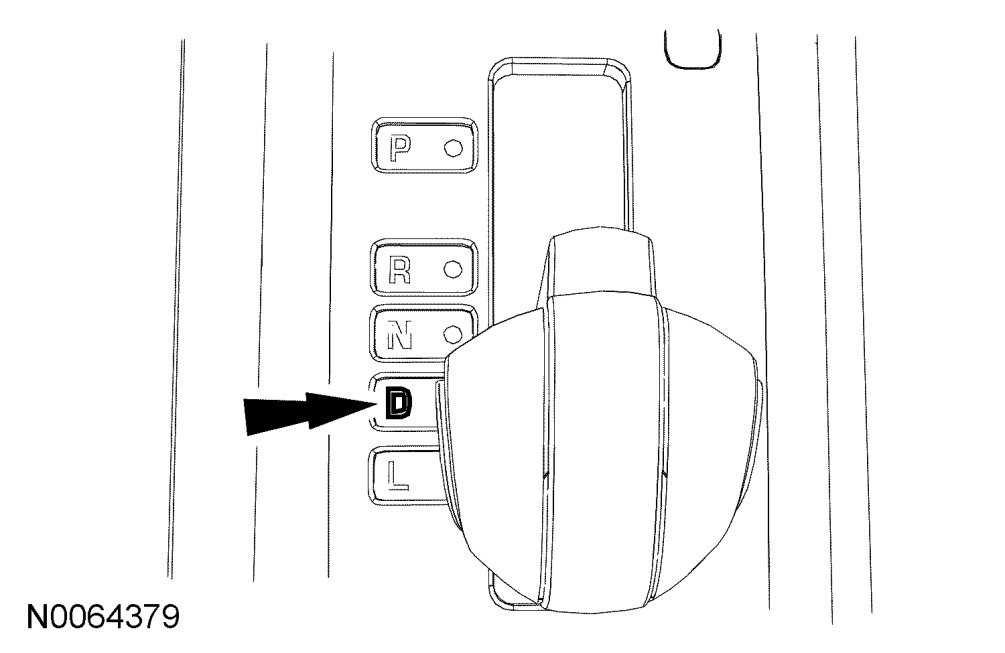
1. Place the shift selector lever in the (D) position.
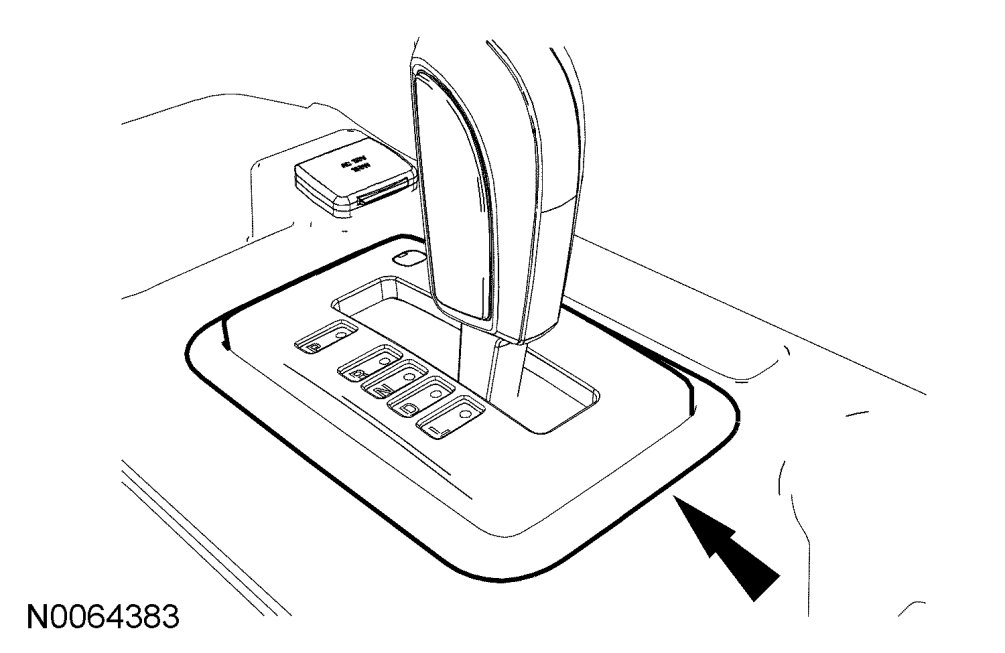
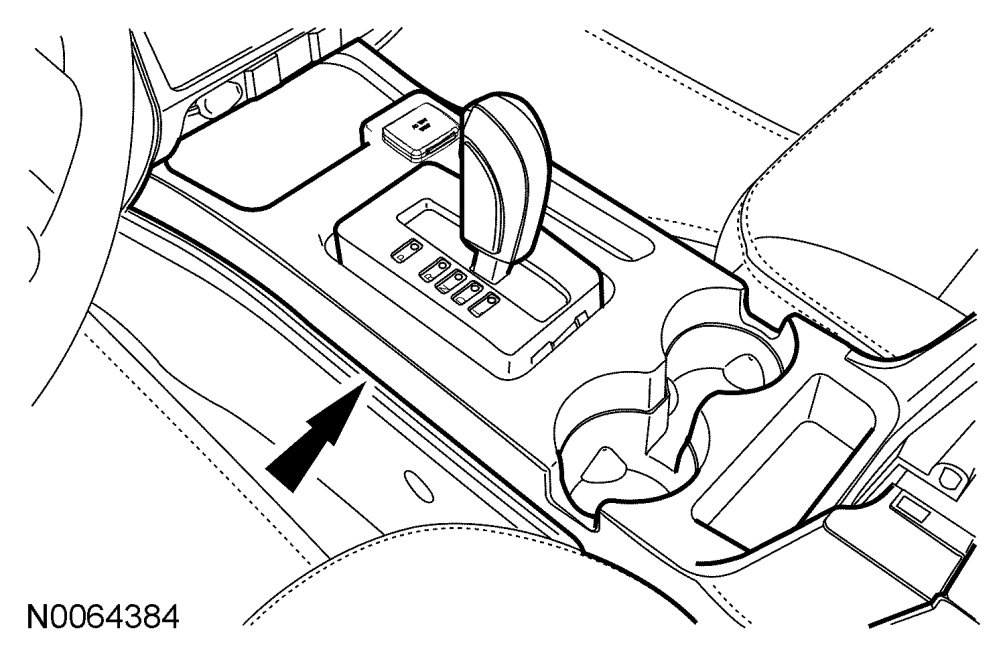
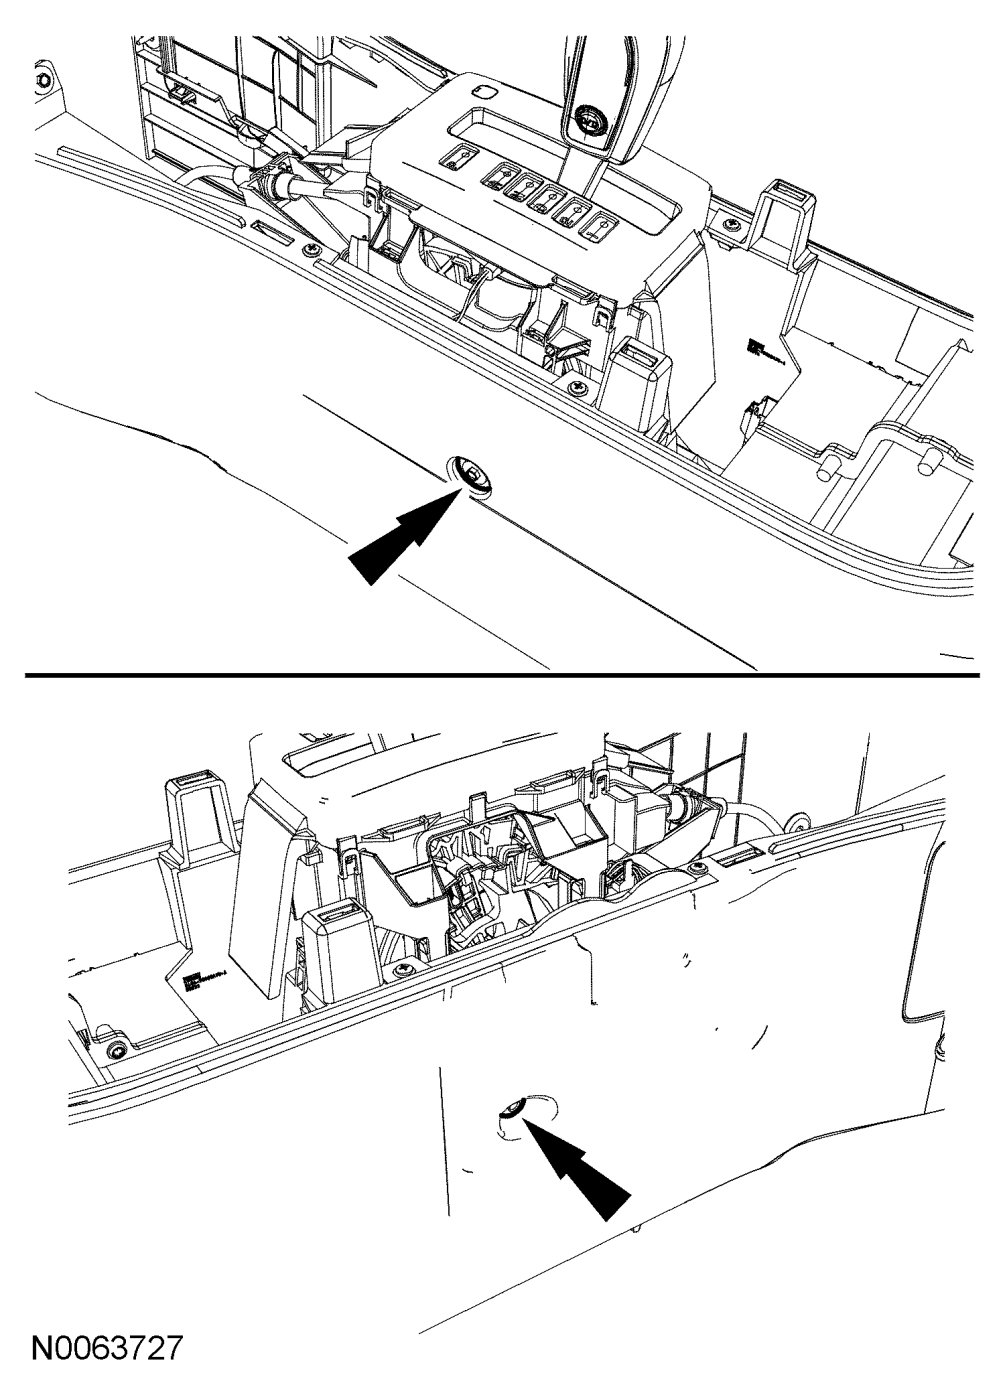
2. Gently pry up to remove the selector lever trim ring.

3. Lift the center console lid and remove the center console compartment tray.
4. Remove the top finish panel from the center console.
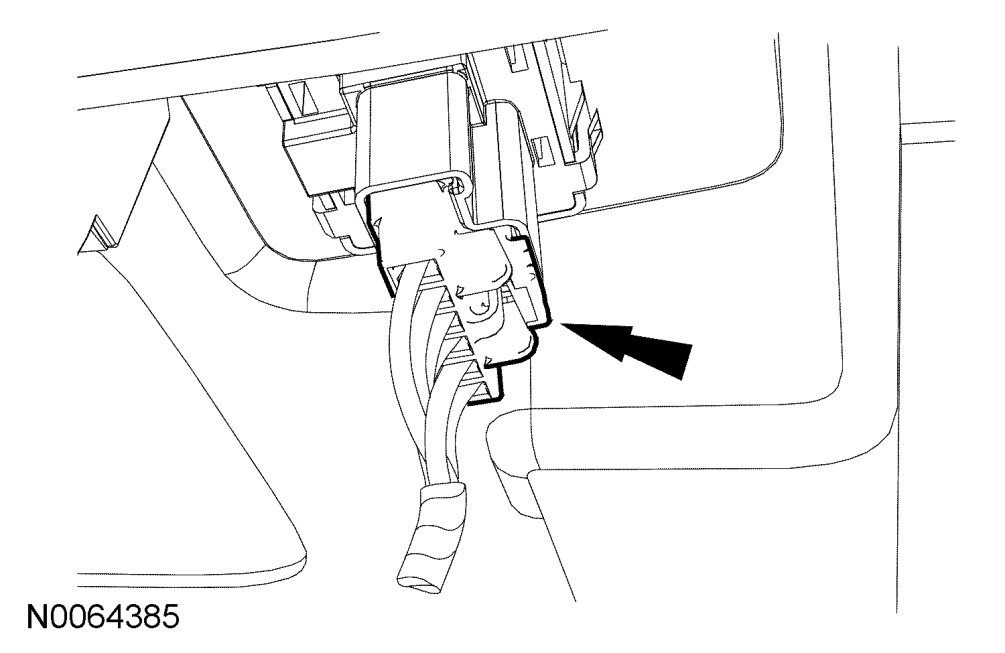
5. Disconnect the power outlet electrical connector.

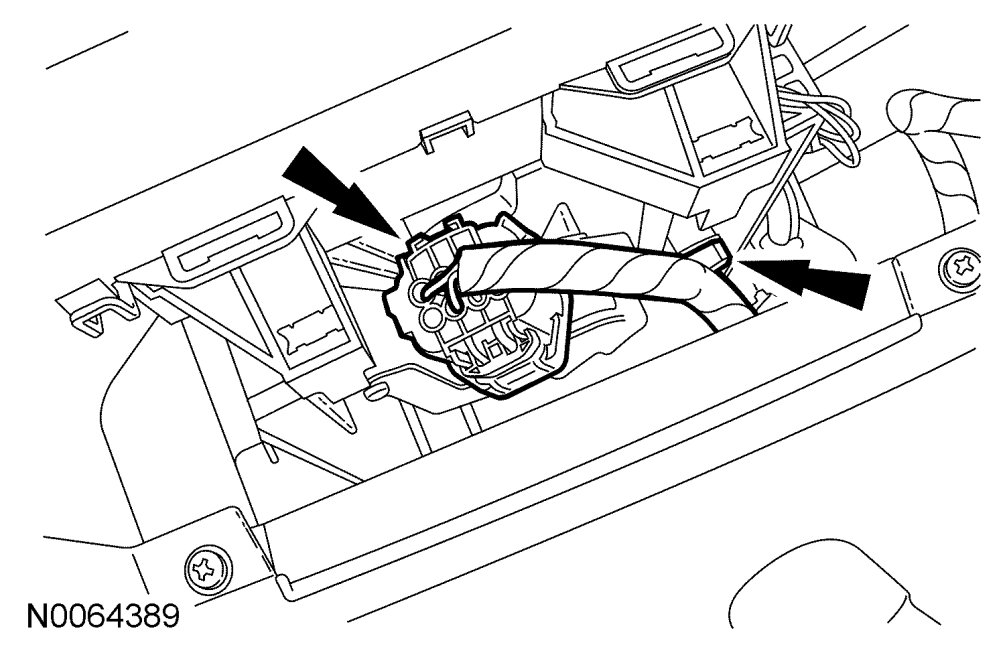
6. Remove the selector lever cable from the selector lever assembly.
a. Disconnect the selector lever cable end from the selector lever.
b. Remove the selector lever cable from the selector lever bracket.
7. Disconnect the TR sensor electrical connector and disconnect the wiring harness fastener from the selector lever.
8. Disconnect the wiring harness retainers from the selector lever.
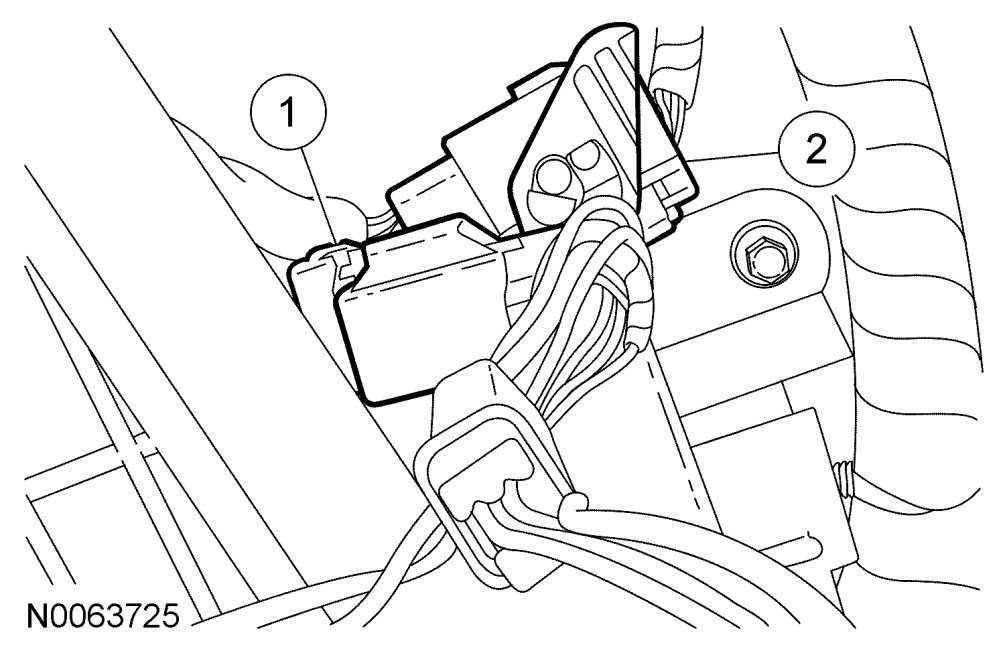
9. Disconnect the electrical connectors from the selector lever.
a. Disconnect the selector lever electrical connector.
b. Remove the vehicle wiring harness connector from the selector lever.
All wheel drive (AWD) vehicles
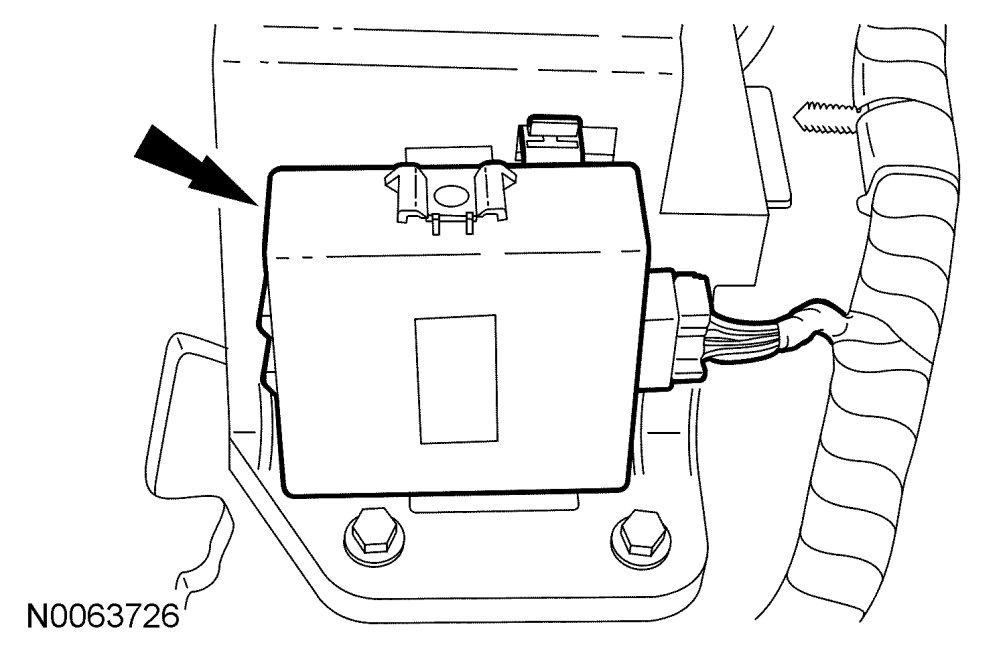
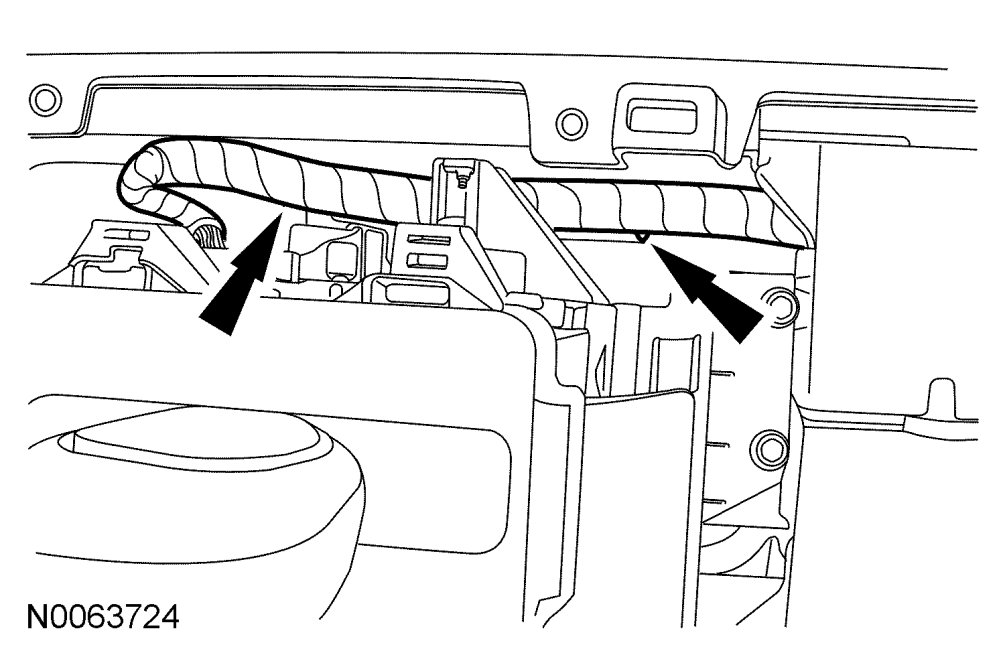
1. Pull the AWD module straight back and remove it from the back of the selector lever.
All vehicles
1. Remove the 2 screws from the center console.

2. Remove the 4 bolts and remove the selector lever assembly.
- Tighten to 25 Nm {2.5 kgf-m, 197 in-lbf}.
3. To install, reverse the removal procedure.
- Adjust the selector lever cable. See - Adjustments.