Console Replacement
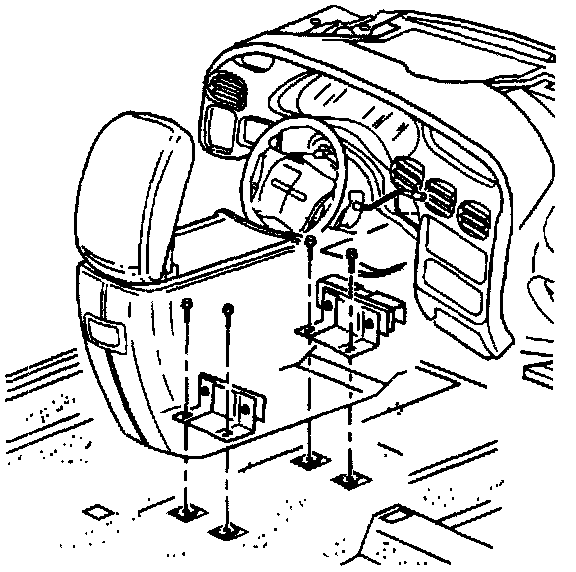
Front Floor Console Mounting Plates:
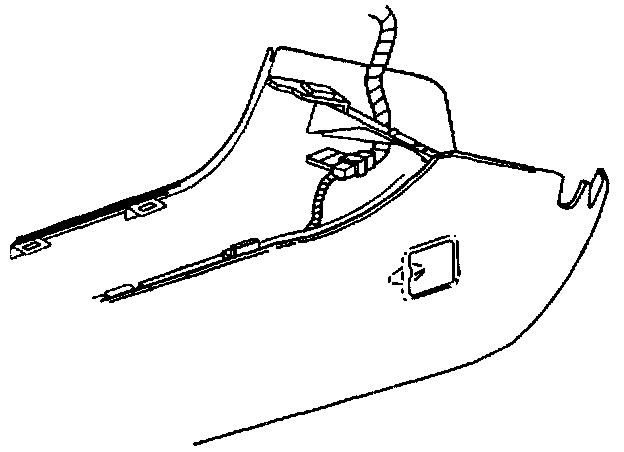
Front Floor Console Electrical Connector:
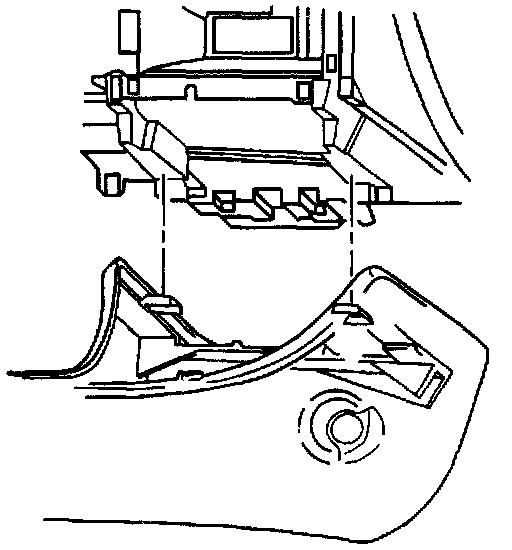
Front Floor Console Mounting To Instrument Panel And Power Accessory Port:
Remove or Disconnect
1. Battery ground (negative) cable.
2. Front floor console trim plate.
3. Bolts/screws from front floor console mounting bracket at rear of storage compartment base.
4. Bolts/screws from front floor console mounting bracket at rear of transaxle shift lever.
5. Pull front floor console rearward to release front floor console from retainer in lower instrument panel.
6. Electrical connectors.
7. Front floor console from floor.
Install or Connect
NOTICE: Refer to Service Precautions.
1. Front floor console to floor.
2. Electrical connectors.
3. Align locating pins on front floor console bracket to instrument panel console retainer hole and slots.
4. Push front floor console forward into instrument panel until fully seated.
5. Align front floor console to front floor console mounting brackets.
6. Bolts-screws to front floor console mounting bracket at rear of transaxle shifter lever.
Tighten
^ Bolts/screws to 5 N.m (44 lb.in.).
7. Bolts/screws to front floor console mounting bracket at rear of storage compartment base.
Tighten
^ Bolts/screws to 5 N.m (44 lb.in.).
8. Front floor console trim Plate.
9. Battery ground (negative) cable.