Output Shaft: Service and Repair
REMOVAL PROCEDURE^ Tools Required
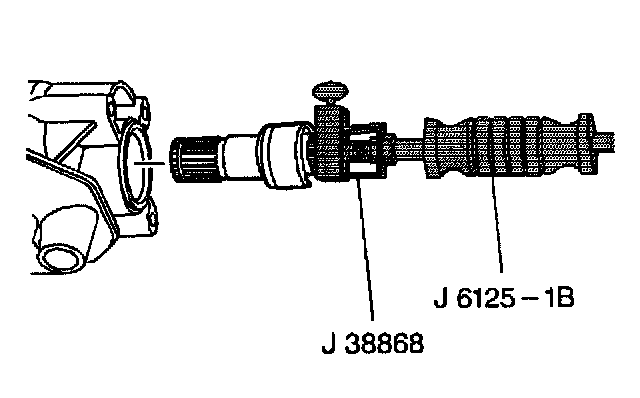
- J 38868 Shaft Removal Tool
- J 41227 Axle Shaft Sleeve Removal Tool
- J 6125-1B Slide Hammer
1. Raise and suitably support the vehicle. Refer to Vehicle Lifting.
2. Remove the drive axle assembly. Refer to Wheel Drive Shafts Replacement in Wheel Drive Shafts.
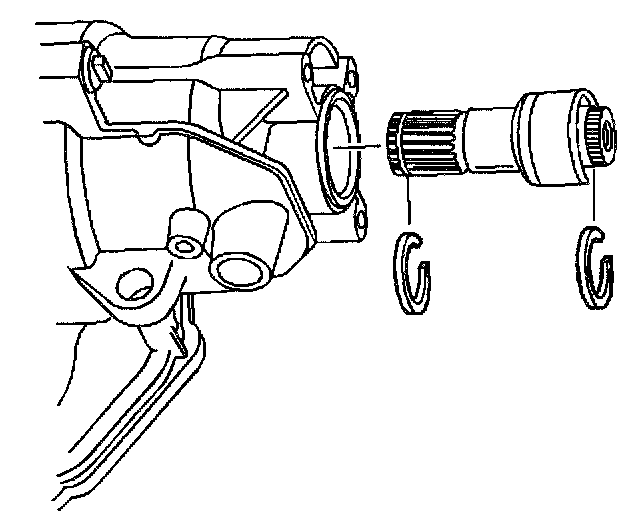
3. Remove the stub shaft from the transmission. Use the J 38868 and the J 6125-1B.
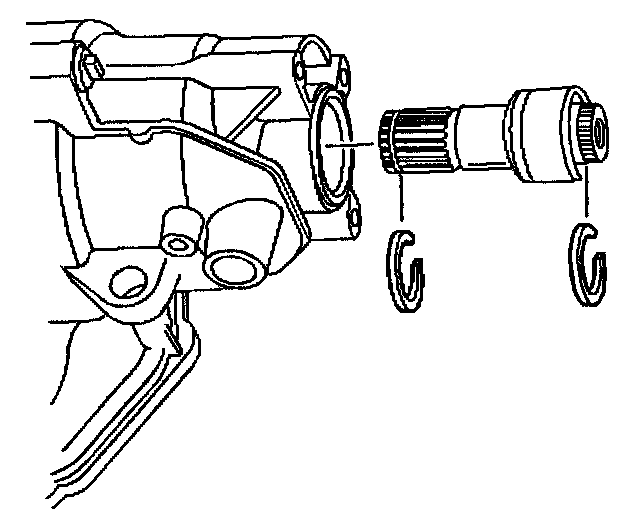
4. Remove the snap rings from the stub shaft. Discard the snap rings, these are not reusable.
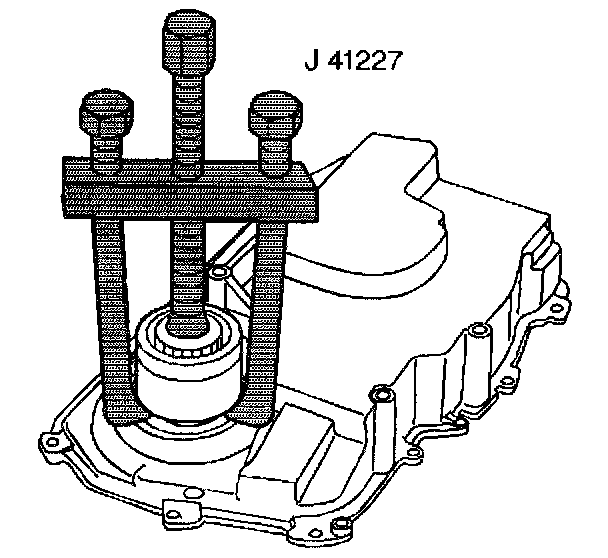
5. Remove the sleeve from the stub shaft. Use the J 41227.
6. Inspect the sleeve for excessive wear, scratches or nicks that may cause a leak or damage to the seal portion. Replace the sleeve if it appears to be damaged.
INSTALLATION PROCEDURE
^ Tools Required
- J 41228 Stub Shaft Sleeve Installer
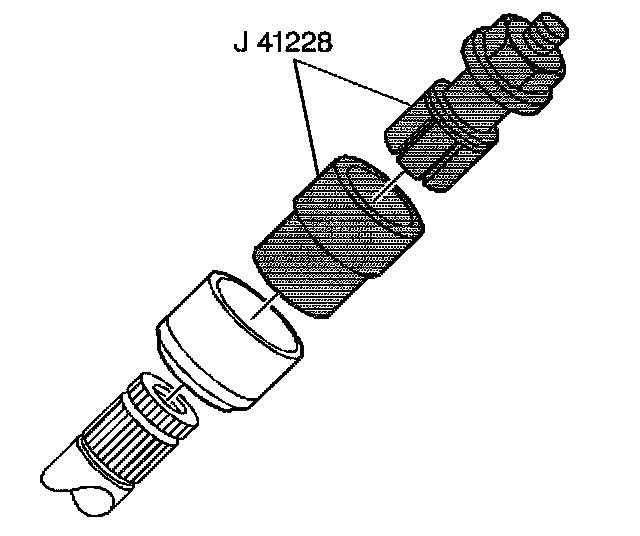
1. Install a new sleeve on the stub shaft. Use the J 41228. Install the J 41228 so that the collar is in the snap ring groove.
2. Install the two new snap rings on the stub shaft.
3. Add Polyurea grease to the splines of the output shaft in order to prevent damage to the shaft splines during vehicle operation.
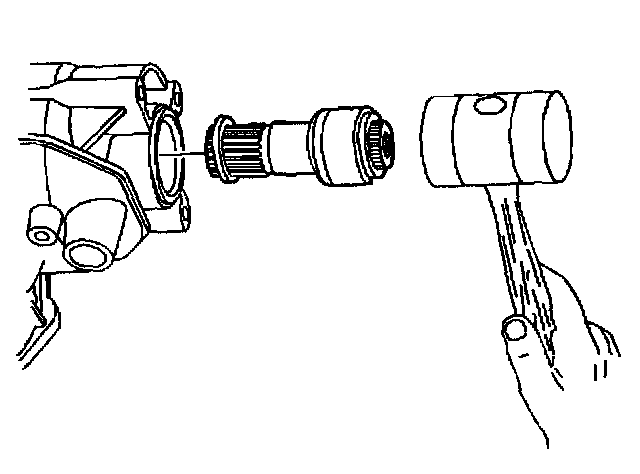
4. Install the stub shaft into the transmission assembly.
5. Install the drive axle assembly. Refer to Wheel Drive Shafts Replacement in Wheel Drive Shafts.
6. Lower the vehicle.
7. Inspect the shaft sleeve for leaks.
8. Verify the oil level.