Auxiliary Weatherstrip Replacement
Auxiliary Weatherstrip Replacement
Tools Required
J 38778 Door Trim Pad and Garnish Clip Remover
Removal Procedure
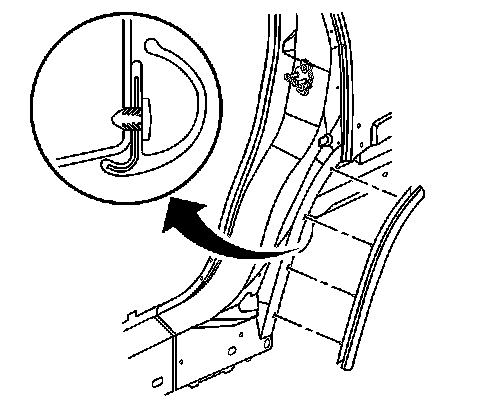
1. Open the rear door.
2. Remove the rear pillar auxiliary weatherstrip using J 38778 .
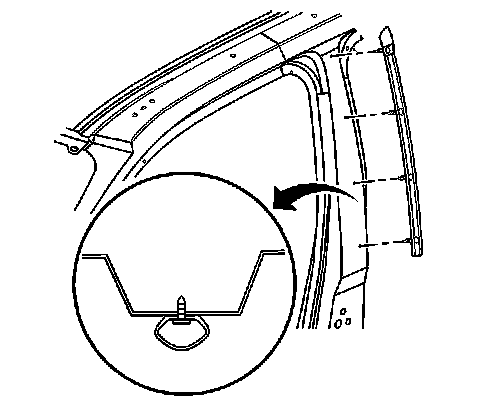
3. Open the front and rear doors.
4. Remove the center pillar auxiliary weatherstrip using J 38778 .
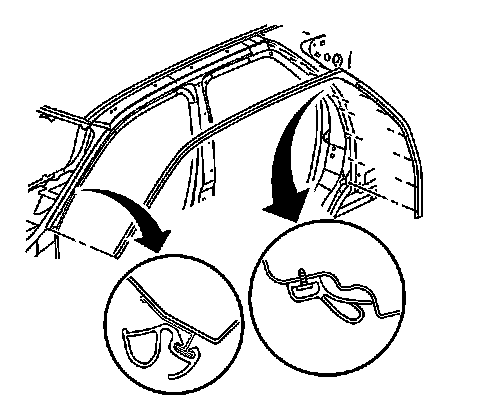
5. Remove the roofrail auxiliary weatherstrip push-in retainers from the rear pillar using J 38778 .
6. Remove the roofrail auxiliary weatherstrip from the roof rail flange pulling from the rear to front.
Bending back the roofrail auxiliary weatherstrip onto itself to open the carrier while pulling forward will ease the removal effort.
Installation Procedure
1. Position the roofrail auxiliary weatherstrip push-in retainer to the first hole in the upper rear corner.
2. Press in the push-in retainer until fully seated.
3. Install roofrail auxiliary weatherstrip onto the flange.
Bending back the roofrail auxiliary weatherstrip onto itself to open the carrier while pushing forward will ease the installation effort.
4. Install the remaining push-in retainers to the rear pillar.
5. Install the center pillar auxiliary weatherstrip pressing in the push-in retainers until fully seated.
6. Align the C-pillar auxiliary weatherstrip top push-in retainers to the top hole in the rear pillar.
7. Install the C-pillar auxiliary weatherstrip working downward pressing in the remainder of the push-in retainers until fully seated.
8. Close the rear door.