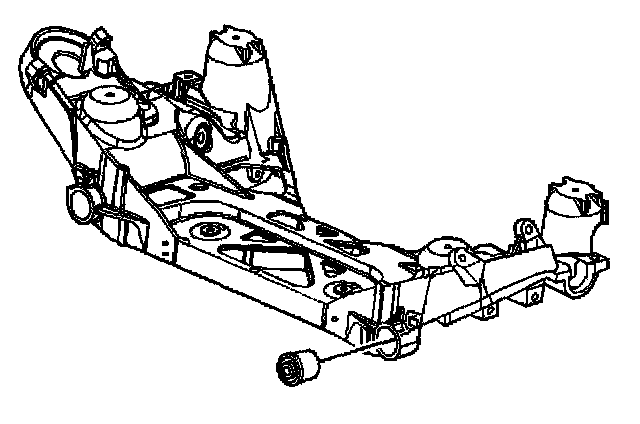
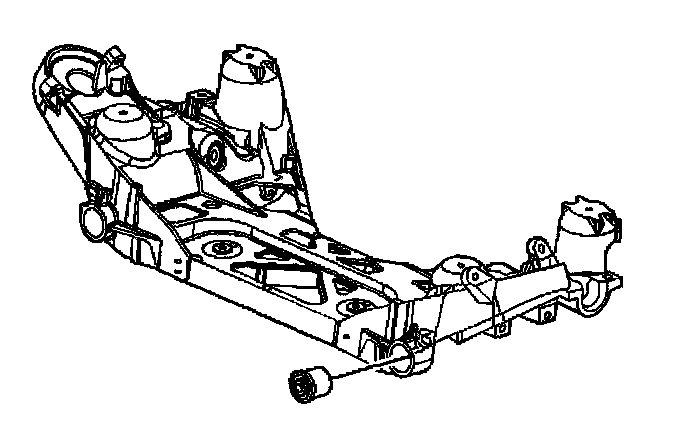
Rear Axle Lower Control Arm Bushings Replacement (Front-AWD)
Rear Axle Lower Control Arm Bushings Replacement (Front Bushing - All Wheel Drive)^ Tools Required
- J 21474-01 Rear Suspension Bushing Installer
- J 45411 Lower Control Arm Bushing Receiver
Removal Procedure
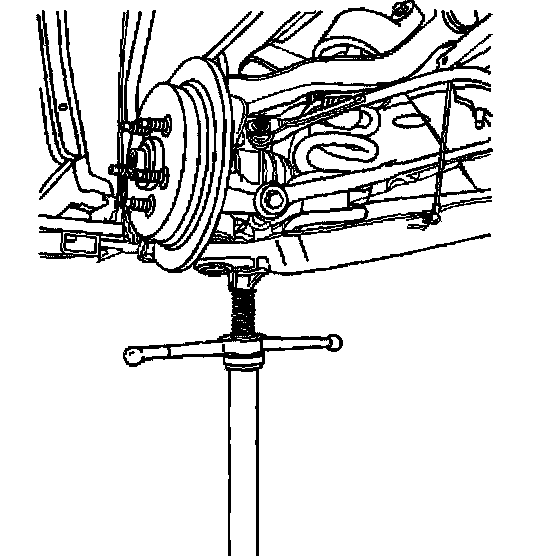
1. Raise and support the vehicle. Refer to Vehicle Lifting.
2. Remove the wheel and tire assemblies.
3. Use a utility stand in order to support the lower control arm.
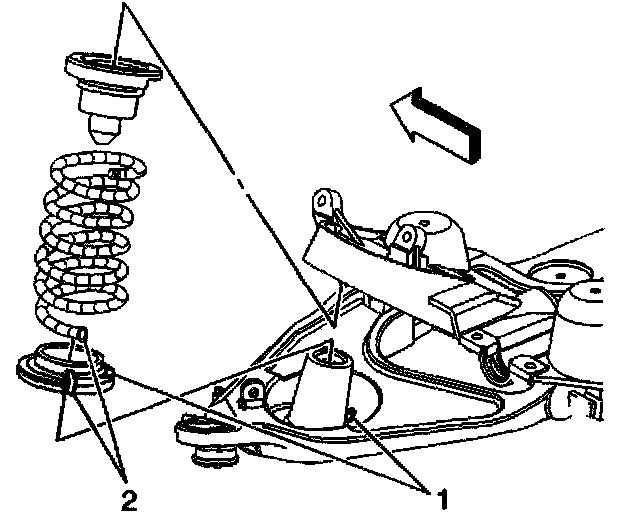
4. Remove the coil spring 2.
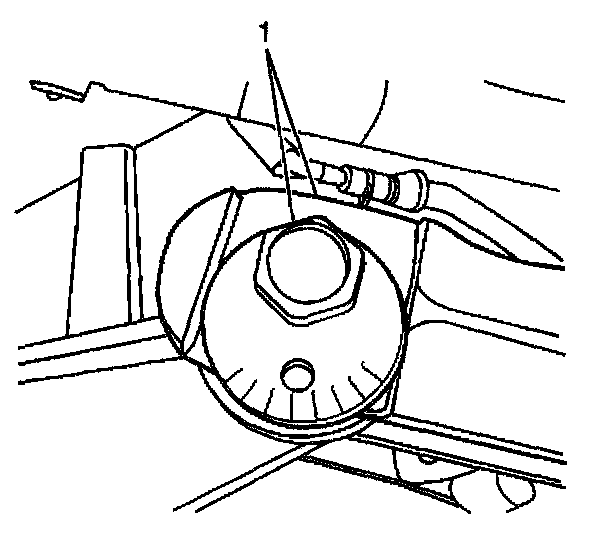
5. Make a mark on the lower control arm at the cam indicator.
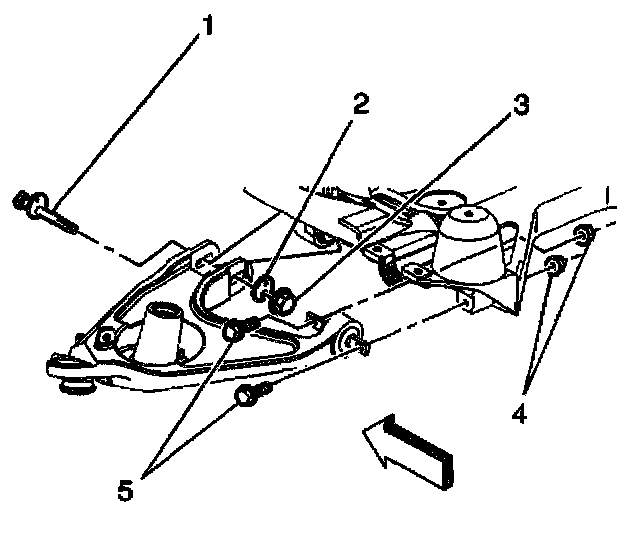
6. Remove the lower control arm to crossmember mounting bolts (1, 5).
Important: Identify the orientation of the voids in the bushing to the crossmember.
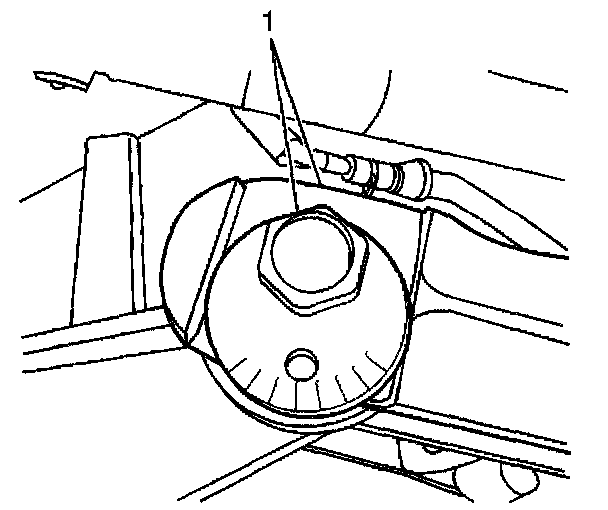
7. Remove the bushing from the crossmember.
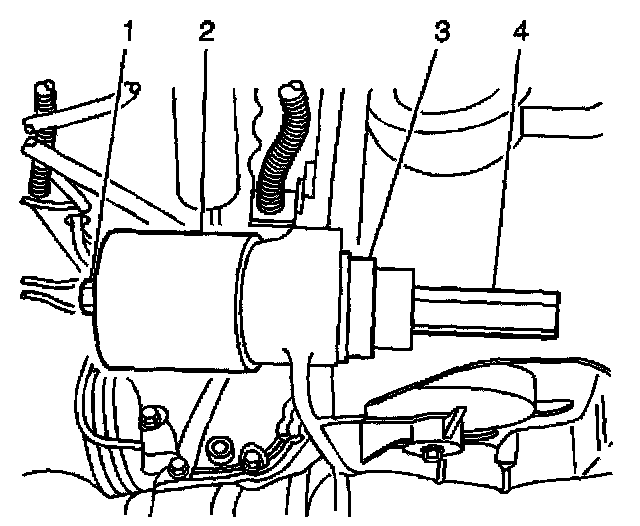
8. In order to remove the bushing from the crossmember, use the following tools from the J 21474-01:
^ J-6627-4 (1)
^ J-45411 (2)
^ J-21474-8 (3)
^ J-21474-4 (4)
Installation Procedure
Important: Install the new bushing to the crossmember in the same mannerism as/was the old bushing noting the voids.
1. Use the J21474-01 in order to install the bushing to the crossmember.
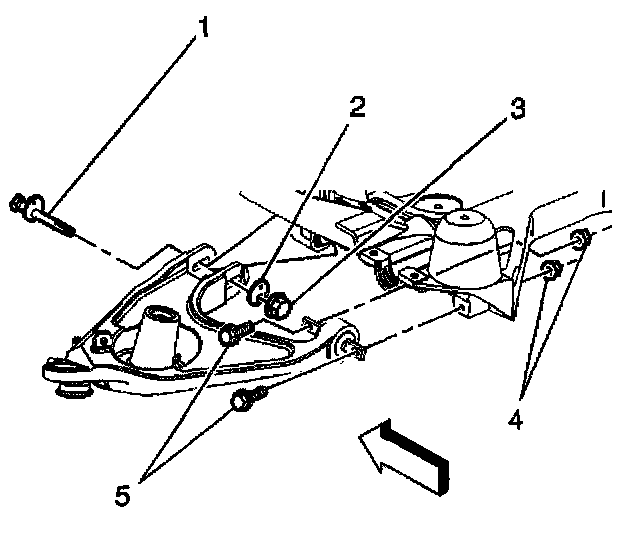
2. Install the lower control arm and mounting bolts (1, 5) to the crossmember.
3. Line up the mark on the lower control arm at the cam indicator (1).
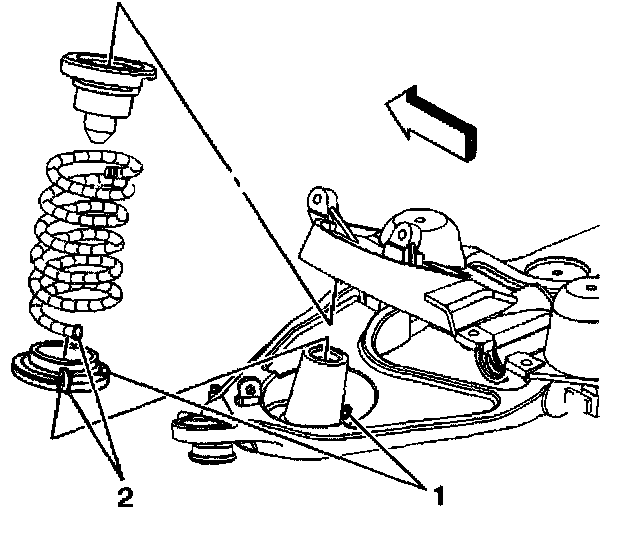
4. Install the coil spring 2.
5. Install the tire and wheel assemblies.
6. Inspect the rear camber and toe angles and adjust as necessary.
7. Lower the vehicle. Refer to Vehicle Lifting,