Oil Pan: Service and Repair
Oil Pan Replacement^ Tools Required
- J39505 Torque Wrench Adapter
Removal Procedure
1. Disconnect the battery ground (negative) cable.
2. Remove the engine mount struts from the engine.
3. Install the engine support fixture.
4. Raise and support the vehicle. Refer to Vehicle Lifting.
5. Remove the A/C compressor mounting bolts and set the compressor aside.
6. Disconnect the catalytic converter pipe from the engine right side exhaust manifold.
7. Drain the engine oil.
8. Remove frame assembly.
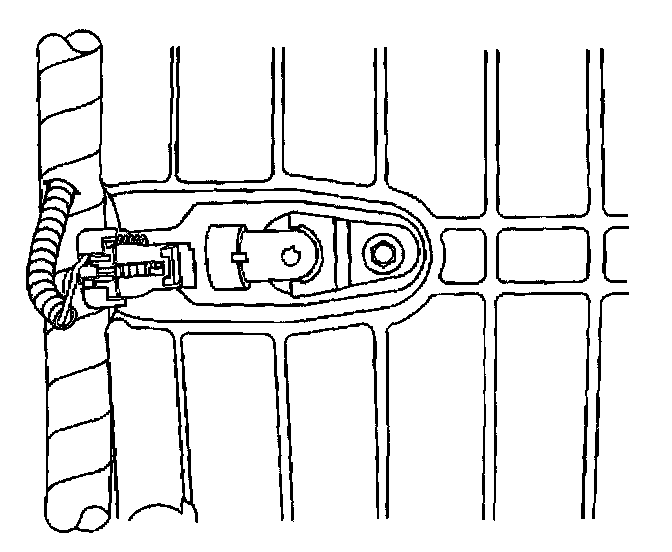
9. Remove the oil level sensor wiring harness connection.
10. Remove the starter motor.
11. Remove the transaxle brace from the oil pan.
12. Remove the engine mount bracket with the engine mount from the oil pan.
Important: Use the J 39505 in order to remove the engine right side oil pan side bolts.
13. Remove the oil pan and the oil pan gasket.
14. Clean the oil pan and the engine block gasket surface.
Installation Procedure
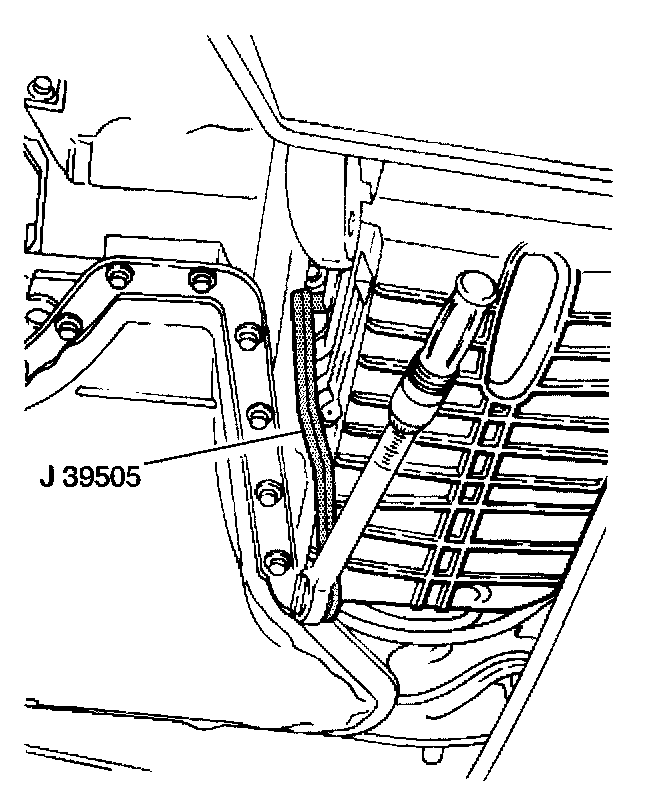
Important: Use the J 39505 in order to install the engine right side oil pan side bolts.
1. Install the oil pan gasket and the oil pan.
2. Install the engine mount bracket with the engine mount to the oil pan.
3. Install the transaxle brace to the oil pan.
4. Install the starter motor.
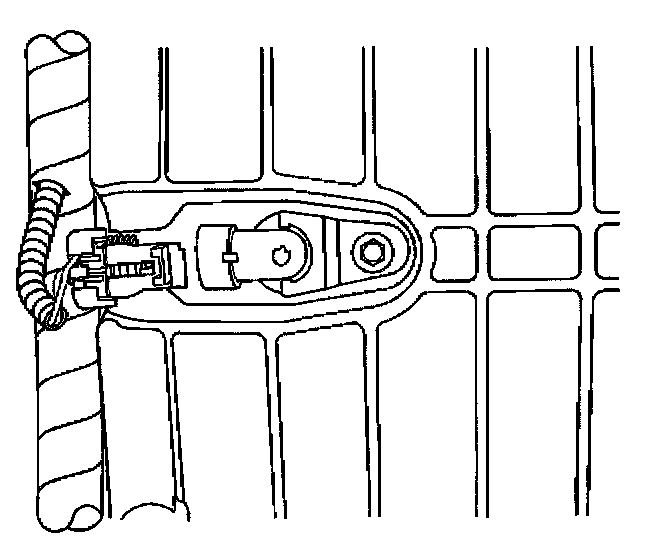
5. Install the oil level sensor electrical connector.
6. Install frame assembly.
7. Connect the catalytic converter pipe to the engine right side exhaust manifold.
8. Install the A/C compressor.
9. Lower the vehicle.
10. Remove the engine support fixture.
11. Install the engine mount struts to the engine.
12. Fill the engine with oil.
13. Connect the battery ground (negative) cable.