Defogger Duct Replacement - Side Window (With RPO Code UV6)
Defogger Outlet Duct Replacement - Side Window (With RPO Code UV6)REMOVAL PROCEDURE
1. Remove the I/P assembly.
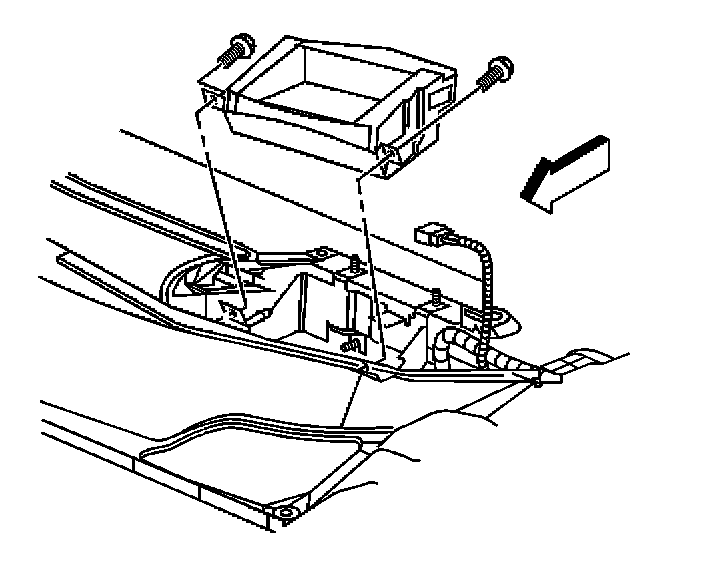
2. Disconnect the heads up display module electrical connector.
3. Remove the bolts that secure the heads up display module to the I/P.
4. Remove the heads up display module.
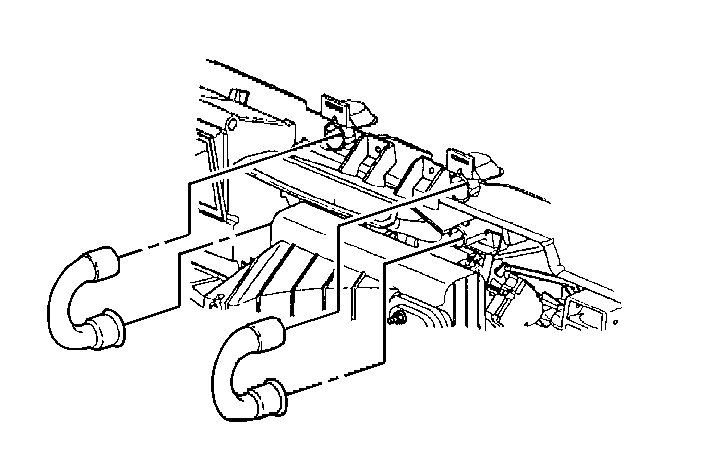
5. Pull the side window defogger ducts from the I/P carrier.
6. Pull the side window defogger ducts from the defroster duct.
7. Remove the side window defogger ducts from the vehicle.
INSTALLATION PROCEDURE
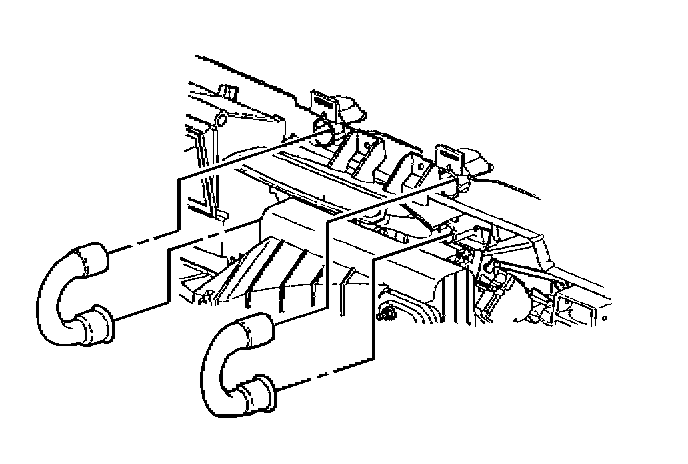
1. Align the side window defogger ducts onto the defroster duct and snap the ducts into place.
2. Align the side window defogger ducts and snap the ducts into the I/P carrier.
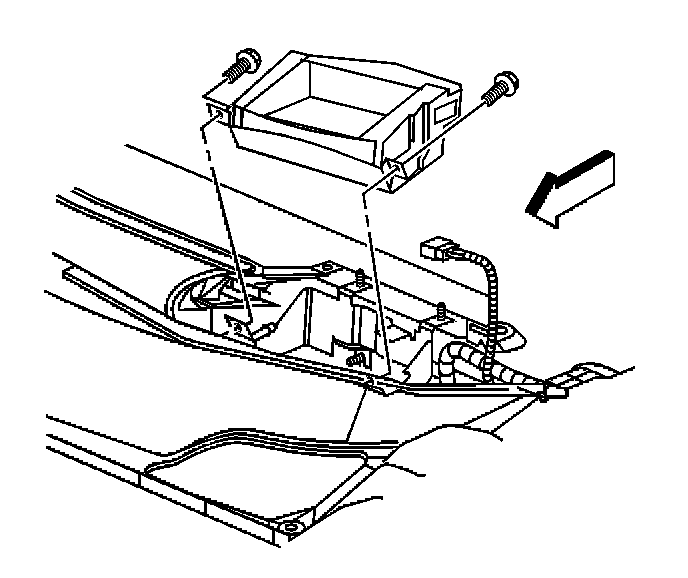
3. Install the heads up display module.
4. Install the bolts that secure the heads up display module to the I/P.
NOTE: Refer to Fastener Notice in Service Precautions.
Tighten
Tighten the bolts to 2 N.m (18 lb in).
5. Connect the heads up display module electrical connector.
6. Install the I/P assembly.