Discharge Hose Replacement
TOOLS REQUIREDJ 39400-A Halogen Leak Detector
REMOVAL PROCEDURE
1. Remove the air cleaner assembly.
2. Recover the refrigerant from the A/C system.
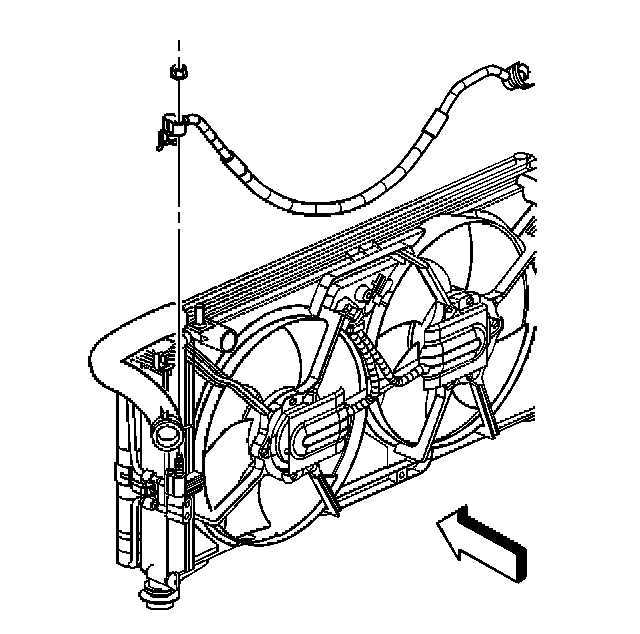
3. Remove the discharge hose to condenser nut.
4. Disconnect the discharge hose from the condenser.
5. Cap or tape the discharge port on the condenser.
IMPORTANT: Cap or tape the open A/C components immediately to prevent A/C system contamination.
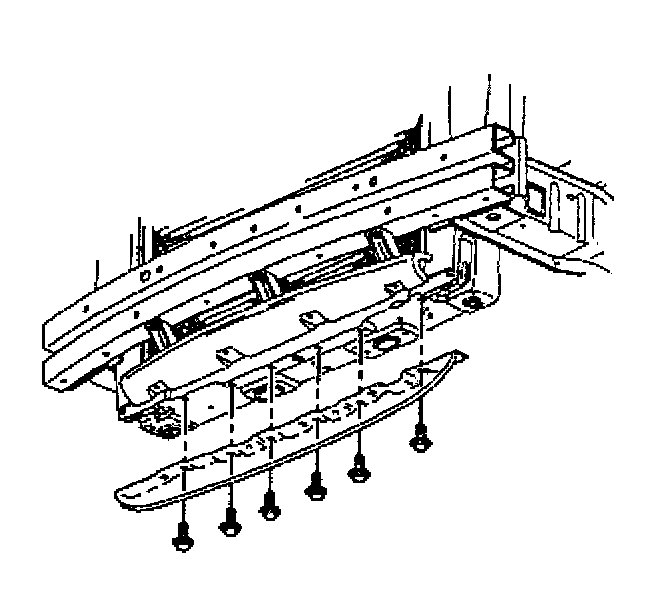
6. Raise and support the vehicle. Refer to Vehicle Lifting.
7. Remove the air baffle bolts.
8. Remove the air baffle.
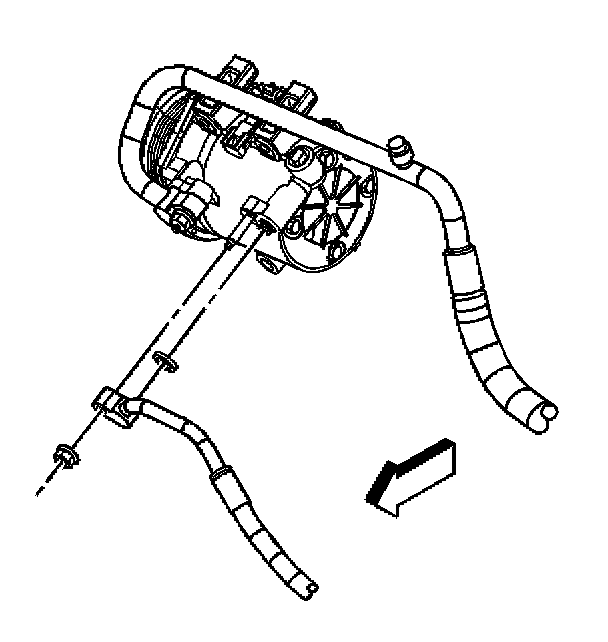
9. Remove the discharge hose to compressor nut.
10. Disconnect the discharge hose from the compressor.
11. Cap or tape the compressor discharge port.
12. Remove the discharge hose.
13. Remove and discard the sealing washers.
INSTALLATION PROCEDURE
1. Install a new sealing washer onto the compressor side of the discharge hose.
2. Install the discharge hose.
3. Remove the cap or tape from the compressor discharge port.
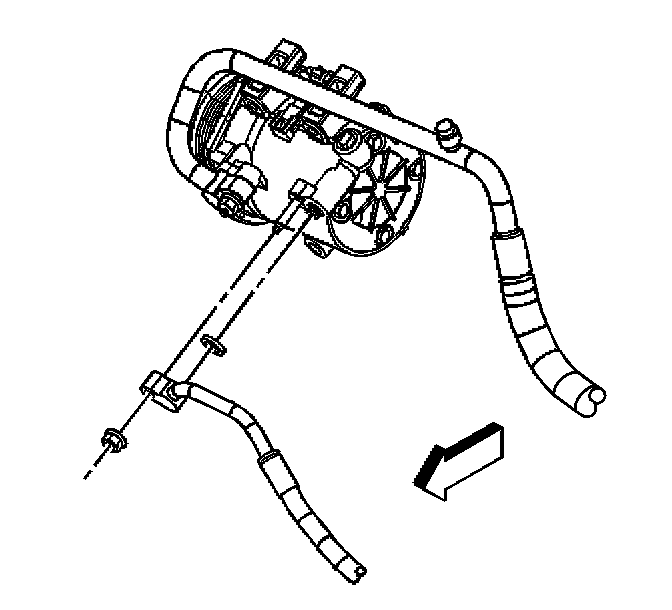
4. Connect the discharge hose to the compressor.
5. Install the discharge hose to compressor nut.
NOTE: Refer to Fastener Notice in Service Precautions.
Tighten
Tighten the nut to 16 N.m (12 lb ft).
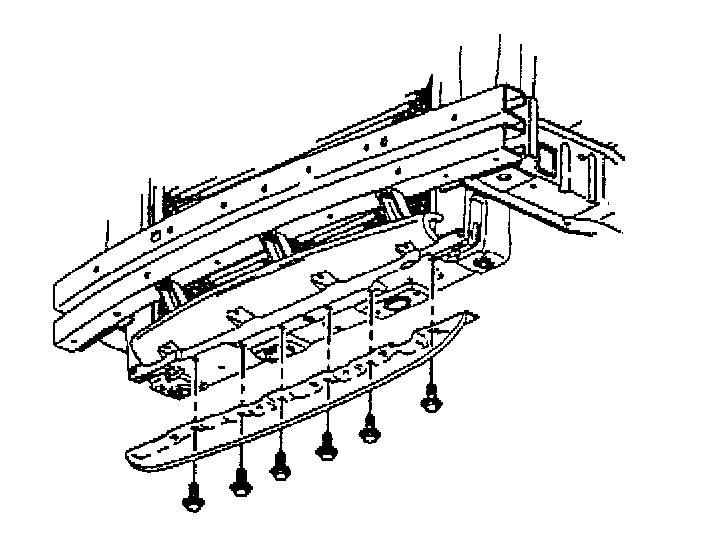
6. Install the air baffle.
7. Install the air baffle bolts.
Tighten
Tighten the bolts to 20 N.m (15 lb ft).
8. Lower the vehicle.
9. Install a new seal washer to the condenser side of the discharge hose.
10. Remove cap or tape from the discharge port on the condenser.
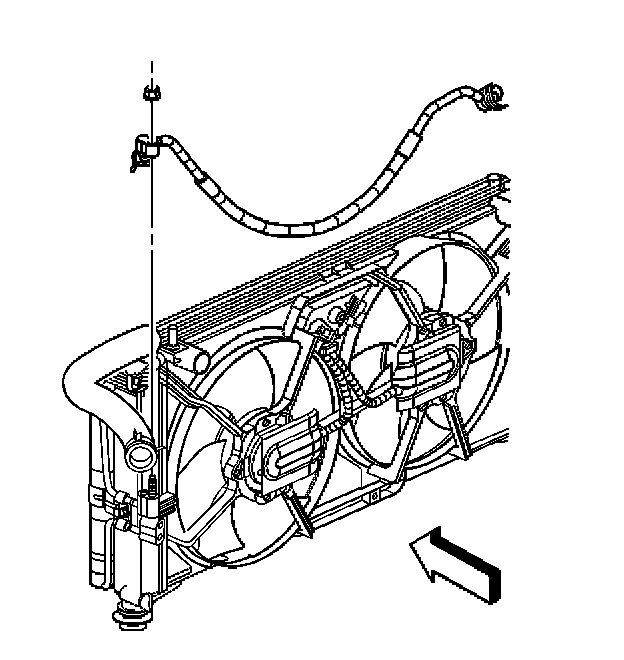
11. Connect the discharge hose to the condenser.
12. Install the discharge hose to condenser nut.
Tighten
Tighten the nut to 16 N.m (12 lb ft).
13. Evacuate and recharge the A/C system.
14. Leak test the fittings of the component using J 39400-A.
15. Install the air cleaner assembly.