Defroster Door Replacement
DEFROSTER DOOR REPLACEMENTREMOVAL PROCEDURE
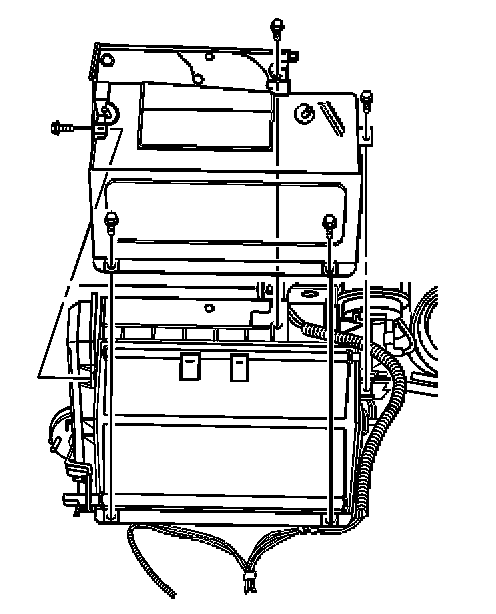
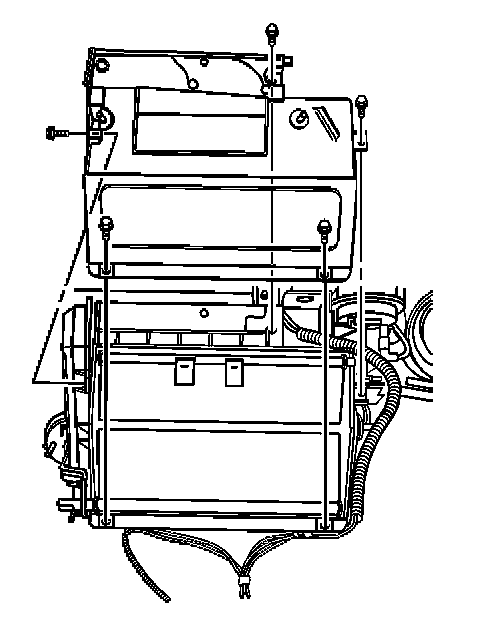
1. Remove the HVAC module assembly.
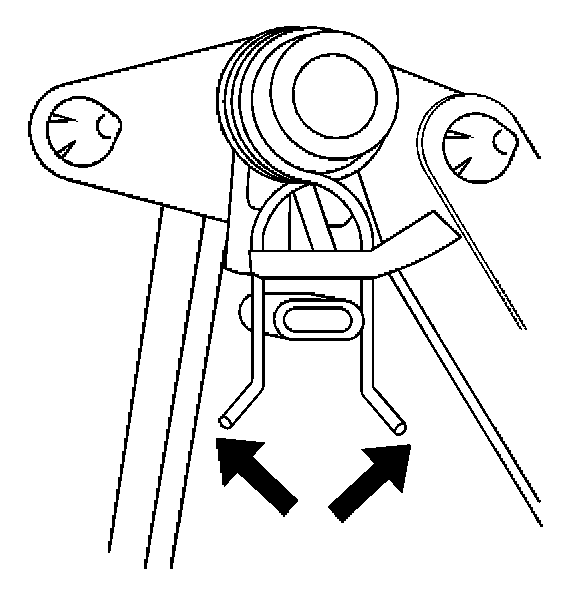
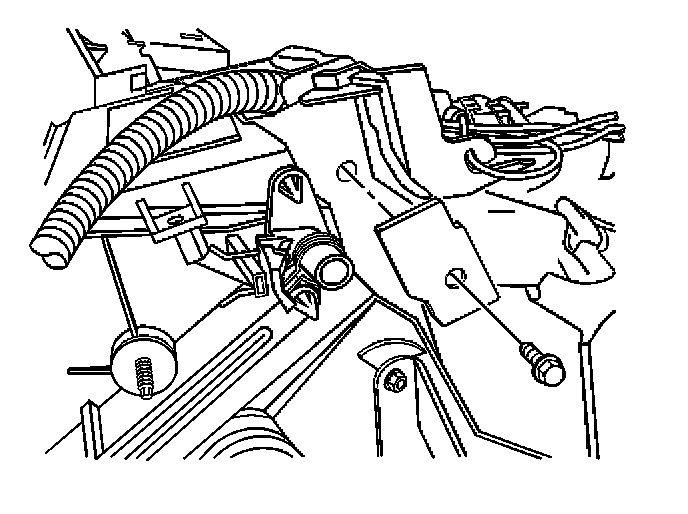
2. Remove the defroster actuator.
3. Remove the defroster door spring.
4. Remove the heater/defroster door linkage.

5. Remove the screw for the heater /defroster door case cover retainer.
6. Remove the mode defroster door case cover retainer.
7. Remove the heater defroster door case cover screws.
8. Remove the heater defroster door case cover.
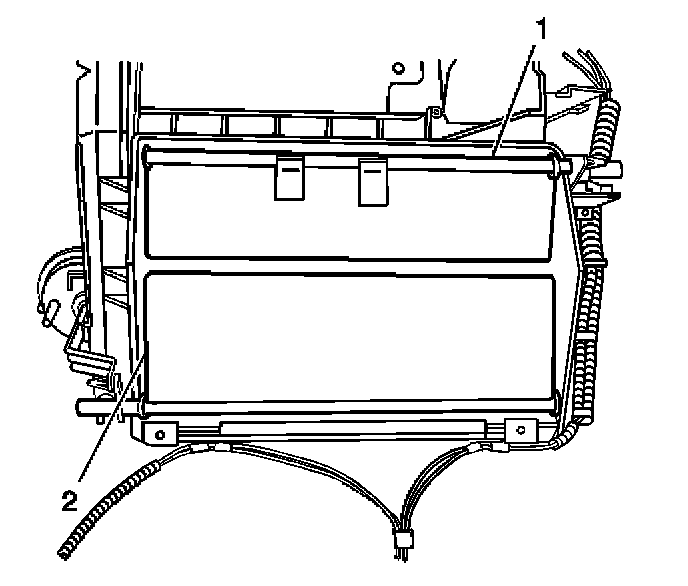
9. Remove the heater defroster door (1) from the module case.
10. Inspect the heater defroster door for damage.
INSTALLATION PROCEDURE
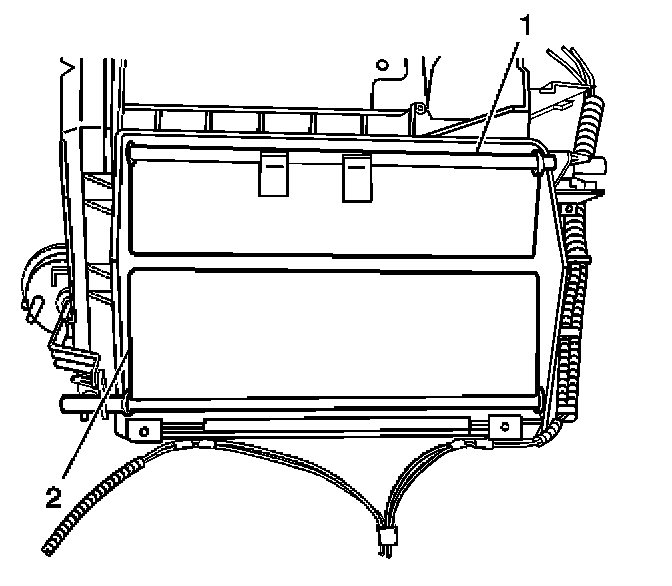
1. Install the heater defroster door (1) to the module case.
2. Install the heater defroster door case cover.
3. Install the heater defroster door case cover screws.
NOTE: Refer to Fastener Notice in Service Precautions.
Tighten
Tighten the screws to 1 N.m (9 lb in).
4. Install the heater defroster door case cover retainer.
5. Install the screw for the heater defroster door case cover retainer.
Tighten
Tighten the screws to 1 N.m (9 lb in).
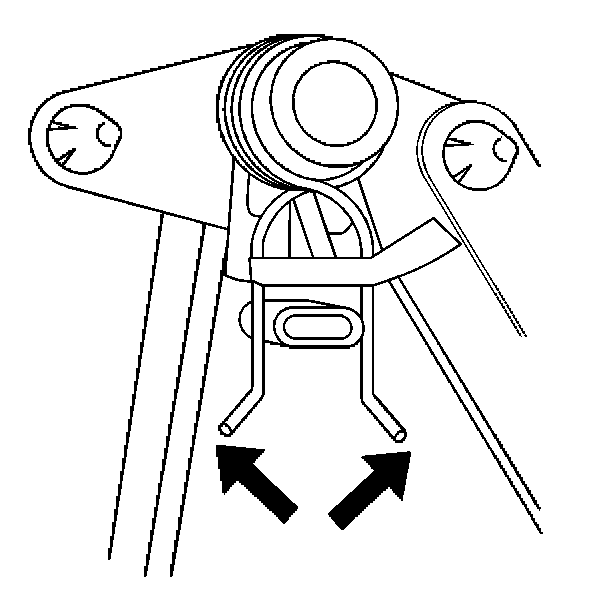
6. Install the heater defroster door spring.
7. Install the heater defroster door linkage.
8. Install the heater defroster actuator.
9. Install the HVAC module assembly.